The BMW E46 M3 remains a benchmark in the sports car world, but its drivetrain takes a massive beating. While the Getrag 420 6-speed manual or SMG II transmission often hogs the spotlight, the rear differential is the unsung hero transferring 333 horsepower and 262 lb-ft of torque to the pavement. When high-mileage examples begin to exhibit whining under deceleration, clunking on load reversal, or stubborn leaks, an e46 m3 differential rebuild transitions from a 'maybe' to an absolute necessity.
For the DIY enthusiast, rebuilding the E46 M3's rear end is a rite of passage. However, it requires precision, specialized tooling, and an understanding of BMW's unique bolt-in limited-slip design. In this 2026 buyer's guide and cost comparison, we break down the financials, compare rebuild kits, and provide the exact torque specifications you need to execute a factory-correct rebuild in your home garage.
DIY vs. Professional E46 M3 Differential Rebuild: Cost Breakdown
Before ordering parts, it is critical to weigh the financial and technical realities of turning the wrenches yourself versus handing the casing to a drivetrain specialist. As of 2026, supply chain issues regarding OEM Timken and SKF bearings have largely stabilized, but labor rates at specialty BMW shops have surged.
| Cost & Risk Factor | DIY Garage Rebuild | Professional Drivetrain Shop |
|---|---|---|
| Parts & Kit Cost | $250 – $400 (Master Kit + Fluids) | $450 – $700 (Shop markup on OEM parts) |
| Labor Cost | $0 (10-15 hours of your weekend) | $800 – $1,400 (8-12 hours @ $125+/hr) |
| Special Tooling | $150 – $300 (Press, pullers, dial indicator) | Included in shop overhead |
| Total Estimated Cost | $400 – $700 | $1,400 – $2,500+ |
| Warranty | Parts only; zero labor warranty | 12 to 24-month comprehensive warranty |
| Risk Factor | High (Pinion preload errors destroy diffs) | Low (Machine shop precision) |
Verdict: If you already own a 20-ton hydraulic press, a high-quality inch-pound torque beam wrench, and dial indicators, the DIY route saves you upwards of $1,500. If you lack the tooling or the patience to measure bearing preload down to the thousandth of an inch, ship the core to a professional.
Buyer’s Guide: Selecting the Right Rebuild Kit
Not all rebuild kits are created equal. The E46 M3 differential requires specific components to handle the stress of the S54 engine. When shopping for an FCP Euro BMW SAF-XJ 75W-140 fluid or bearing kits, avoid unbranded 'white box' kits from auction sites. You need OEM-tier metallurgy.
What Must Be in Your Master Kit?
- Pinion Head & Tail Bearings: Must be Timken or SKF. (OEM BMW P/N references: 33121212713 / 33121212714).
- Carrier Bearings: Two tapered roller bearings that support the ring gear and LSD assembly.
- Crush Sleeve: BMW P/N 33121213541. Never reuse the old crush sleeve.
- Pinion Nut: BMW P/N 33121213542. This is a prevailing torque nut and should be replaced.
- Seals: Pinion seal (33121213949) and two output shaft seals. Corteco is the preferred OEM supplier for BMW seals.
- Ring Gear Bolts: M10x1.25 (BMW P/N 33111214633). These are one-time-use stretch bolts.
The Bolt-In LSD Advantage
Unlike older BMW models (such as the E36 or E30) that utilize complex clutch-type limited-slip differentials requiring selective snap-rings and ramp shims to set clutch preload, the E46 M3 utilizes a 'bolt-in' viscous/mechanical LSD unit. The LSD carrier simply bolts into the ring gear flange. While this eliminates the need for clutch-pack shimming, it means the entire LSD unit must be replaced as a single assembly if the internal clutches are worn. A standard bearing and seal kit will not fix a slipping M3 LSD; it will only fix whining bearings and leaks.
Critical DIY Rebuild Tips: Torque Specs and Preload
The most common reason DIY differential rebuilds fail within 5,000 miles is incorrect pinion bearing preload. The E46 M3 does not use a pinion shim to set preload; it uses a crush sleeve. When you tighten the pinion nut, the sleeve crushes, drawing the pinion bearings tighter together.
Setting Pinion Preload (The Make-or-Break Step)
- Install the new pinion tail bearing, seal, and the new crush sleeve.
- Install the pinion flange and the new pinion nut.
- Using a specialized flange-holding tool and a long breaker bar, begin tightening the nut. You will need to apply upwards of 250–300 ft-lbs of torque to initiate the crushing of the sleeve.
- Stop and measure frequently. Use an inch-pound beam-style torque wrench on the pinion nut to measure rotational drag (preload).
- Target Preload Specs:
- New Bearings: 25 to 35 in-lbs of rotational drag.
- Reused Bearings (Not Recommended): 15 to 25 in-lbs.
- WARNING: If you over-torque and exceed 35 in-lbs, the crush sleeve is ruined. You cannot simply back the nut off to reduce preload. You must disassemble the pinion, install a brand-new crush sleeve, and start over.
Ring Gear and Assembly Torque Specifications
When mating the ring gear to the LSD carrier, surface preparation is just as important as torque. Clean all mating surfaces with brake cleaner. Apply a high-strength threadlocker (Loctite 272 or equivalent) to the new M10x1.25 ring gear bolts. Torque the bolts in a star pattern to 100 Nm (74 lb-ft). For the differential housing cover bolts, torque to 45 Nm (33 lb-ft).
Essential Tooling for the Home Mechanic
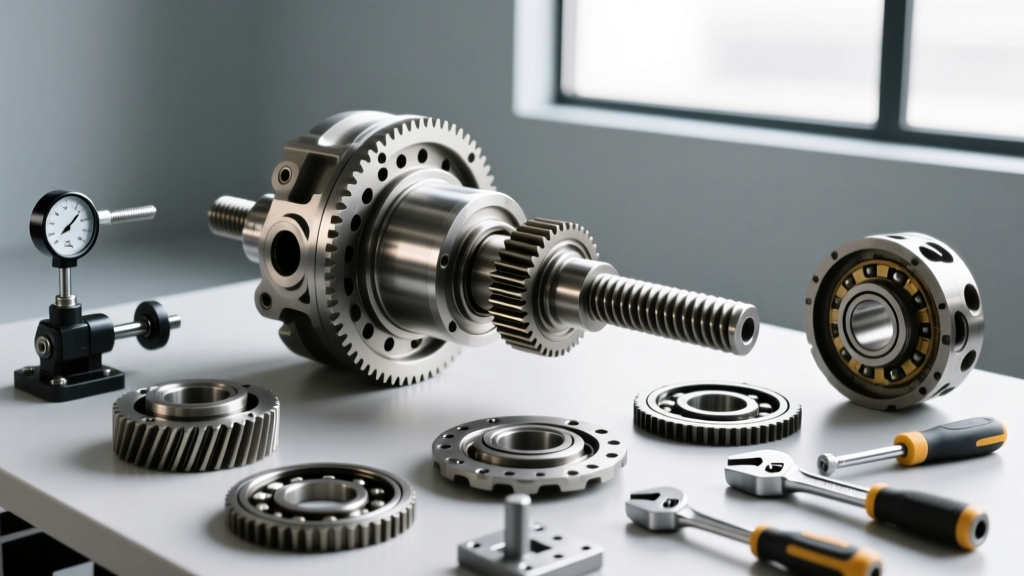
You cannot execute a proper e46 m3 differential rebuild with a standard socket set. Budget for the following specialized tools:
- Hydraulic Press (20-Ton Minimum): Required for pressing the carrier bearings and pinion head bearing on and off the housings. Attempting to hammer bearings on with a drift will shatter the bearing cage and guarantee premature failure.
- Dial Indicator with Magnetic Base: Essential for checking ring gear backlash (Target: 0.05mm - 0.15mm / 0.002" - 0.006") and checking ring gear runout.
- Inch-Pound Torque Wrench: A beam-style or high-quality dial inch-pound wrench is mandatory for measuring pinion preload. Click-style torque wrenches are not accurate at low inch-pound settings.
- Bearing Pullers: A specialized clamshell puller or blind-hole puller is needed to remove the pinion head bearing without damaging the pinion gear shaft.
Fluid Selection and Break-In Procedure
The E46 M3 differential requires a specific 75W-140 synthetic gear oil formulated for limited-slip differentials. The factory fill is BMW SAF-XJ. Do not use standard 75W-90; the E46 M3's high-stress ring and pinion set requires the higher shear stability of the 140-weight fluid. Capacity is approximately 1.5 to 1.8 Liters. Always fill until the fluid reaches the bottom of the fill hole threads with the vehicle on a perfectly level surface.
The Break-In: After your rebuild, the new bearings and gear contact patterns need time to seat. Drive conservatively for the first 500 miles. Avoid sustained high-speed highway runs and heavy track use. After 500 miles, drain the fluid. You will likely see a fine, glitter-like metallic paste on the drain plug magnet—this is normal bedding-in material from the new bearings and crush sleeve. Refill with fresh SAF-XJ 75W-140, and your differential is ready for the next 100,000 miles of abuse.
Final Verdict: Should You Turn the Wrenches?
An e46 m3 differential rebuild is not for the faint of heart, nor is it a beginner's first weekend project. The margin for error on the crush sleeve is zero, and the cost of a mistake means buying a new pinion gear and starting from scratch. However, for the equipped DIYer who values factory-level precision and wants to save $1,500 in shop labor, it is an immensely rewarding job. Consult the RealOEM E46 M3 Differential Diagram to verify part numbers for your specific build month, gather your Timken bearings, and take your time measuring preload. For deeper community troubleshooting and custom tool fabrication tips, the archives at E46Fanatics remain an invaluable resource for S54 drivetrain maintenance.