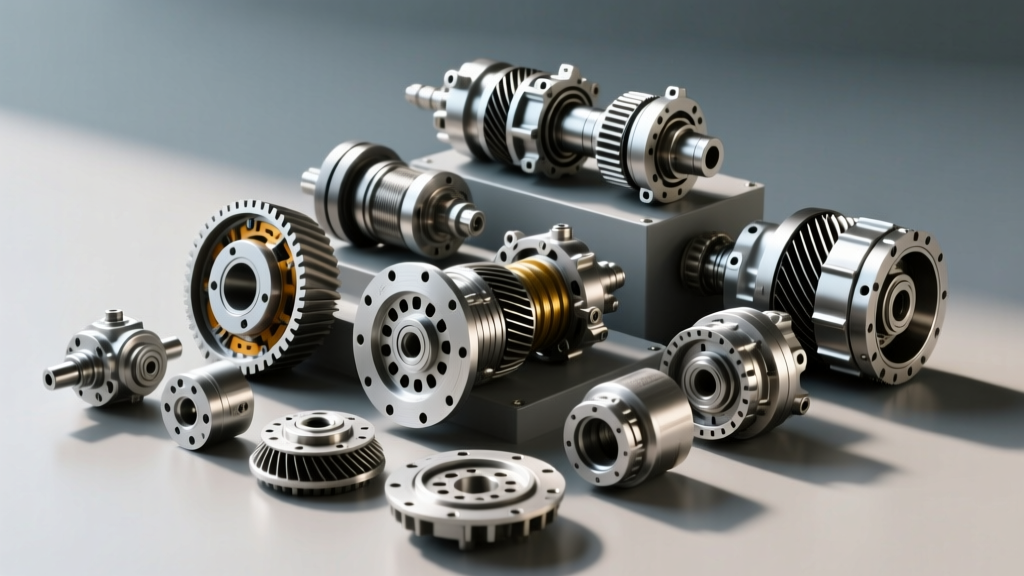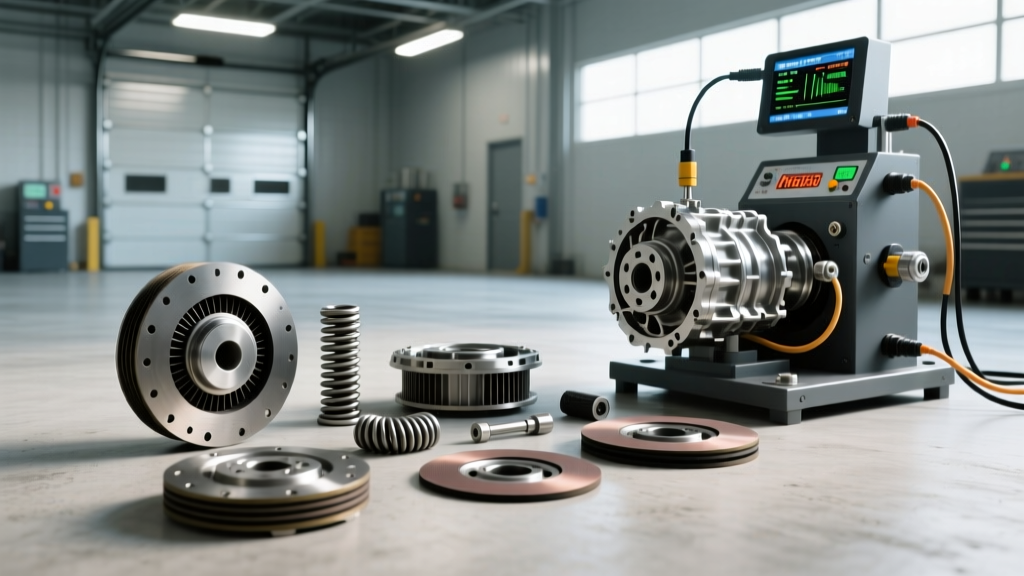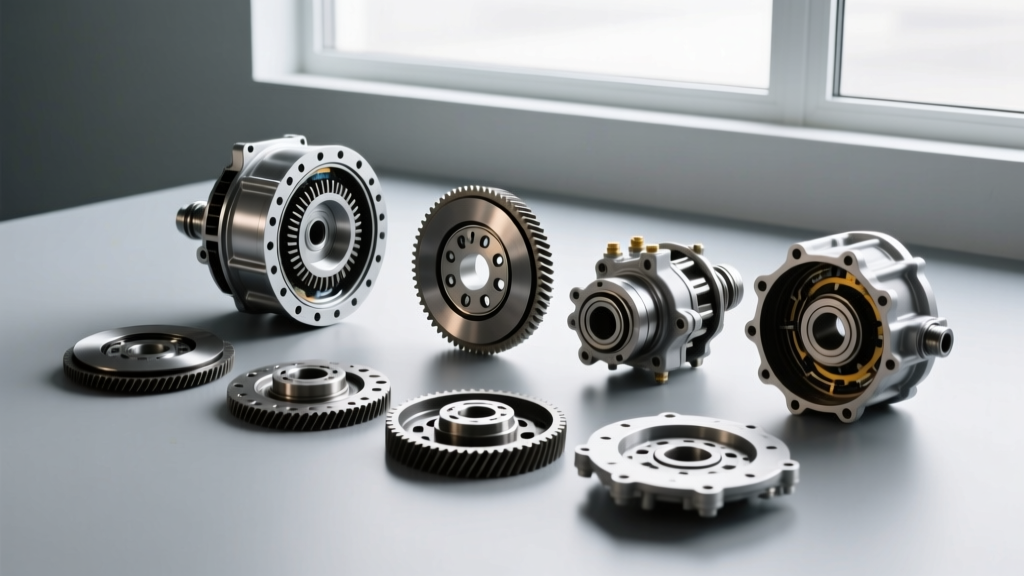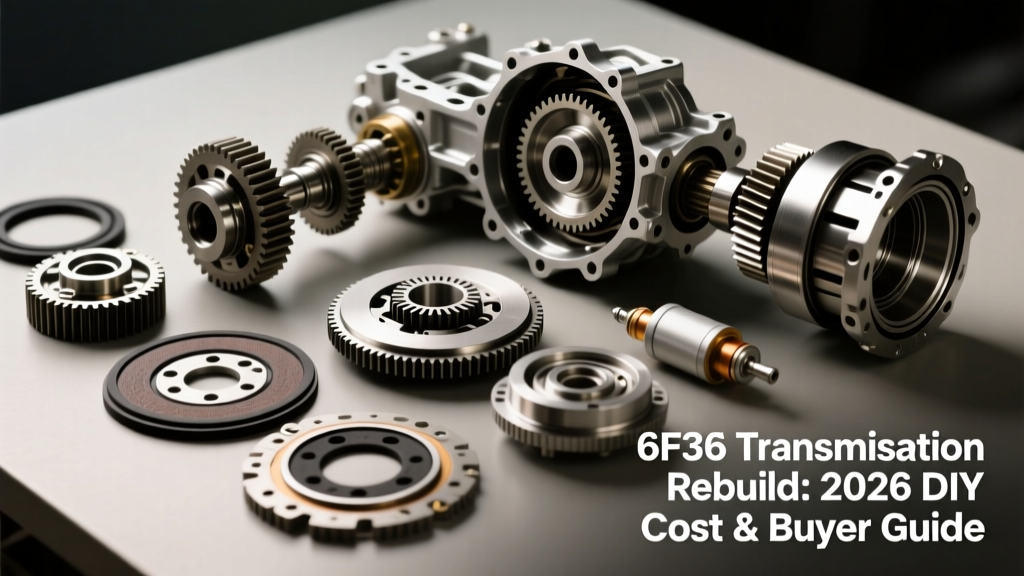
The Reality of a DIY 6F35 Transmission Rebuild in 2026
The Ford 6F35 6-speed automatic transmission has been a staple in vehicles like the Ford Escape, Fusion, Edge, and Lincoln MKZ for over a decade. As these vehicles age well past the 120,000-mile mark in 2026, owners are increasingly facing the dreaded torque converter shudder, harsh 2-3 shifts, and slipping direct clutches. For the mechanically inclined, a 6F35 transmission rebuild at home presents a massive opportunity to save thousands of dollars compared to dealership or independent shop quotes. However, the 6F35 is not a simple, old-school hydraulic gearbox; it relies heavily on a complex molded lead-frame solenoid body and precise clutch pack clearances.
This comprehensive buyer's guide and DIY cost breakdown will help you determine if tearing down the 6F35 on your own bench is a viable project, which master rebuild kits offer the best friction materials, and the hidden costs of specialized tooling and TCM programming that most forums fail to mention.
Cost Breakdown: DIY Rebuild vs. Professional Shop
Before ordering parts, you must understand the financial landscape of a 6F35 overhaul. Professional shops often quote between $3,800 and $5,200 for a remanufactured unit swap or a full bench rebuild, largely due to the 12-15 hours of R&R (remove and replace) labor and the high cost of OEM solenoid bodies. Below is a realistic cost comparison for a DIYer performing a full teardown, friction replacement, and solenoid body upgrade in their home garage.
| Cost Category | DIY Rebuild (Estimated) | Professional Shop (Estimated) |
|---|---|---|
| Master Rebuild Kit (Clutches, Seals, Rings) | $350 - $550 | $600 - $800 (Shop Markup) |
| OEM Solenoid Body / Lead Frame | $280 - $400 | $450 - $600 |
| Remanufactured Torque Converter | $250 - $350 | $450 - $650 |
| MERCON LV Fluid (10 Quarts Dry Fill) | $90 - $120 | $150 - $200 |
| Specialty Tools (Compressor, Dial Indicator) | $120 - $200 | N/A (Included in Labor) |
| TCM Reprogramming / Scanner Rental | $50 - $150 | $150 - $250 |
| Labor (15-20 Hours) | $0 (Your Time) | $1,800 - $2,800 |
| Total Estimated Cost | $1,140 - $1,770 | $4,050 - $5,650 |
Note: DIY costs assume you already possess a transmission jack, engine support bar, and a comprehensive metric torque wrench set.
Essential Buyer's Guide: Picking the Right 6F35 Master Kit
Not all rebuild kits are created equal. The 6F35 utilizes specific friction materials that require exact compatibility with Ford's MERCON LV fluid. When browsing suppliers like Transtar Industries or local distributors, you will generally encounter three tiers of master kits:
1. OEM-Replacement Kits (Standard Raybestos/Transtar)
These kits use standard OE-style friction clutches and Kolene-steels. They are perfectly adequate for daily drivers and stock horsepower applications. Expect to pay around $350 to $425. They include all O-rings, lip seals, and the crucial molded piston seals that frequently tear on high-mileage units.
2. Alto Red Eagle / High-Energy Kits
If you are rebuilding a 6F35 for an AWD Ford Edge Sport or a vehicle that frequently tows light loads, upgrading to an Alto Red Eagle master kit is highly recommended. These frictions feature a higher thermal threshold and resist the glazing that causes the notorious 6F35 torque converter shudder. Pricing typically ranges from $480 to $580.
3. Budget / Import Kits
Avoid unbranded kits found on ultra-budget marketplaces. The 6F35's direct clutch hub is prone to premature wear, and inferior friction materials will accelerate hub degradation, leading to a failed rebuild within 10,000 miles.
Critical Upgrades: The Solenoid Body & Valve Body Dilemma
You cannot perform a proper 6F35 transmission rebuild without addressing the solenoid body. Unlike older transmissions where solenoids could be swapped individually, the 6F35 uses a combined molded lead-frame and solenoid body assembly. The internal flex-circuit is notorious for micro-cracking, resulting in communication faults (P0772, P0731) and harsh engagement.
Expert Warning: Never reuse the original 6F35 solenoid body during a rebuild, even if it tests fine on the bench. The thermal cycling of the transmission fluid eventually degrades the solder joints on the lead frame. Always install a brand-new Motorcraft unit (verify the latest revision, such as JX6Z-7G234-A or newer via the RockAuto Parts Catalog).
Furthermore, while the valve body is removed, inspect the bore for the line pressure regulator valve. According to Sonnax 6F35 technical resources, valve body bore wear is a common culprit for delayed forward engagements. If you detect bore scoring, installing a Sonnax ZIP Kit or a sleeved regulator valve is a mandatory $85 upgrade that will save your freshly built clutches from burning up due to low line pressure.
Step-by-Step DIY Teardown & Assembly Specifications
The 6F35 is a compact, tightly packaged unit. When measuring clutch packs and torquing the valve body, guessing is not an option. Below are the critical specifications you must adhere to during your bench rebuild.
Clutch Pack Clearances
Use a dial indicator and a clutch spring compressor to measure your pack clearances. The 6F35 is highly sensitive to tight clutch packs, which will cause drag and overheating.
- Direct Clutch Pack: 0.040' - 0.060' (Select thickness of the pressure plate to achieve this)
- Overdrive Clutch Pack: 0.030' - 0.050'
- Intermediate Clutch Pack: 0.045' - 0.070'
- Low/Reverse Clutch Pack: 0.050' - 0.075'
Crucial Torque Specifications
Overtightening the valve body or pump bolts will warp the aluminum castings and bind the valves. Always use an inch-pound torque wrench for internal components.
- Valve Body to Case Bolts: 8 Nm (71 lb-in) Do not exceed!
- Oil Pump to Case Bolts: 10 Nm (89 lb-in)
- Bellhousing to Engine Block: 48 Nm (35 lb-ft)
- Torque Converter to Flexplate Nuts: 48 Nm (35 lb-ft)
- Axle Nut (Front Hub): 250 Nm (184 lb-ft)
The Hidden DIY Hurdle: TCM Reprogramming
Here is the step that catches 90% of first-time DIY rebuilders off guard. When you install a new OEM solenoid body, it comes with a unique calibration ID tag. The vehicle's Powertrain Control Module (PCM/TCM) must be updated with this new ID to properly adapt to the flow characteristics of the new solenoids. If you skip this step, the transmission will default to a fail-safe mode, resulting in brutal, tire-chirping shifts and potential immediate clutch damage.
To complete the job, you will need a bi-directional scanner capable of Ford's 'Solenoid Body Strategy' update, or you must tow the vehicle to a dealership or a shop with a Ford IDS (Integrated Diagnostic System) to flash the module. Budget an extra $100-$150 for this mobile programming service if you do not own an Autel MaxiSys or equivalent high-end diagnostic tablet.
Final Fill and Adaptation Drive
The 6F35 requires strictly MERCON LV (XT-10-QLV) fluid. Do not substitute with universal fluids or older MERCON V, as the friction modifiers are incompatible with the 6F35's clutch lining materials. A dry fill requires approximately 9.5 quarts. Perform the initial fill, run the engine through the gears with the wheels off the ground, and then check the fluid level using the transmission dipstick while the fluid temperature is between 185°F and 200°F (monitor via your OBD2 scanner).
Once filled, the vehicle requires a 50-mile adaptation drive cycle. The TCM will relearn the shift volumes and clutch apply times. Expect the first few shifts to feel slightly erratic as the computer calibrates the new clutch pack clearances and fresh solenoid body. By the end of the drive cycle, your DIY 6F35 rebuild should deliver factory-smooth, shudder-free performance for another 100,000 miles.