Why the Standard Drivetrain Definition Falls Short in Diagnostics
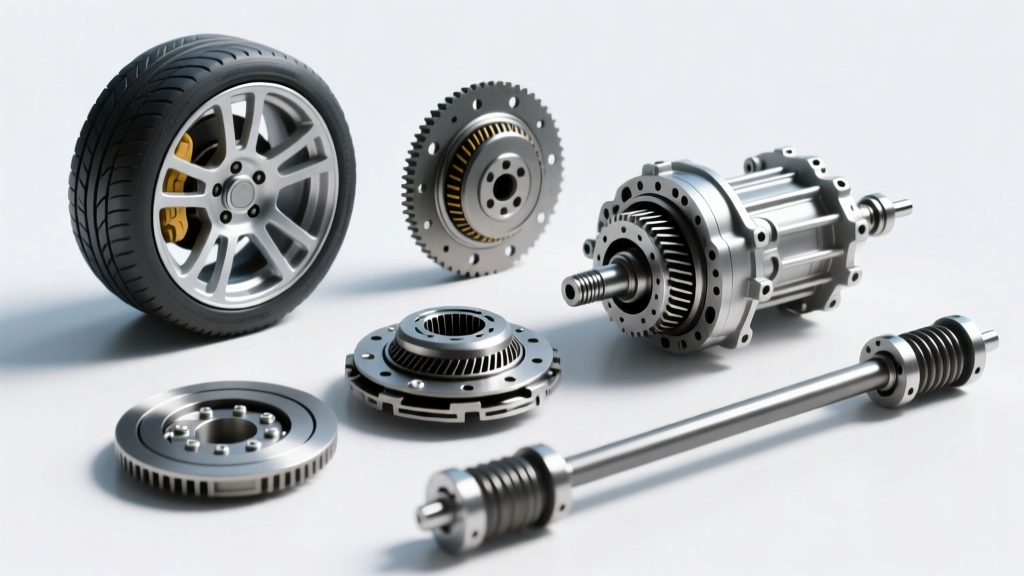
Most automotive textbooks provide a very basic drivetrain definition: the group of components that transmit power from the engine or motor to the driving wheels. While accurate for a high-school physics class, this simple drivetrain definition is practically useless for a modern technician facing a complex NVH (Noise, Vibration, and Harshness) complaint. In 2026, with the proliferation of high-RPM electric vehicle drive units, sophisticated AWD torque-vectoring differentials, and 8-to-10-speed automatic transmissions, diagnosing drivetrain noise requires a deep understanding of harmonic frequencies, fluid dynamics, and precise mechanical tolerances.
When a customer complains of a "humming noise at 60 mph," a novice might throw parts at the car. An expert uses a systematic, step-by-step isolation process to determine if the noise originates from the transmission pump, the driveshaft U-joints, the differential ring-and-pinion, or a failing wheel bearing. This guide will take you beyond the textbook and into the bay with a professional-grade diagnostic framework.
Phase 1: The Dynamic Road Test (Isolating the Variable)
The first step in drivetrain noise diagnosis is determining whether the noise is tied to Vehicle Speed or Engine/Motor RPM. You cannot diagnose a drivetrain noise without a bi-directional OBD2 scan tool capable of live data streaming.
Step 1: RPM vs. Speed Isolation
Find a safe, flat stretch of road and accelerate to the speed where the noise is most prominent (e.g., 65 mph). While maintaining that exact speed, shift the transmission down one gear (or use manual mode).
- If the noise pitch changes: The issue is tied to engine RPM or transmission input shaft speed. Suspect torque converter turbine noise, transmission pump cavitation, or engine accessory harmonics.
- If the noise pitch remains identical: The issue is tied to vehicle speed. The fault lies downstream of the transmission output shaft (driveshaft, differential, axles, or wheels).
Step 2: Load vs. Coast Testing
Drivetrain gears and bearings behave differently under load. Accelerate to 60 mph under moderate throttle (loading the drive side of the gear teeth), then completely lift off the throttle (loading the coast side).
- Noise on Drive Only: Typically indicates worn ring-and-pinion gear teeth, excessive differential backlash, or a failing CV joint inner race.
- Noise on Coast Only: Often points to pinion bearing wear or driveshaft U-joint binding.
- Noise on Both Drive and Coast: Highly indicative of a failing wheel bearing or differential carrier bearing.
Phase 2: Static Lift Inspection & Torque Verification
Once you have isolated the noise to a specific subsystem, place the vehicle on a two-post lift. Before tearing anything apart, verify the mechanical integrity of the external components using a calibrated torque wrench. According to Spicer Parts troubleshooting guidelines, loose U-joint straps are a leading cause of cyclic drivetrain clunk and high-speed vibration.
Critical Drivetrain Torque Specifications
Always refer to the specific OEM service manual, but here are standard baseline torque specs for common drivetrain components to check during your static inspection:
- Spicer 1310/1350 U-Joint Strap Bolts: 25 - 30 lb-ft. (Over-torquing distorts the bearing caps; under-torquing causes cyclic clunk).
- Driveshaft Center Support Bearing Bolts: 35 - 45 lb-ft.
- Ford F-150 / GM Silverado Front Hub Assembly Nuts: 140 - 165 lb-ft (Always replace stretch-to-yield axle nuts).
- Rear Differential Cover Bolts (GM 10-Bolt / Ford 8.8): 25 - 30 lb-ft in a star pattern.
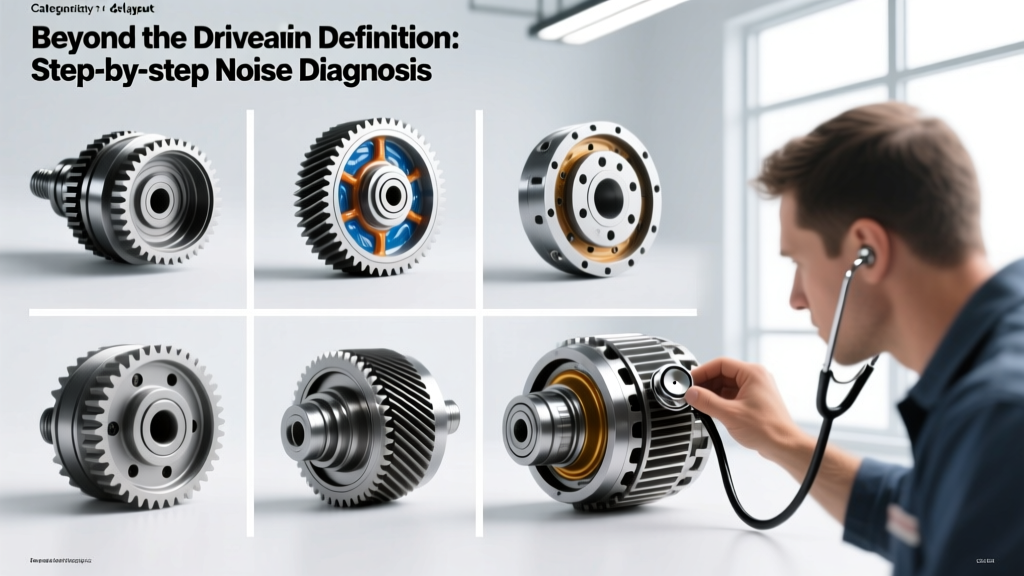
With the vehicle in the air and the transmission in neutral, spin the wheels by hand. Use a mechanic's stethoscope with a long probe to listen directly to the differential pinion yoke, the transmission extension housing, and the wheel hubs. A failing wheel bearing will emit a distinct growl that changes pitch when you apply lateral pressure to the tire.
Phase 3: Fluid Forensics & Component-Specific Checks
The fluid inside your drivetrain components tells the story of internal wear. Dropping a differential pan or checking transmission fluid is a non-negotiable step in the diagnostic process.
Transmission Whine and Fluid Viscosity
Modern automatic transmissions are incredibly sensitive to fluid friction modifiers. For example, the ubiquitous ZF 8HP (8HP45, 8HP70, 8HP90) transmissions found in BMW, Chrysler, and Jaguar vehicles require exact fluid specifications. According to ZF Aftermarket Lubricant guidelines, using standard Dexron or Mercon in a ZF 8HP will result in severe torque converter shudder and a high-pitched hydraulic pump whine. The ZF 8HP requires ZF LifeguardFluid 8. A dry fill capacity is roughly 8.5 to 9.5 liters, while a service fill (pan drop) is typically 5.0 to 6.0 liters. The fluid level must be checked with the transmission pan temperature strictly between 30°C and 50°C (86°F - 122°F).
Differential Gear Whine vs. Bearing Howl
If you find metallic glitter (not just fine gray paste) in the differential fluid, you have hard part failure. A whining differential usually requires a teardown to check ring-and-pinion backlash and gear contact pattern. Standard backlash for most light-duty truck differentials (like the Dana 44 or GM 8.6) is between 0.006 and 0.010 inches. If the backlash is out of spec, the gears will howl under load. Pinion bearing preload must also be verified using an inch-pound torque wrench; a typical rotating preload spec is 15 to 25 in-lbs for used bearings.
Phase 4: NVH Frequency Math & Acoustic Tools
When the noise is elusive, you must rely on NVH mathematics and electronic acoustic tools. Every rotating component in the drivetrain has a specific frequency multiplier based on gear ratios and tire diameter.
| Component | Frequency Multiplier | Typical Noise Characteristic |
|---|---|---|
| Tire / Wheel Assembly | 1x Wheel RPM | Low-frequency hum or steering wheel shimmy (10-20 Hz) |
| Driveshaft | 1x Driveshaft RPM (approx. 3.0 - 4.0x Wheel RPM) | Mid-frequency vibration or cyclic clunk (50-80 Hz) |
| Differential Pinion Bearing | 1x Pinion RPM (Same as Driveshaft RPM) | High-pitched whine that changes on coast vs. drive |
| Differential Ring Gear | 1x Wheel RPM | Low-frequency gear rattle or clunk on load reversal |
| Transmission Pump | 1x Engine RPM (or Motor RPM in EVs) | High-frequency whine present even when vehicle is stationary |
Using Wireless Chassis Ears
In 2026, professional shops utilize wireless NVH chassis ears (like the PicoScope NVH kit or equivalent Bluetooth acoustic transducers). You clamp the magnetic microphones directly to the differential housing, the transmission bell housing, and the wheel knuckles. By driving the vehicle while monitoring the live frequency spectrum analyzer on your tablet, you can visually match the exact Hertz (Hz) of the noise to the mathematical multiplier table above. If the noise peaks at 120 Hz, and your calculations show the driveshaft is spinning at 120 Hz at that exact vehicle speed, you have mathematically proven the driveshaft is the culprit before ever unbolting it.
The EV Factor: High-Speed Drive Unit Diagnostics
It is vital to update your drivetrain definition to include Electric Vehicles. EVs do not have multi-speed transmissions or traditional driveshafts in many cases, but their single-speed reduction gearboxes and electric motors spin at astronomical speeds—often up to 16,000 to 20,000 RPM. A minor imperfection in an EV motor rotor bearing or reduction gear helix will generate a high-frequency whine that traditional ICE diagnostic logic will miss. Diagnosing EV drivetrain noise requires scanning the inverter temperature and motor stator temperatures, as thermal expansion can alter gear mesh clearances and induce whine only when the drive unit is fully heat-soaked.
Cost Expectations & Repair Realities
Accurate diagnosis saves customers from unnecessary repairs. Here is what customers should expect regarding drivetrain repair costs in the current market:
- U-Joint / Driveshaft Service: $150 - $350. (Includes Spicer heavy-duty U-joints and precision balancing).
- Wheel Bearing / Hub Assembly: $250 - $600 per corner. (Requires OEM or premium SKF/Timken hubs; cheap aftermarket hubs often fail within 15,000 miles and trigger ABS codes).
- Differential Rebuild (Ring & Pinion + Bearings): $1,800 - $3,200. (Requires specialized master rebuild kits, including Timken bearings and precise shim selection).
- Transmission Overhaul: $3,500 - $6,500+. (For complex units like the GM 10L90 or ZF 8HP, including new torque converter and mechatronic sleeve replacements).
Ultimately, mastering drivetrain noise diagnosis means moving past the elementary textbook definitions. By combining dynamic road testing, strict adherence to torque specifications, fluid forensics, and NVH frequency mathematics, you can pinpoint the exact failing component with surgical precision. For further reading on standardized testing procedures, technicians should consult the SAE International Standards for automotive NVH measurement and reporting.