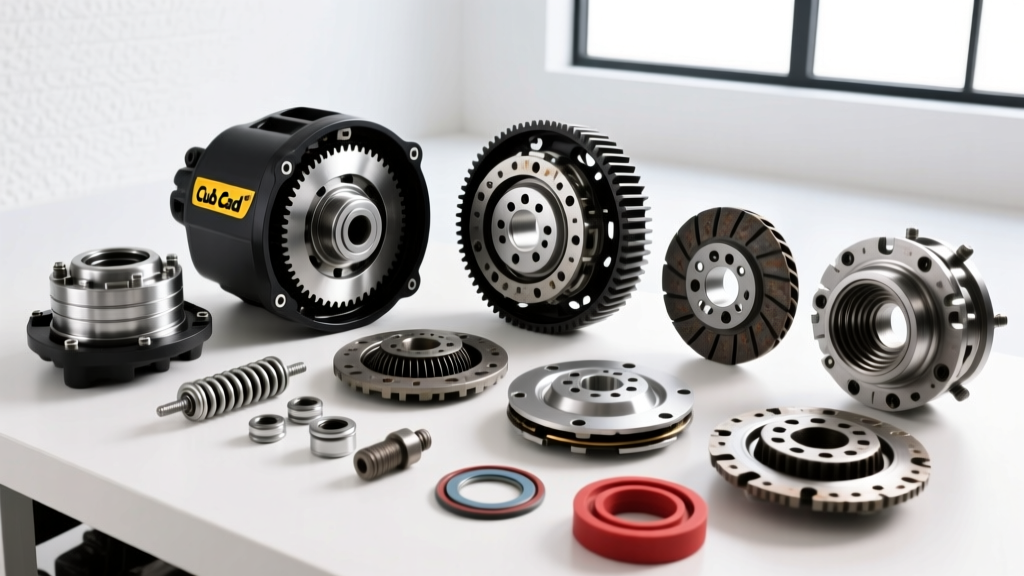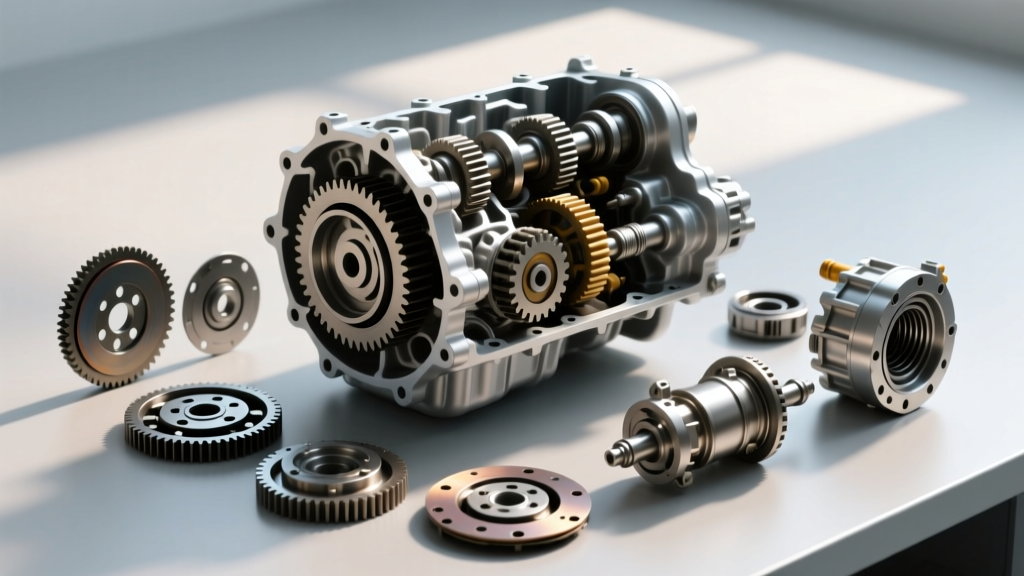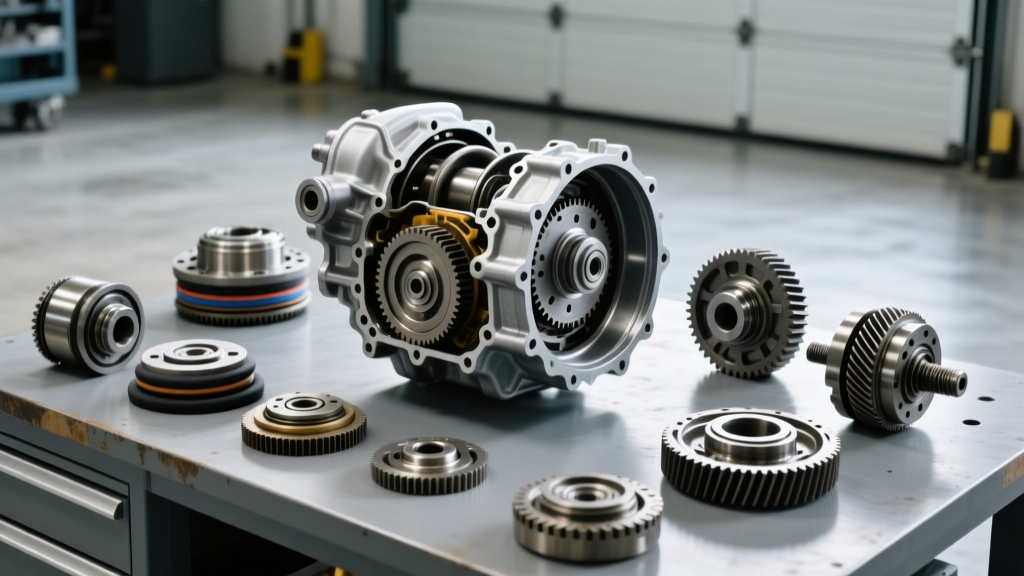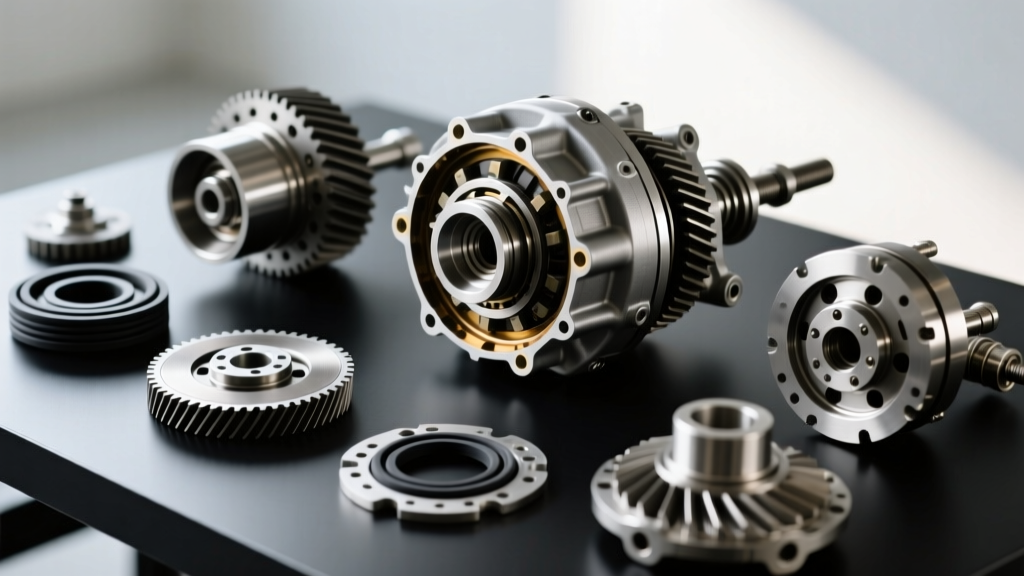
Can You Rebuild a CVT Transmission? The Mechanical Reality
When automotive enthusiasts and frugal vehicle owners ask, "can you rebuild a cvt transmission" in their home garage, the answer is a highly conditional yes. However, approaching a Continuously Variable Transmission (CVT) rebuild with the same mindset used for a traditional planetary automatic—like the legendary GM 4L60E or Ford C6—is a recipe for catastrophic failure and financial loss. CVTs rely on variable-diameter pulleys and a high-tension steel push-belt or chain, rather than fixed gear sets and clutch packs, to multiply torque.
The most ubiquitous CVTs on the road today, such as the Jatco JF011E (found in millions of Nissan, Dodge, and Mitsubishi vehicles) and the Subaru Lineartronic TR690, suffer from highly specific failure modes. The JF011E is notorious for stepper motor failure and valve body bore wear, while the Subaru TR690 often experiences chain stretch and variator pulley scoring. Rebuilding these units requires not just mechanical aptitude, but specialized compression tooling, microscopic cleanliness standards, and advanced bi-directional OBD2 scanners for TCM (Transmission Control Module) calibration.
Cost Breakdown: DIY CVT Rebuild vs. Professional Service
To determine if a DIY CVT rebuild is financially viable, we must compare the true cost of a home rebuild against professional remanufacturing and local shop rebuilds. The table below outlines the realistic financial landscape for a standard FWD CVT (e.g., Jatco JF011E/JF016E) in 2026.
| Rebuild Path | Estimated Parts/Kit Cost | Special Tooling Cost | Labor/Shop Cost | Total Estimated Cost | Risk Level |
|---|---|---|---|---|---|
| DIY Master Rebuild | $350 - $650 | $250 - $500 | $0 (Your Time) | $600 - $1,150 | High (Calibration/Tooling) |
| Independent Shop Rebuild | Included | Included | $1,800 - $2,500 | $2,800 - $3,800 | Medium (Warranty Dependent) |
| Dealer Remanufactured | $3,500 - $4,500 | N/A | $800 - $1,200 | $4,300 - $5,700 | Low (OEM Warranty) |
| Used/Junkyard Pull | $600 - $1,200 | N/A | $800 - $1,200 | $1,400 - $2,400 | Extremely High (Unknown History) |
As the data illustrates, the DIY route saves significant capital, but the hidden cost lies in the mandatory special tooling and the steep learning curve associated with CVT hydraulic calibration.
Buyer’s Guide: Evaluating CVT Master Rebuild Kits
If you are committing to the DIY route, your choice of rebuild kit dictates your success. Unlike traditional automatics where friction clutches are the primary wear item, CVT kits must address the hydraulic control circuit and the forward/reverse brake assemblies. When sourcing a kit from distributors like Transtar Industries or aftermarket manufacturers, ensure the following components are included:
- Paper and Rubber Kit: Includes all O-rings, lip seals, and gaskets. CVTs operate at high line pressures; a single pinched O-ring on the variator piston will cause immediate belt slip and pulley destruction.
- Forward/Reverse Clutch Plates: While the CVT "gears" are pulleys, the JF011E still uses traditional friction and steel clutch packs for forward engagement and reverse. Look for kits with high-energy friction materials.
- Upgraded Valve Body Components: This is the most critical purchase. The OEM valve bodies suffer from bore wear in the pressure regulator and lock-up control valves. You must pair your rebuild kit with a bore repair kit or an upgraded Zip Kit from Sonnax Industries to restore hydraulic integrity.
- Stepper Motor (JF011E Specific): Do not reuse the OEM stepper motor. The internal solder joints fail, causing the transmission to default to a limp mode. Always buy a kit that includes a replacement stepper motor (verify resistance specs: typically 10-14 ohms across the pins).
Essential DIY Tips for the Brave CVT Rebuilder
If you have weighed the costs and decided to tackle the rebuild, you must adhere to strict CVT-specific assembly protocols. The Automatic Transmission Service Group (ATSG) emphasizes that CVT tolerances are unforgiving. Here are the critical DIY tips you must follow.
1. Variator Pulley Compression and Safety
You cannot compress a CVT variator pulley spring with a standard bench vise or C-clamp. The clamping force required to compress the primary and secondary pulley springs safely exceeds 2,000 lbs. Attempting this with improvised tools will result in the spring launching across your garage, causing severe injury or death. You must invest in or rent a dedicated CVT variator compression fixture (often a threaded hydraulic press adapter specific to Jatco or Subaru housings). When reassembling, ensure the push-belt or chain is perfectly centered; even a millimeter of misalignment will cause the belt to ride on the edge of the pulley sheave, destroying it within 50 miles.
2. Valve Body Torque Specifications
The valve body on a CVT is typically made of lightweight cast aluminum or composite materials. Over-tightening the valve body-to-case bolts will warp the separator plate and bind the delicate spool valves, leading to erratic line pressure and immediate belt slip. Most CVT valve body bolts require a precise torque of 8 to 10 Nm (70 to 88 inch-pounds). Use a calibrated inch-pound torque wrench, never a standard foot-pound clicker.
3. Cleanliness is Non-Negotiable
In a 4L60E, a stray piece of lint might clog a filter over 50,000 miles. In a CVT, a single hair or piece of shop towel caught in the pulley pressure control solenoid screen will prevent the pulley from clamping the belt under load. The belt will slip, score the hardened steel pulley sheaves, and send metallic debris throughout the entire hydraulic circuit. Assemble the variators and valve body in a clean-room environment, using only lint-free wipes and compressed air to verify all hydraulic passages are clear.
Fluids, Calibration, and the TCM Relearn
The final hurdle in a DIY CVT rebuild is the electronic and fluid calibration. CVTs do not use standard Dexron or Mercon ATF. They require highly specific, high-friction fluids designed to allow the belt to grip the pulleys without slipping, while still lubricating the bearings. Using the wrong fluid guarantees failure.
- Nissan/Dodge (Jatco): Requires Nissan NS-3 (or NS-2 for older models). Do not use "universal" CVT fluids.
- Subaru (Lineartronic): Requires Subaru CVTF-EZ or CVT-II depending on the chain type.
- Toyota (Aisin Direct-Shift): Requires Toyota CVTF TC or FE.
Once the correct fluid is added and brought to operating temperature (typically 40°C - 50°C / 104°F - 122°F checked via the overflow plug), you must perform a TCM Relearn and reset the CVT Fluid Degradation Counter. If you do not reset this counter using a bi-directional OBD2 scanner (like an Autel MaxiSYS or Nissan Consult), the TCM will assume the fluid is old and will artificially lower the line pressure to protect the "degraded" fluid, causing the newly rebuilt transmission to slip and fail prematurely.
The Final Verdict: Should You DIY a CVT?
Can you rebuild a CVT transmission yourself? Yes, provided you treat it as a precision hydraulic instrument rather than a heavy mechanical gearbox. If you already own a hydraulic press, an inch-pound torque wrench, a high-end bi-directional scanner, and have the patience to source Sonnax valve body upgrades alongside your master kit, the DIY route offers massive savings. However, if you lack the specialized variator compression tools or the ability to perform TCM calibrations, the $3,000+ cost of a professionally remanufactured unit with a 3-year warranty remains the most logical and secure investment for your vehicle.