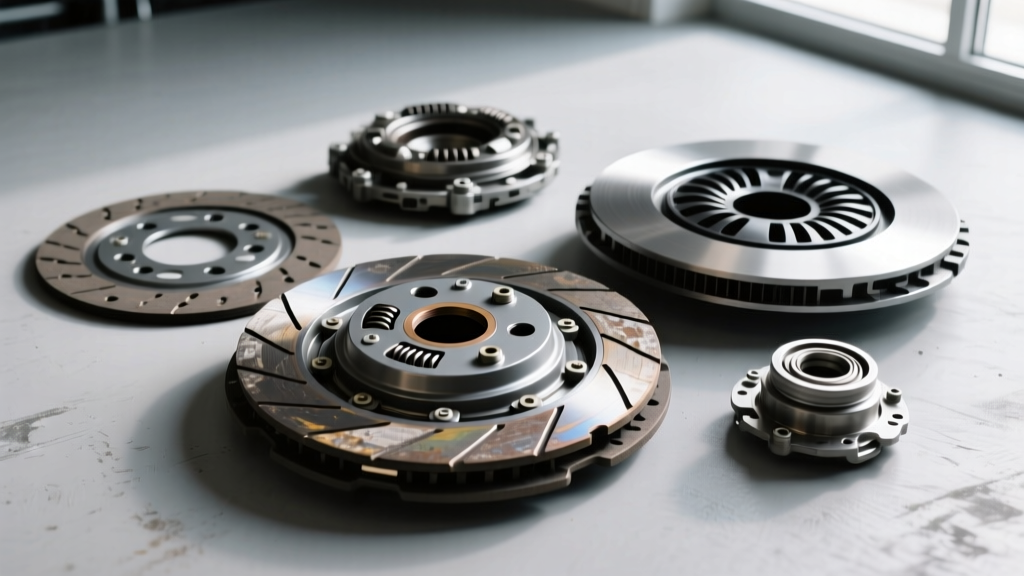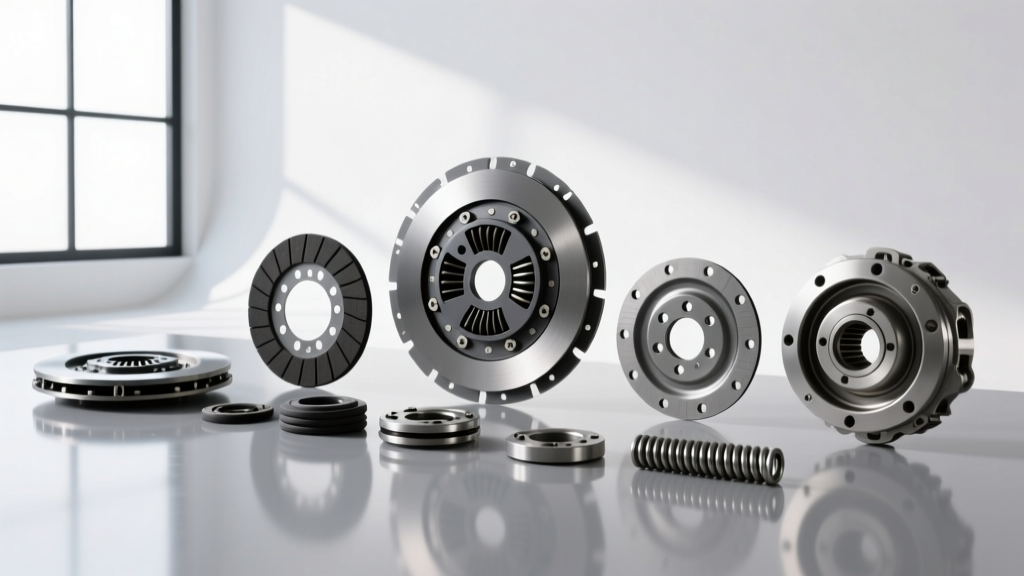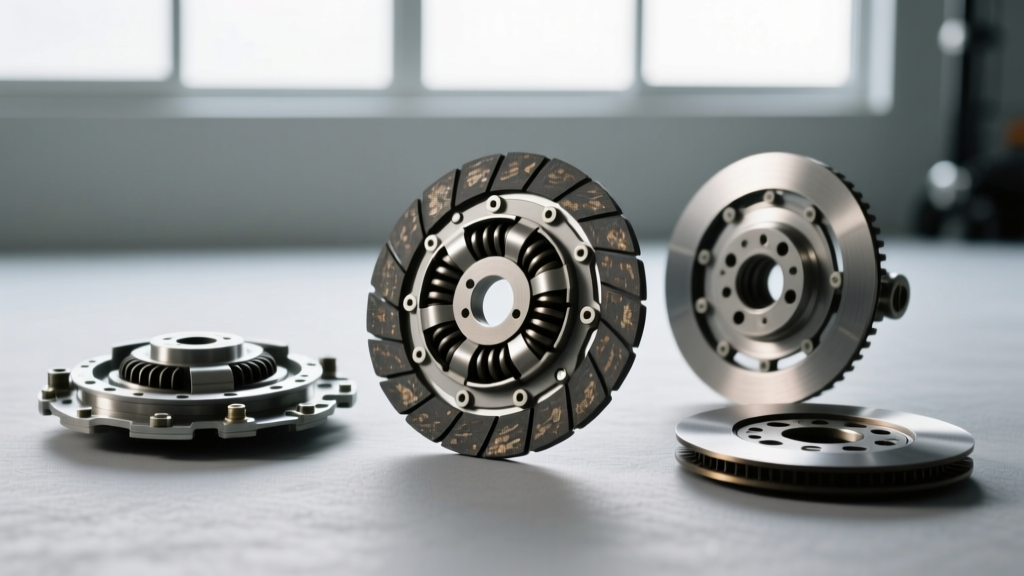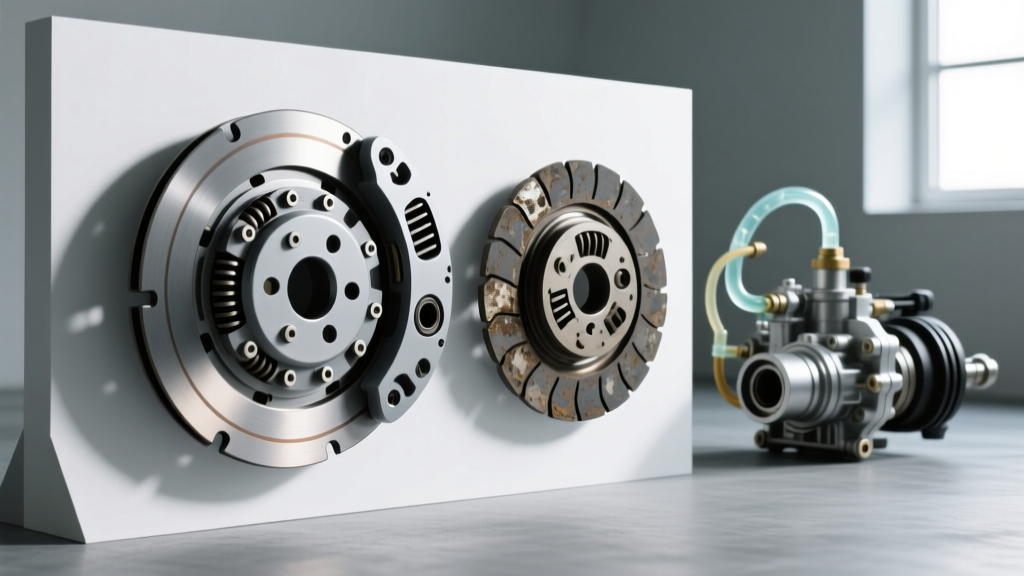
Experiencing a slipping gear, a chattering pedal, or a transmission that refuses to engage can instantly trigger a stressful financial question for any manual transmission driver: how much does a clutch cost to repair? In 2026, with dealership and independent shop labor rates averaging between $150 and $220 per hour, a professional clutch replacement can easily eclipse the $2,000 mark. However, for the mechanically inclined driveway enthusiast, diagnosing the exact failure and executing a DIY clutch replacement can reduce that bill by up to 75%.
Before you order a replacement kit or book a shop, it is critical to verify that the clutch friction disc is actually the culprit. This guide breaks down professional versus DIY costs, provides actionable symptom diagnosis, and delivers the exact torque specifications and hardware secrets needed for a successful DIY clutch replacement.
Phase 1: Symptom Diagnosis & Troubleshooting
Throwing parts at a manual transmission is an expensive mistake. Many symptoms attributed to a worn clutch are actually hydraulic failures or drivetrain misalignments. Use these diagnostic steps to isolate the issue before pulling the transmission.
The Stall Test (Testing Friction Material)
Find an empty, flat road. Bring the vehicle to a stop, apply the handbrake firmly, and press the brake pedal. Shift into 3rd or 4th gear and slowly release the clutch pedal while applying moderate throttle (around 2,000 RPM).
- Engine Stalls Immediately: Your clutch friction material is still gripping the flywheel. Your issue is likely hydraulic or linkage-related.
- Engine Continues to Rev/Slips: The friction disc is worn out, glazed, or the pressure plate diaphragm springs have fatigued. A physical replacement is required.
Hydraulic System vs. Mechanical Failure
If your pedal feels spongy, drops to the floor, or fails to return, do not assume the clutch is dead. Modern vehicles use hydraulic master and slave cylinders. A failing master cylinder (often located on the firewall) will bypass fluid internally, preventing the clutch fork from fully disengaging. Replacing a $45 Sachs or FTE master cylinder is vastly cheaper than a full clutch job. Always inspect the slave cylinder for weeping fluid and check the firewall for micro-cracks, a common issue on older Honda K-Series and Mazda Miata platforms.
The Financial Reality: Shop vs. DIY Cost Breakdown
To accurately answer how much a clutch costs to repair, we must compare the professional route against a DIY approach. Below is a realistic cost comparison for a standard front-wheel-drive or lightweight rear-wheel-drive vehicle (e.g., Honda Civic Si, Mazda MX-5, Ford Mustang EcoBoost) using OEM-equivalent parts sourced from reputable vendors like RockAuto.
| Expense Category | Professional Shop (2026 Rates) | DIY Driveway Mechanic |
|---|---|---|
| Labor (8-12 Hours) | $1,200 - $2,200 | $0 (Your Sweat Equity) |
| OEM Clutch Kit (Disc, Plate, Bearing) | $350 - $600 (Shop Markup) | $220 - $400 |
| Flywheel Resurfacing / Replacement | $150 - $650 | $75 - $450 |
| Transmission Fluid & Hydraulics | $120 - $200 | $45 - $90 |
| Alignment Tool & Hardware | N/A (Included in Labor) | $25 - $50 |
| Estimated Total | $1,820 - $3,650 | $365 - $990 |
Pro Tip: Never reuse the old throwout bearing or pilot bearing. The labor to access them is the most expensive part of the job; always buy a complete clutch kit that includes fresh bearings.
Crucial DIY Replacement Tips & Hardware Secrets
If your diagnosis confirms the friction material is spent, it is time to wrench. Consult a dedicated service manual from Haynes for your specific vehicle, but keep these universal DIY clutch replacement tips in mind to avoid catastrophic reassembly errors.
1. Flywheel Resurfacing vs. Replacement
You must address the flywheel surface. If your vehicle uses a traditional Single Mass Flywheel (SMF), it can usually be resurfaced on a lathe at a local machine shop for $75 to $120. However, if your car is equipped with a Dual Mass Flywheel (DMF)—common in modern diesel trucks, BMWs, and VW/Audi platforms—it cannot be machined. DMFs contain internal dampening springs that wear out. You must replace it with a new LUK or Sachs DMF unit, or perform a DMF-to-SMF conversion (though the latter may introduce drivetrain chatter). Always measure flywheel step height with a micrometer; incorrect step height will result in immediate clutch drag or slipping.
2. Transmission Support and Alignment
Do not attempt to balance a 100+ lb transmission on a standard floor jack and a piece of wood. Rent or purchase a transmission jack with an adjustable tilt plate. The input shaft must align perfectly with the pilot bearing and the splines of the clutch disc. If you force the bellhousing together using the bellhousing bolts, you will crack the transmission casing or bend the clutch disc marcel springs.
3. The Spline Alignment Tool
Every quality clutch kit includes a cheap plastic alignment tool. Use it to center the friction disc on the flywheel before tightening the pressure plate. If the disc is off-center by even a millimeter, the transmission input shaft will not slide through the splines, leaving you stranded under the car.
Reference Torque Specifications for Common DIY Platforms
Clutch hardware is subjected to immense rotational shear and thermal expansion. Guessing torque specs will lead to sheared flywheel bolts or warped pressure plates. Below are reference specifications for two of the most popular DIY manual platforms. Always verify with your factory service manual.
Mazda MX-5 Miata (NC Generation / Aisin AZ6 6-Speed)
- Flywheel to Crankshaft: 72 lb-ft (Use new bolts and apply medium-strength threadlocker).
- Pressure Plate to Flywheel: 18 lb-ft (Tighten in a crisscross/star pattern gradually to avoid warping the diaphragm).
- Bellhousing to Engine Block (12mm bolts): 49 lb-ft.
- Bellhousing to Engine Block (10mm bolts): 33 lb-ft.
- Driveshaft to Differential Flange: 42 lb-ft.
Honda Civic Si (FK8 / K20C1 6-Speed)
- Flywheel to Crankshaft: 76 lb-ft, plus an additional 90-degree turn (Torque-to-yield bolts; must be replaced, never reused).
- Pressure Plate to Flywheel: 19 lb-ft.
- Bellhousing to Engine Block: 47 lb-ft.
- Clutch Slave Cylinder Line Banjo Bolt: 22 lb-ft (Use new crush washers to prevent hydraulic leaks).
Post-Installation Troubleshooting & Bedding
Once the transmission is bolted back in and the drivetrain is reassembled, the job is not finished. The hydraulic system must be bled of air. Because the slave cylinder is often positioned lower than the master cylinder, air bubbles can become trapped in the line. If standard pedal pumping fails to firm up the clutch, use a reverse pressure bleeder (like a Motive Products Power Bleeder) to push fluid from the slave cylinder up to the master cylinder reservoir.
Finally, respect the bedding-in process. New friction material and resurfaced flywheels require a mating period. For the first 500 miles, avoid aggressive launches, heavy towing, or riding the clutch in stop-and-go traffic. Allow the microscopic high spots on the friction material to wear evenly, ensuring maximum clamping force and longevity for your newly repaired drivetrain.