The MINI Cooper Clutch Reality in 2026
As we navigate through 2026, a massive wave of F56-generation MINI Coopers (2014-2024) are crossing the 10-year and 100,000-mile thresholds. For manual transmission enthusiasts, this means one inevitable rite of passage: the clutch is starting to slip. The signature go-kart handling of a MINI is heavily dependent on a crisp, engaging pedal feel. When that feel turns mushy or the RPMs flare during hard acceleration in third gear, it is time for a mini clutch replacement.
While dealership labor rates can easily push this job past the $1,800 mark, a dedicated DIYer can tackle this in a weekend. This beginner-friendly explainer will break down the intimidating process of dropping a transverse Getrag transmission and installing a new clutch kit into manageable, safe, and logical steps.
Understanding Your MINI's Drivetrain
Before turning a single wrench, you must understand the packaging. The F56 MINI Cooper S utilizes a transverse-mounted B48 2.0L engine paired with a Getrag 6-speed manual transmission. Because the engine sits sideways, the transmission is bolted to the side of the block, and the front axles feed directly out of the differential housing. Space in the engine bay is notoriously tight, meaning top-down access is limited. You will be doing 80% of this job from underneath the vehicle.
Essential Parts and Tools Checklist
Do not start this job until every item on this list is in your garage. Hunting for a specific Torx bit while your car is on jack stands is a recipe for frustration.
| Category | Item / Specification | Notes / Part Numbers |
|---|---|---|
| Clutch Kit | LuK RepSet Pro (DMF + Clutch + CSC) | LuK Part # 624 3166 09 (Verify with VIN) |
| Fluids | DOT 4 Brake Fluid (1 Liter) | MINI shares the brake reservoir for the clutch |
| Fluids | Manual Transmission Fluid (1.5 Liters) | OEM MTF-LT-2 or Red Line MTL |
| Hardware | Flywheel Bolts (Set of 8) | Stretch bolts - MUST be replaced |
| Hardware | Axle Nuts (x2) | E-Torx M14 stretch nuts - MUST be replaced |
| Special Tools | Engine Support Bar | Crucial for removing the top engine mount |
| Special Tools | Flywheel Locking Tool | Prevents engine rotation during torqueing |
| Special Tools | Transmission Jack & Adapter | Standard floor jacks will slip on the trans pan |
Phase 1: Preparation and Safe Lifting
Safety and organization are your best friends. Begin by disconnecting the negative battery terminal. Remove the air intake assembly and the battery to expose the top bellhousing bolts and the upper engine mount.
Install your engine support bar across the engine bay, resting on the fender lips (use rubber pads to prevent paint damage). Secure the engine lift bracket to the top of the B48 engine. Take the weight off the engine mount, then unbolt and remove the upper engine mount. This is a critical step; the transmission cannot be separated from the engine block without removing this mount.
Raise the vehicle on a professional-grade 2-post lift or secure it on high-quality jack stands placed on the reinforced front subframe pinch welds. Remove both front wheels.
Phase 2: Drivetrain and Axle Removal
Place a drain pan under the Getrag transmission. Remove the fill plug first (always do this before the drain plug to ensure you can refill it later), then remove the drain plug. Allow the MTF-LT-2 fluid to drain completely.
Next, tackle the front axles. You will need to remove the large E-Torx axle nuts securing the outer CV joints to the wheel hubs. Use a breaker bar and a heavy-duty E14 or E16 socket (depending on your exact build date). Unbolt the lower control arm ball joints to swing the steering knuckle outward, giving you enough clearance to pop the inner CV joints out of the transmission differential using a pry bar. Cap the axle ends and differential ports immediately to prevent contamination.
Disconnect the reverse light switch harness, the clutch delay valve line, and the shift linkage cables from the transmission selector shafts.
Phase 3: Dropping the Getrag Transmission
Support the transmission with a dedicated transmission jack. Unbolt the lower transmission-to-engine block bellhousing bolts. Keep these organized; BMW and MINI use varying bolt lengths, and mixing them up during reassembly can crack the aluminum bellhousing.
Remove the starter motor (two E10 bolts, typically 20 Nm torque). Remove the inspection cover. You will now see the flywheel and pressure plate. Unbolt the remaining bellhousing bolts. Carefully slide the transmission backward off the engine dowel pins. The Getrag unit is heavy (approx. 95 lbs), so ensure your jack is perfectly balanced before lowering it to the floor.
Phase 4: Flywheel and Clutch Installation
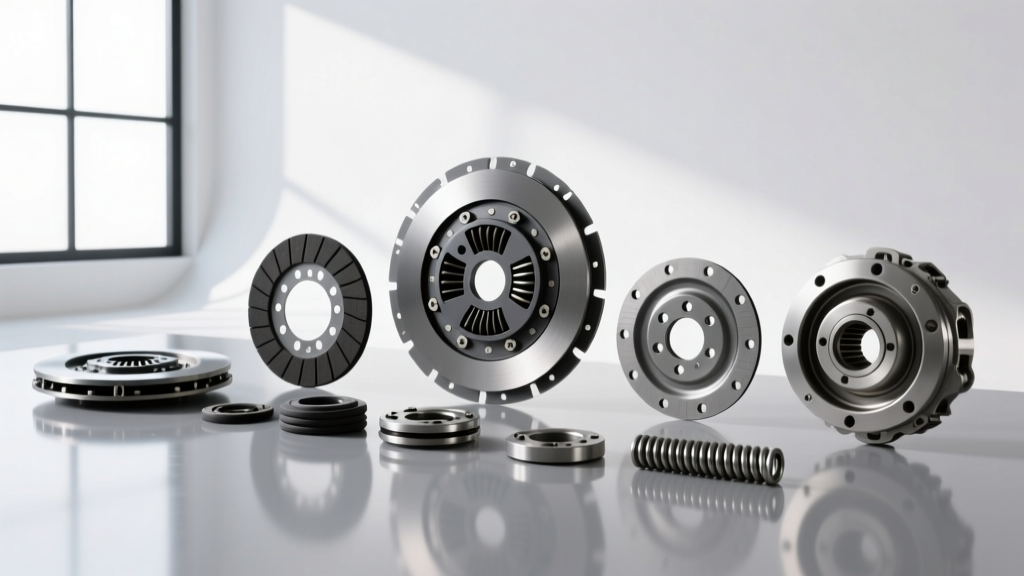
This is where precision matters most. With the transmission out of the way, lock the flywheel in place using your flywheel locking tool engaged with the starter ring gear. Unbolt the 8 pressure plate bolts in a crisscross pattern. Remove the pressure plate, clutch disc, and the Dual Mass Flywheel (DMF).
Inspecting and Installing the LuK DMF
While you can technically reuse a DMF if it passes strict tolerances, it is highly recommended to replace it. According to Schaeffler LuK engineering guidelines, a DMF should be replaced if radial free play exceeds 20mm or if there is visible heat spotting on the friction surface. Install the new LuK DMF using brand-new stretch bolts. Torque them to 60 Nm + 90 degrees in a star pattern.
Mounting the Clutch and Concentric Slave Cylinder (CSC)
Install the new LuK Concentric Slave Cylinder (CSC) onto the transmission input shaft. Warning: Do NOT compress the CSC piston by hand or it will ruin the internal seals. Apply a microscopic dab of high-temperature grease to the input shaft splines—never over-grease, or it will sling onto the clutch friction material.
Use the plastic alignment tool included in the LuK kit to center the clutch disc on the flywheel. Install the pressure plate and torque the bolts to 25 Nm in a star pattern. Remove the alignment tool. Clean the flywheel friction surface thoroughly with brake cleaner and a lint-free cloth.
Phase 5: Reassembly and Bleeding the Hydraulics
Carefully raise the transmission back into the engine bay. Aligning the input shaft with the clutch disc splines requires patience. Gently rock the output flange of the transmission to help the splines mesh. Do not use the bellhousing bolts to 'winch' the transmission to the engine block; this will destroy the clutch disc. Once seated flush against the dowel pins, reinstall the bellhousing bolts (M10 bolts to 45 Nm, M12 bolts to 65 Nm).
Reinstall the starter, shift linkages, and axles. Torque the new E-Torx axle nuts to 210 Nm + 90 degrees. Refill the transmission with exactly 1.5 Liters of MTF-LT-2 fluid.
Bleeding the Clutch Hydraulics
The MINI clutch hydraulic system shares the DOT 4 brake fluid reservoir. Because the CSC sits lower than the master cylinder, gravity bleeding is often insufficient. As detailed in the Pelican Parts MINI Technical Articles, using a pressure bleeder set to 15-20 PSI on the master cylinder reservoir is the most reliable method to push air out of the clutch delay valve and the CSC. Pump the clutch pedal slowly 20 times, open the bleed nipple on the CSC, let fluid flow until bubble-free, and close it.
Common Beginner Mistakes to Avoid
- Skipping the Flywheel Lock Tool: Attempting to torque the flywheel bolts using only the parking brake or by wedging a screwdriver in the ring gear will result in under-torqued bolts and catastrophic engine damage.
- Reusing Stretch Hardware: Flywheel bolts and axle nuts are torque-to-yield (stretch) fasteners. Reusing them risks them snapping under load.
- Ignoring the Clutch Delay Valve: Many MINIs feature a clutch delay valve in the hydraulic line to smooth out engagement for novice drivers. If your pedal feels inconsistent post-bleed, this valve may be clogged with debris from the old slave cylinder and require replacement.
- Forgetting the Break-In Period: A new organic clutch disc requires 300 to 500 miles of moderate city driving to bed the friction material to the flywheel. Avoid aggressive launches or track days immediately after your MINI clutch replacement.
Final Thoughts
Performing a clutch replacement on a modern transverse FWD vehicle is a major mechanical undertaking, but it is entirely within the reach of a methodical beginner. By respecting the torque specifications, utilizing the correct engine support tools, and investing in a comprehensive LuK RepSet Pro, you will restore your MINI's signature go-kart handling for another 80,000 miles. Take your time, label every bolt, and prioritize safety above all else.