Why Your Differential Diagram is the Ultimate Diagnostic Tool
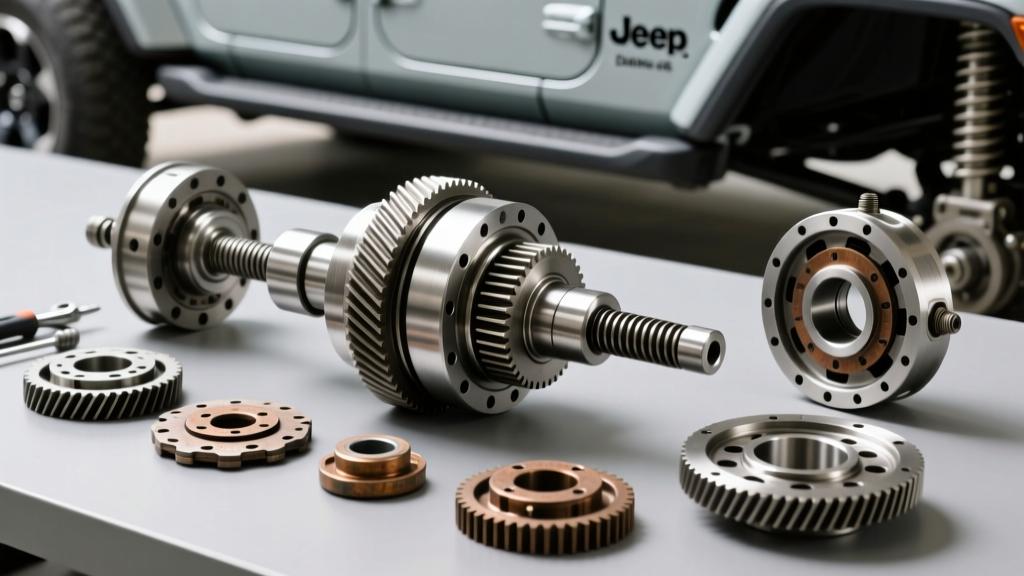
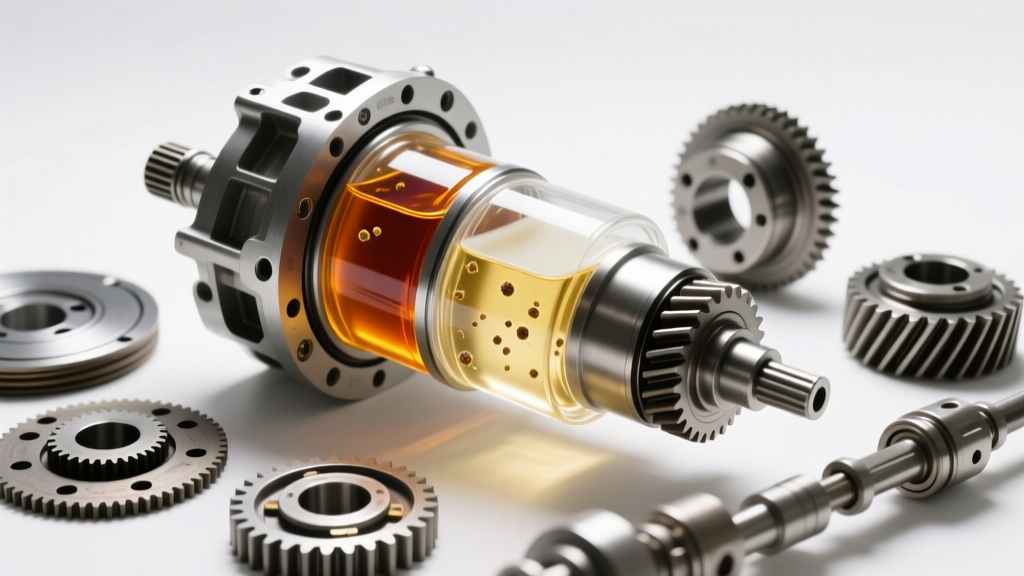
When most DIY mechanics and fleet technicians think of a differential diagram, they picture an exploded-view schematic used exclusively during a full axle rebuild. However, as a preventive maintenance tool, an exploded differential diagram is your best resource for diagnosing internal wear before it results in catastrophic failure. By extracting a fluid sample, analyzing its color and condition, and cross-referencing the debris with your specific differential diagram, you can pinpoint exactly which internal component is degrading.
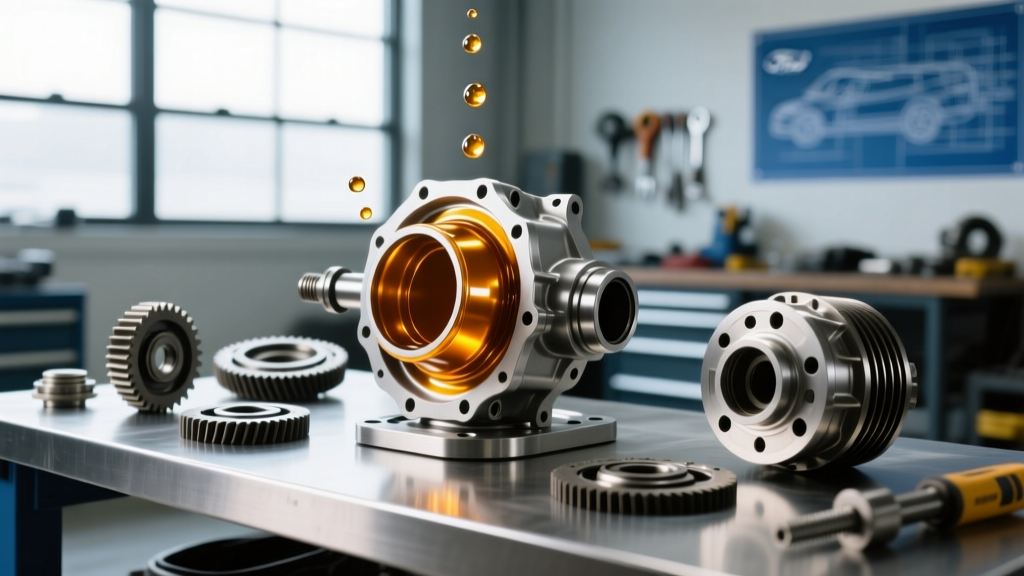
As of 2026, modern synthetic 75W-90 and 75W-140 GL-5 gear oils feature advanced sulfur-phosphorus extreme pressure (EP) additives that offer incredible thermal stability. Yet, severe towing, off-road water fording, and sustained high-speed highway driving still accelerate fluid shear and component wear. Understanding how to read the physical evidence suspended in your gear oil is the cornerstone of proactive drivetrain maintenance.
The Baseline: New Gear Oil Characteristics
Before diagnosing a problem, you must understand the baseline. Fresh conventional 80W-90 gear oil typically presents as a clear, honey-amber liquid with a distinct, pungent sulfur odor. Full synthetic 75W-90 or 75W-140 fluids (such as Mobil 1 or Red Line) may appear slightly lighter or possess a subtle dye tint depending on the manufacturer.
If your vehicle is equipped with a clutch-type limited-slip differential (LSD)—such as the Ford Trac-Lok, GM Eaton G80, or Dana Trac-Lok—the fluid will also contain a friction modifier (e.g., Ford XL-3 or GM ACDelco 10-4016). These modifiers alter the coefficient of friction to prevent clutch chatter during tight turns, but they do not drastically change the baseline amber color of the new fluid.
Decoding Fluid Color and Condition
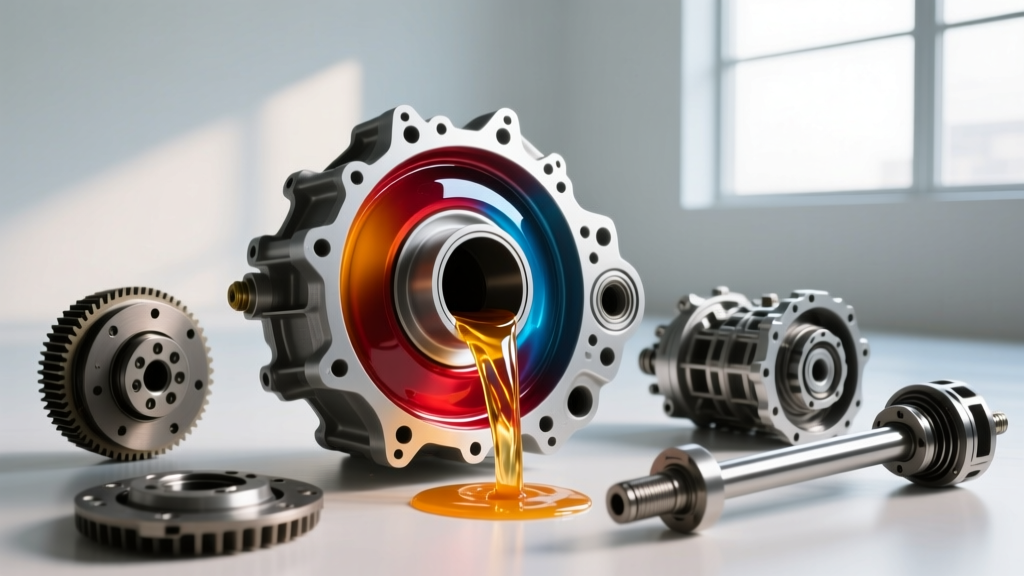
Pulling the fill plug or differential cover reveals a wealth of information. Use the following matrix to interpret the visual and olfactory clues left behind by your axle's internal components.
| Fluid Appearance | Odor | Primary Cause | Preventive Action Required |
|---|---|---|---|
| Milky / Chocolate Milk | Musty, lacks sulfur | Water intrusion via failed axle seal, pinion seal, or clogged axle breather vent. | Flush immediately. Replace compromised seals and clear the axle tube breather to prevent hydro-lock and bearing rust. |
| Opaque Dark Brown / Black | Sharp, burnt / acrid | Thermal breakdown. Fluid has exceeded its operating temperature (often >250°F), oxidizing the base oil. | Perform a full drain and fill. Consider upgrading to a heavier 75W-140 synthetic if towing heavy loads. |
| Clear but Heavy Metallic Glitter | Normal sulfur | Bearing cage or roller degradation. The fluid is acting as a suspension for microscopic steel particles. | Consult differential diagram to identify bearing locations. Plan for a bearing and seal rebuild within 5,000 miles. |
| Amber with Brass/Bronze Flakes | Normal sulfur | Thrust washer wear. GL-5 EP additives can sometimes corrode yellow metals under high heat. | Inspect carrier and spider gear thrust washers during the next service interval. |
Tracing Debris Using a Differential Diagram
When you find metallic debris on your differential's magnetic fill plug or coating the bottom of the differential pan, do not panic immediately. A small amount of fine, paste-like metallic fuzz is normal for the first 15,000 miles as the ring and pinion gears undergo initial wear-in. However, chunky shavings, needles, or non-ferrous flakes require immediate investigation.
This is where your differential diagram and technical resources become invaluable. By identifying the material of the debris, you can trace it directly to the failing component on the schematic.
Debris Identification and Component Mapping
| Debris Type | Material | Differential Diagram Component Source | Severity & Next Steps |
|---|---|---|---|
| Flat, curved shards | Bronze / Brass | Carrier thrust washers, spider gear washers (e.g., Dana part #706003X). | Moderate. Differential will still function, but gear backlash will increase as washers thin. Rebuild carrier. |
| Needle-like rollers | Hardened Steel | Pinion head bearing, pinion tail bearing, or carrier side bearings. | Critical. Imminent bearing collapse. Will lead to ring/pinion contact and total axle lockup. Stop driving. |
| Chunky, jagged chips | Cast Iron / Steel | Ring gear teeth, pinion gear teeth, or differential case casting. | Catastrophic. Gear tooth shearing due to improper backlash setup or extreme shock loading. Full teardown required. |
Preventive Maintenance: Torque Specs and Fluid Capacities
Proper preventive maintenance requires more than just swapping the fluid; it demands precision reassembly. Over-torquing differential cover bolts can warp the mating surface, leading to chronic leaks, while under-torquing fill plugs can result from vibration-induced backing out. Always refer to your specific OEM differential diagram and service manual for exact specifications, but use the following common axle data as a baseline reference.
| Axle Model | Common Applications | Fluid Capacity | Cover / Plug Torque Spec |
|---|---|---|---|
| Ford 8.8" | F-150, Mustang, Explorer | 2.5 - 3.0 Pints | Fill Plug: 33 lb-ft |
| Dana 44 (JK/JL) | Jeep Wrangler (Rear) | 2.0 - 2.5 Pints | Cover Bolts: 30 - 35 lb-ft |
| GM 9.5" / 10-Bolt | Silverado 1500, Tahoe | 2.75 Pints | Fill Plug: 33 lb-ft |
| Dana 60 | Super Duty, 2500/3500 HD | 3.0 - 3.5 Pints | Cover Bolts: 40 - 45 lb-ft |
Note: Always fill the differential until the fluid level is even with the bottom edge of the fill plug hole. If your vehicle has been lifted or the axle has been rotated for suspension geometry correction, you may need to add an additional 0.5 to 1.0 pints to ensure the pinion bearing receives adequate lubrication.
Advanced Inspection Protocol: The Borescope Method
For fleet managers and enthusiasts who want to inspect internal conditions without breaking the factory RTV seal on a differential cover, the borescope method is an industry-standard preventive technique. According to differential maintenance guidelines from leading synthetic lubricant manufacturers, catching water intrusion or early bearing wear early can save thousands in replacement costs.
- Extract a Sample: Use a fluid extraction pump with a narrow tube to pull 4 ounces of gear oil from the center of the differential housing through the fill plug hole.
- Visual & Magnetic Check: Run a neodymium magnet through the extracted sample in a clear glass jar. Inspect for the brass flakes or steel needles outlined in the differential diagram mapping table above.
- Borescope Insertion: Insert a 5.5mm or 8mm automotive endoscope through the fill hole. Angle the camera toward the ring gear and the pinion bearing race.
- Pattern Inspection: Look for spalling (pitting) on the ring gear teeth or scoring on the bearing cages. If the gear teeth show severe pitting, the GL-5 fluid's EP additive layer has failed, and the gear set must be replaced regardless of the fluid's current condition.
Pro-Tip for LSD Equipped Axles: If your differential diagram indicates a clutch-type limited-slip unit, and you experience chatter or binding during low-speed turns despite having fresh fluid, your friction modifier has likely depleted. You do not need to drain the axle. Simply remove 4 ounces of gear oil and add 4 ounces of the appropriate OEM friction modifier, then drive the vehicle in tight figure-eights on a damp surface to work the additive into the clutch packs.
Conclusion
Treating your differential as a 'sealed for life' component is a fast track to a $2,500+ axle replacement bill. By combining regular fluid sampling with a thorough understanding of your specific differential diagram, you transform a messy chore into a precise diagnostic procedure. Whether you are identifying bronze thrust washer wear in a Dana 44 or catching early water intrusion in a Ford 8.8, reading the fluid is the ultimate window into your drivetrain's health. Keep your gear oil clean, your breathers clear, and your torque wrench calibrated.