The Cascade of Failure: From Low Differential Fluid Symptoms to Bearing Destruction
Most DIY mechanics and even some quick-lube technicians treat low differential fluid symptoms as a simple maintenance oversight. When a customer complains of a howling rear end or spots gear oil on their driveway, the knee-jerk reaction is to top off the fluid with a bottle of 75W-90 and send them on their way. However, as an automotive drivetrain specialist, I can tell you that ignoring the root cause of these low differential fluid symptoms almost always triggers a cascading mechanical failure that culminates in a complete differential bearing and seal replacement.
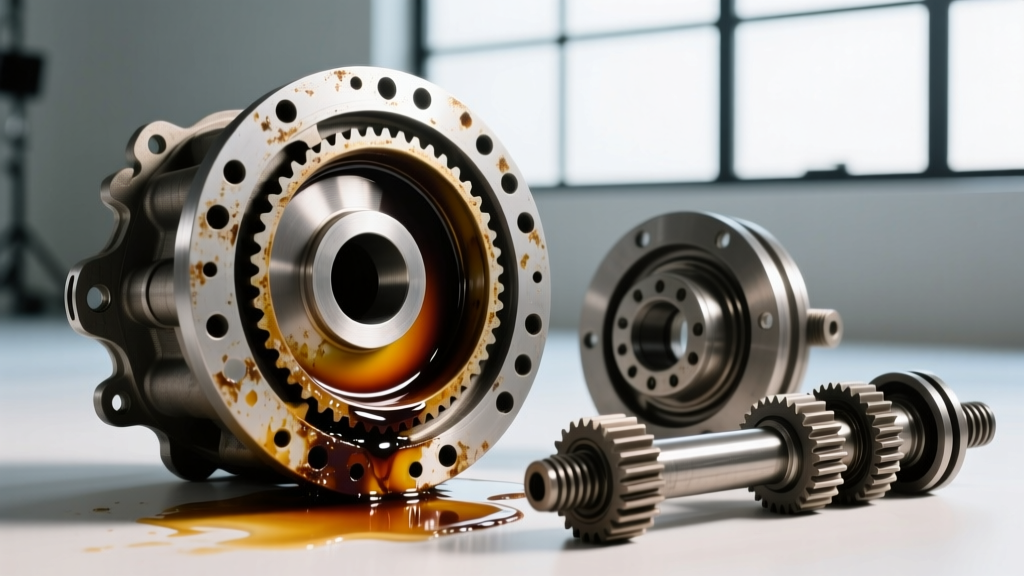
The differential relies on a precise splash and gravity-fed lubrication system. The ring gear scoops gear oil and slings it into the pinion bore and carrier bearings. When a pinion or axle seal fails, the fluid level drops below the pinion bearing threshold. The pinion bearing—spinning at driveshaft speed (often 2,000+ RPM at highway velocities)—runs dry, overheats, and loses its microscopic surface finish. Once the bearing is galled, pinion depth shifts by thousandths of an inch, destroying the ring and pinion contact pattern. What started as a $15 seal issue quickly evolves into a $1,500 bearing and gear teardown.
Diagnosing the Root Cause: Seal Leaks vs. Starved Bearings
Before ordering a master bearing kit and seals, you must accurately diagnose whether you are dealing with an external leak (seal failure) or internal damage (bearing failure caused by low fluid). Use the following diagnostic matrix to guide your teardown strategy.
| Observed Symptom | Probable Root Cause | Required Action & Parts |
|---|---|---|
| Gear oil slung on undercarriage from front yoke | Failed pinion seal or unsealed yoke splines | Pinion seal, yoke spline sealant, check yoke for grooves |
| Oil weeping from backing plate / axle tube ends | Failed axle shaft seals or clogged axle vent | Axle seals, bearing puller, clean/replace axle vent |
| High-pitch whine on deceleration (coasting) | Starved, galled pinion bearing due to low fluid | Full teardown, master bearing kit, pinion depth reset |
| Low-pitch rumble or clunking on load transition | Worn carrier bearings or excessive backlash | Carrier bearing replacement, side shim adjustment |
The Overlooked Culprit: Clogged Axle Vents
Before replacing any seals, you must check the differential axle vent. As the differential heats up during operation, the internal air expands. If the vent tube (usually located on the upper driver's side axle tube) becomes clogged with mud, debris, or ice, internal pressure builds. This hydraulic pressure forces gear oil past the path of least resistance—your pinion and axle seals. If you replace the seals without clearing or upgrading the vent to a remote breather kit, the new seals will blow out within 500 miles. Always clear the vent line with compressed air and verify it breathes freely before proceeding with seal installation.
Expert Best Practices for Differential Seal Replacement
Replacing differential seals is not just about prying out the old rubber and tapping in the new one. Professional drivetrain builders follow strict protocols to ensure longevity.
1. Addressing Pitted Yokes and Axle Shafts
The sealing lip of a pinion seal rides on the outer diameter of the driveshaft yoke. Over tens of thousands of miles, the seal lip cuts a microscopic groove into the yoke metal. If you install a new seal over a grooved yoke, it will leak immediately. Instead of buying a $200+ replacement yoke, use an SKF Speedi-Sleeve. This ultra-thin stainless steel cylinder slips over the worn yoke, providing a pristine, factory-smooth sealing surface for under $30. The same principle applies to axle shafts; if the bearing/seal journal is scored, use a Speedi-Sleeve or replace the shaft.
2. The Spline Seal Secret
A massive percentage of 'failed' pinion seals are actually yoke spline leaks. Gear oil wicks through the splines of the yoke and exits past the pinion nut, mimicking a bad seal. Before sliding the yoke onto the pinion shaft, apply a generous bead of high-temperature RTV silicone or a dedicated spline sealant to the inside of the yoke splines. Torque the pinion nut to spec, and this internal leak path is permanently sealed.
Executing the Differential Bearing Replacement
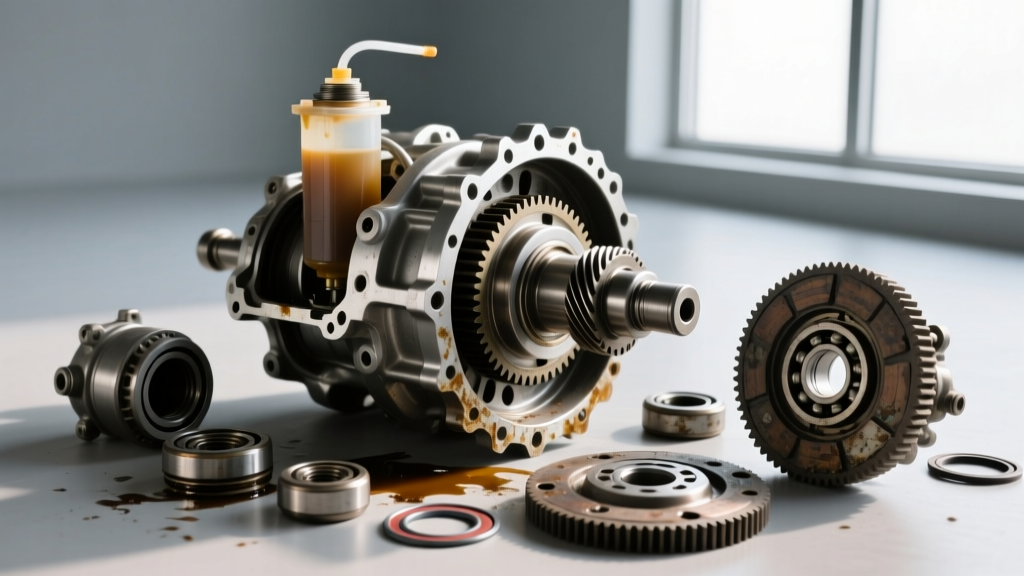
If your low differential fluid symptoms included a howling or whining noise, your bearings are compromised and must be replaced. This requires a master bearing kit (typically $150-$250 depending on the axle model), which includes carrier bearings, pinion bearings, races, and shims.
Ditch the Crush Sleeve for a Solid Spacer
Most factory differentials (like the Ford 8.8 and GM 10-bolt) use a crush sleeve to set pinion bearing preload. This requires over-torquing the pinion nut (often 250-300 ft-lbs) to crush the sleeve to the exact preload spec. If you over-crush it, you must throw the sleeve away and start over. For any rebuild, I strongly recommend installing a Crush Sleeve Eliminator Kit (e.g., Ratech or Yukon Gear solid spacer kits, ~$40). These kits use a solid machined spacer and a stack of precision shims. They allow for infinite, repeatable preload adjustments and are vastly superior for high-torque or off-road applications.
Setting Pinion Depth and Bearing Preload
Pinion depth is dictated by a shim located either between the pinion head and the inner bearing race, or under the pinion bearing cage, depending on the axle design (e.g., Dana 44 vs. Chrysler 8.75). You must measure the original shim stack and account for any variations in the new bearing tolerances.
- Pressing Bearings: Never press a bearing onto the pinion shaft without a proper bearing press and collar. Hammering will Brinell the bearing races, causing immediate failure.
- Carrier Bearings: Use a case spreader tool (like the OTC 7150) to gently spread the axle housing caps. Prying the carrier in with a crowbar will score the bearing journals and distort the housing, leading to catastrophic gear failure under load.
- Preload Verification: Use a high-quality inch-pound dial torque wrench to measure rotational drag. Preload must be measured with the pinion seal installed, as the seal lip adds roughly 2-4 inch-pounds of drag.
Setup Specifications for Common Differentials
Reference the table below for baseline setup specifications. Always defer to the specific OEM service manual or the instruction sheet included in your Yukon Gear or Motive Gear master kit, as aftermarket gear ratios may require slight deviations.
| Axle Model | Pinion Nut Torque (Solid Spacer) | Pinion Bearing Preload (Used Bearings) | Target Backlash |
|---|---|---|---|
| Ford 8.8" (IRS / Solid) | 175 - 225 ft-lbs | 8 - 14 in-lbs | 0.006" - 0.010" |
| GM 8.5" / 8.6" 10-Bolt | 150 - 200 ft-lbs | 10 - 20 in-lbs | 0.006" - 0.010" |
| Dana 44 (JK / TJ Wrangler) | 200 - 250 ft-lbs | 15 - 25 in-lbs | 0.006" - 0.008" |
| Chrysler 8.75" (Sure-Grip) | 150 - 180 ft-lbs | 12 - 18 in-lbs | 0.008" - 0.012" |
Refill, Friction Modifiers, and the Critical Break-In
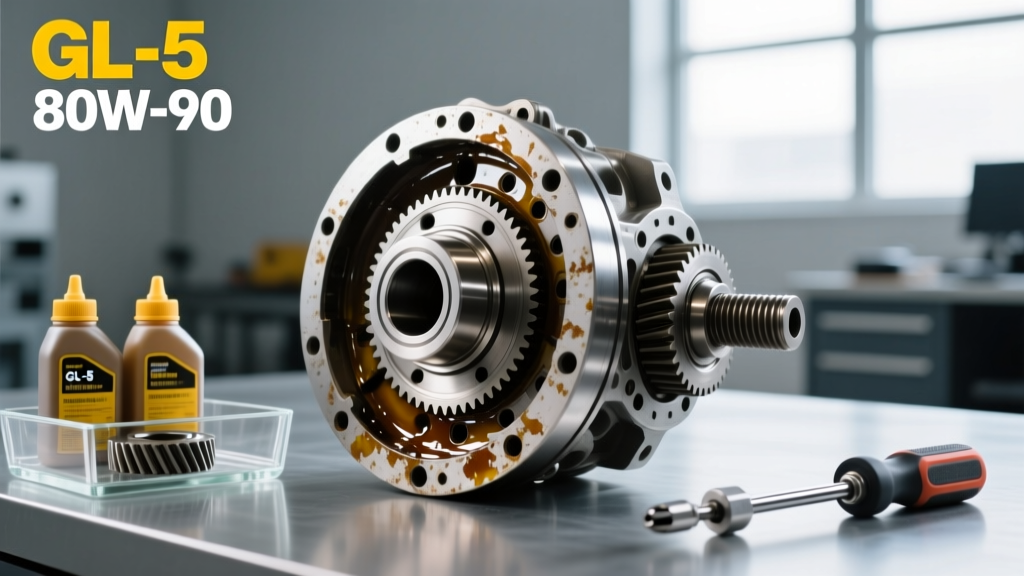
Once the differential bearing and seal replacement is complete, the final step is the fluid refill. For most modern trucks and SUVs, a full synthetic 75W-90 GL-5 gear oil is the standard. However, if your differential houses a clutch-type limited-slip differential (LSD) like the Ford Trac-Lok, GM Eaton Positraction, or Dana Trac-Lok, you must add the manufacturer-specified friction modifier (usually 4 oz) before topping off the axle. Failing to do so will result in severe chatter during low-speed cornering, which can rapidly degrade the new carrier bearings you just installed.
Expert Break-In Protocol: New bearings and seals generate significantly more friction during their first few hours of operation. After refilling the differential, drive the vehicle for 15 to 20 miles at varying speeds, then stop and allow the axle housing to cool completely to ambient temperature. This thermal cycle seats the bearing rollers and allows the seals to conform to the yoke. Check the fluid level again while the diff is warm, as the oil will have expanded and distributed into the axle tubes. For a comprehensive guide on gear patterns and setup, refer to the Ring & Pinion Tech Articles database.
Treating low differential fluid symptoms as a warning rather than a minor inconvenience is the hallmark of a true drivetrain expert. By addressing the root cause, utilizing solid spacers, and adhering to strict torque and preload specifications, you ensure that your differential bearing and seal replacement will endure hundreds of thousands of miles of abuse.