The Hidden Link: How Do Hydraulic Clutches Work and Why Do They Slip?
When drivers experience clutch slipping symptoms, the immediate assumption is almost always a worn friction disc or a fatigued pressure plate. However, as modern manual transmissions have evolved to handle immense torque loads—such as the Tremec T56 Magnum or the ZF S6-53—hydraulic actuation systems have become highly complex. To accurately diagnose and prevent clutch slip, you must first understand the underlying fluid dynamics. So, how do hydraulic clutches work, and how can a fluid system failure mimic a mechanical wear issue?
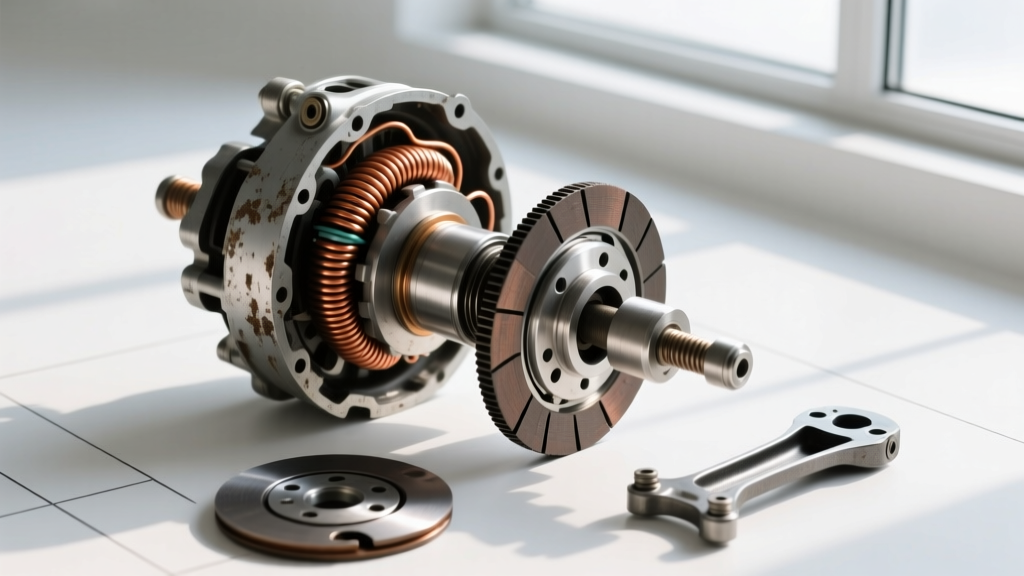
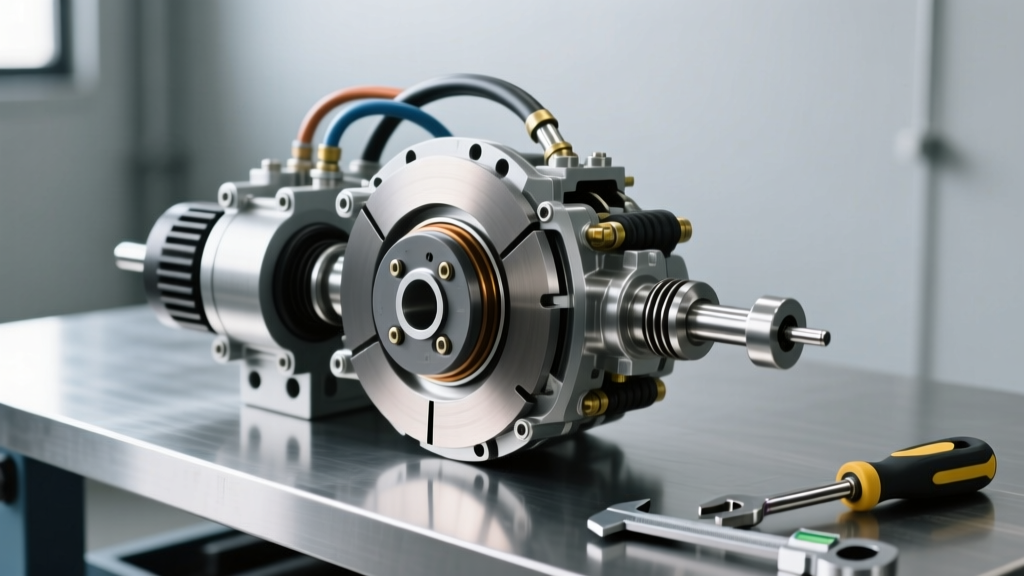
At its core, a hydraulic clutch relies on Pascal’s Law: pressure applied to an enclosed fluid is transmitted undiminished to every portion of the fluid and the walls of its container. When you depress the pedal, the master cylinder pushes DOT-rated glycol-ether fluid through hard lines and a flexible hose to the slave cylinder. The slave cylinder then actuates the release fork, pushing the throw-out bearing against the pressure plate’s diaphragm fingers to disengage the clutch.
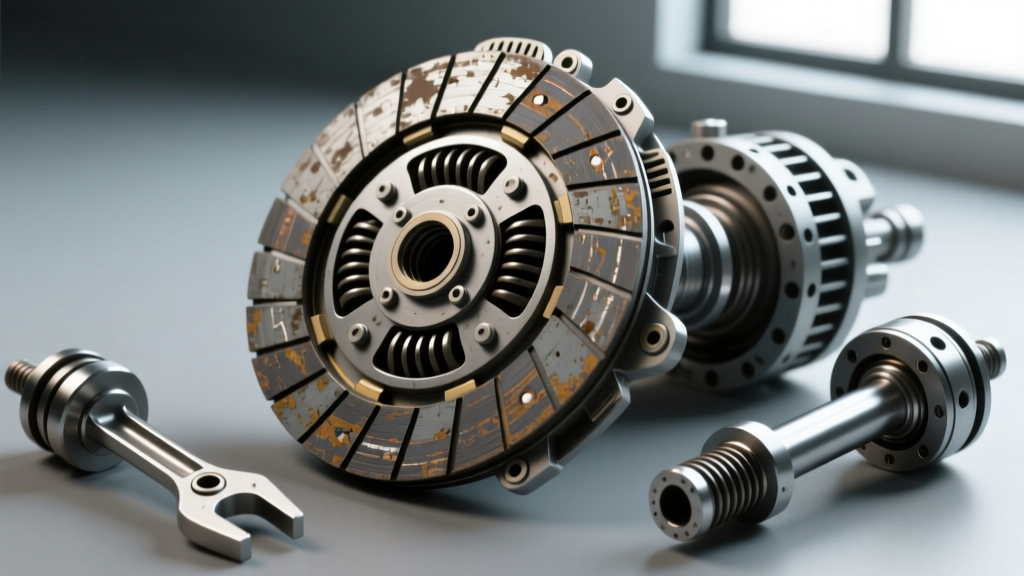
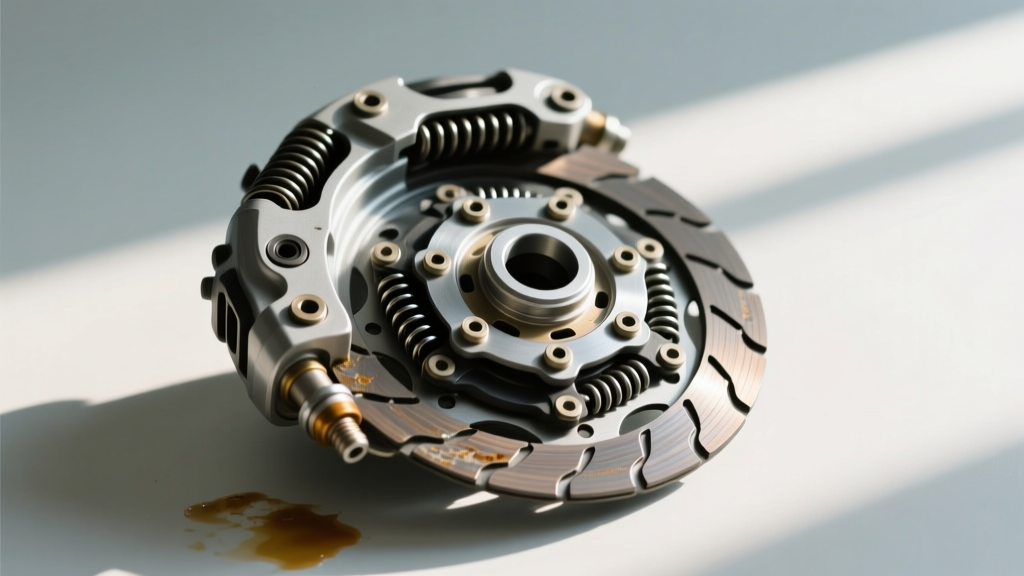
The critical, often overlooked component in this system is the compensation port (or replenishment port) inside the master cylinder. When you release the pedal, this port allows fluid to return to the reservoir, relieving system pressure. If this port becomes blocked, or if the master cylinder pushrod lacks adequate free-play, hydraulic pressure remains trapped in the line. The release bearing continues to ride against the pressure plate fingers, causing the clutch to partially disengage under load. The result? Severe clutch slipping that will glaze and destroy a brand-new friction disc in under 500 miles.
Diagnostic Matrix: Mechanical Wear vs. Hydraulic Failure
Before tearing into the bellhousing, perform a systematic diagnosis. Replacing a clutch without addressing a hydraulic fault is a costly mistake. Use the following matrix to differentiate between true mechanical slip and hydraulic-induced slip.
| Symptom Profile | Mechanical Cause (Friction/Plate) | Hydraulic Cause (Fluid/Actuation) | Preventive Diagnostic Fix |
|---|---|---|---|
| RPM flare under heavy load (3rd/4th gear) | Worn friction material, oil contamination | Slave cylinder internal bypass, blocked compensation port | Check pedal free-play; perform master cylinder 'paperclip test' |
| Spongy pedal feel with intermittent slip | N/A | Air ingestion, swollen PTFE/rubber flex hose | Pressure bleed system; inspect flex hose for ballooning |
| Clutch drag (grinding into gear) leading to slip | Warped pressure plate, worn pilot bearing | Master cylinder internal seal leak, fluid bypassing piston | Bench-bleed master cylinder; replace FTE/Sachs unit |
| Pedal slowly sinking to the floor | N/A | External leak at slave cylinder pushrod seal or -3 AN fitting | Inspect bellhousing weep hole; tighten fittings to 12 lb-ft |
Preventive Maintenance Protocol: Stopping Slip Before It Starts
According to technical bulletins from Schaeffler Automotive (LuK), over 30% of premature clutch failures are traced back to improper hydraulic system maintenance or incorrect pedal geometry adjustments. Implementing a preventive maintenance schedule is vastly cheaper than a $1,200 transmission pull.
1. Fluid Hygroscopy and the 24-Month Rule
Most hydraulic clutches use DOT 3 or DOT 4 brake fluid. These fluids are highly hygroscopic, meaning they actively absorb moisture from the atmosphere through the reservoir cap vent and microscopic hose pores.
- Dry Boiling Point (DOT 4): 446°F (230°C)
- Wet Boiling Point (3% water): 311°F (155°C)
2. The 'Paperclip Test' for Compensation Port Clearance
To verify that your master cylinder is fully relieving pressure, perform the paperclip test. Remove the reservoir cap and locate the small compensation port at the bottom of the bore. Using a straightened paperclip or a 1mm brass feeler gauge, gently probe the port. If you cannot pass the wire through, or if the master cylinder pushrod is adjusted too tightly against the piston, the port is blocked. This traps pressure in the line, forcing the throw-out bearing to 'ride' the clutch fingers. Adjust the pushrod clevis to ensure exactly 15mm to 25mm (0.6 to 1.0 inches) of pedal free-play before the piston begins to move.
Pro-Tip from the Bench: When upgrading to an aftermarket braided stainless steel clutch line (e.g., -3 AN fittings), ensure the hard-line flare is perfectly seated. A micro-leak here won't always drip fluid; instead, it can suck air into the system during the rapid retraction phase of the pedal, causing a spongy feel and subsequent slip under high RPM.
Component Replacement: Torque Specs and OEM Part Data
When diagnosis confirms a hydraulic component failure, replacing the assembly with OEM-equivalent parts is critical for maintaining correct volumetric displacement. Mismatched bore sizes between the master and slave cylinders will alter pedal ratio and travel, leading to incomplete disengagement or excessive bearing preload.
Recommended OEM Suppliers & Part References
Industry leaders like ZF Group (Sachs and FTE) supply the hydraulic actuation systems for the majority of European and American performance vehicles. When sourcing replacements, look for these benchmarks:
- Master Cylinder (FTE / ZF): Look for integrated reservoir designs with cast-aluminum bodies (e.g., FTE KG19032 series). Expect to pay between $85 and $140. Avoid cheap plastic-bodied knockoffs, which warp under hood heat and alter bore geometry.
- Concentric Slave Cylinder (CSC - Sachs): Common in modern transaxles (e.g., Porsche 997, GM LS platforms). Sachs part number series 3189 600 XXX. Pricing ranges from $110 to $180. Note: CSCs require the transmission to be dropped for replacement.
- External Slave Cylinder: Standard for Tremec TKO and T56 applications. Typically $60 to $95.
Critical Torque Specifications (Tremec T56 / GM F-Body Application)
Improper torque on hydraulic fittings and mounting bolts leads to misalignment, binding, and eventual slip. Adhere strictly to these specifications:
- Slave Cylinder to Bellhousing Mounting Bolts: 15 - 18 lb-ft (Use medium-strength threadlocker on external slaves to prevent vibration-induced backing out).
- Hydraulic Line Flare Nut to Slave Cylinder: 12 - 14 lb-ft (Over-tightening brass or soft-steel flare nuts will strip the threads or crack the slave housing).
- Master Cylinder to Firewall Nuts: 18 - 22 lb-ft.
- Bleeder Screw (External Slave): 8 - 10 lb-ft (Brass bleeder screws are highly brittle; use a 6-point box-end wrench, never an open-end wrench, to avoid rounding).
- Bellhousing to Engine Block: 35 lb-ft (Crucial for maintaining concentricity between the crankshaft pilot and the slave cylinder pushrod).
The Preventive Verdict
Understanding how hydraulic clutches work reveals that 'slipping' is not always a death sentence for your friction materials. By treating the hydraulic actuation system as a sealed, high-pressure circuit requiring regular fluid exchanges, precise free-play adjustments, and OEM-spec component replacements, you can eliminate the root causes of hydraulic-induced slip. For deeper technical documentation on drivetrain integration and hydraulic actuation tolerances, refer to the Tremec Technical Documentation portal. Maintain your hydraulics, and your clutch will maintain your launch.