When a manual transmission develops an unusual noise, the immediate instinct for many DIYers and even seasoned technicians is to condemn the throwout bearing (release bearing) or the pilot bushing. However, in modern high-torque applications, a frequently overlooked culprit is a bent clutch fork. As clutch pressure plates have evolved to handle the immense torque outputs of contemporary engines, the clamping forces have skyrocketed. This places extraordinary stress on the clutch actuation linkage, making clutch noise diagnosis a critical skill for preserving your drivetrain.
In this expert guide, we will decode the specific acoustic signatures of clutch failure—chirping, squealing, and grinding—and provide a master-level diagnostic protocol to determine if a bent clutch fork is destroying your release bearing geometry.
The Physics of Clutch Actuation and Fork Geometry
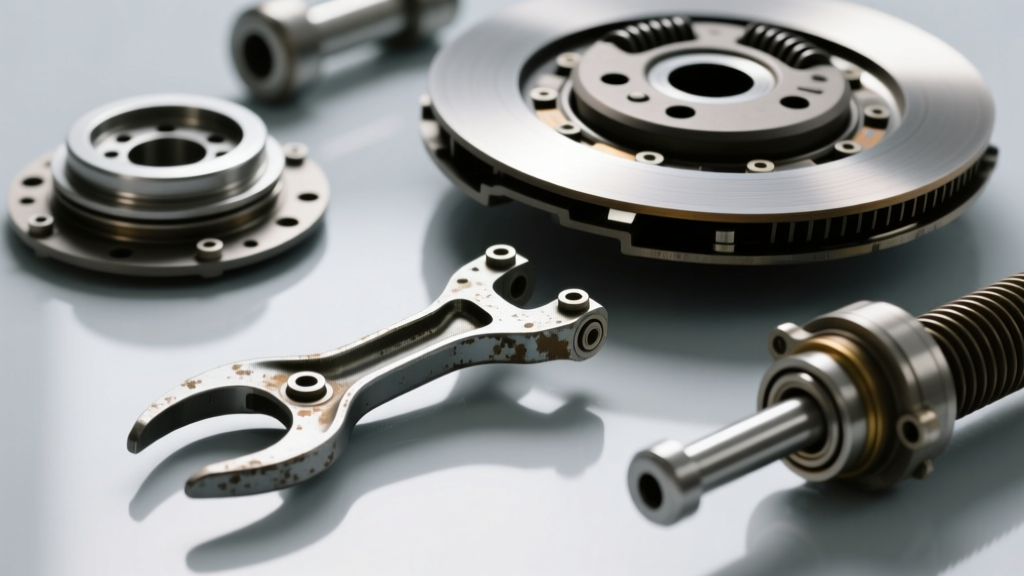
To understand why a bent clutch fork generates noise, you must understand the precise geometry required for smooth operation. The clutch fork pivots on a ball stud and pushes the release bearing into the diaphragm fingers of the pressure plate. This interaction requires the bearing face to remain perfectly parallel to the pressure plate fingers.
If the clutch fork bends—even by a fraction of an inch—the release bearing is forced into the diaphragm fingers at an angle. This misalignment causes the bearing to ride on the very edge of its collar or bind against the transmission input shaft collar. The resulting friction generates intense heat, rapid wear, and the distinct noises that plague manual transmission owners.
Stamped Steel vs. Forged Alloys
Many OEM applications, such as the Ford MT82 (OEM fork part number FR3Z-7515-A) and earlier GM Tremec T-56 setups, utilize stamped steel or cast aluminum forks to save weight and cost. While adequate for stock 350 lb-ft torque applications, these forks readily deform when paired with high-clamp-load aftermarket pressure plates from manufacturers like McLeod or Centerforce. Upgrading to a forged steel or billet aluminum fork (such as the McLeod 165050 or Quick Time billet options, typically priced between $120 and $180) is a mandatory best practice for high-performance builds.
Decoding the Sounds: Chirping, Squealing, and Grinding
Accurate clutch noise diagnosis relies on correlating the sound with pedal position and engine RPM. A bent clutch fork presents a unique acoustic profile compared to a simple worn pilot bearing or a dry input shaft.
| Noise Type | Pedal Position | RPM Dependency | Primary Suspect | Bent Fork Probability |
|---|---|---|---|---|
| Light Chirping | Released (Foot off pedal) | Increases with RPM | Misaligned Release Bearing / Bent Fork | High |
| Harsh Squealing | Lightly Depressed (Taking up slack) | Constant / RPM Independent | Fork Binding on Pivot Ball / Worn Collar | Very High |
| Grinding / Crunching | Fully Depressed | Correlates with Input Shaft Speed | Catastrophic Bearing Failure / Fork Contact | Moderate (Secondary Damage) |
| High-Pitched Whine | Released | Increases with RPM | Pilot Bearing / Bushing Failure | Low |
| Rattle / Clatter | Neutral, Foot Off | Disappears when clutch is depressed | Loose Damper Springs / Worn Fork Pivot | Moderate |
As noted in the Modern Driveline Tech Tips archives, a chirping noise that changes pitch when you apply slight pressure to the clutch pedal (the 'free play' zone) is the hallmark of a release bearing that is not sitting square against the diaphragm fingers. This is almost always indicative of a bent fork or a worn, mushroomed pivot ball stud.
Expert Diagnostic Protocol: Verifying a Bent Fork
Before you pull the transmission and order replacement parts, you must verify the fork's integrity. Do not rely on the 'eyeball test.' A bend of 0.020 inches is invisible to the naked eye but will destroy a $150 release bearing in less than 500 miles.
Expert Tip: Never assume a new aftermarket clutch fork is perfectly straight. Manufacturing tolerances on budget imported stamped forks can result in out-of-box deflection. Always measure new components before installation.
Step-by-Step Measurement Procedure
- Remove the Fork: Unbolt the pivot ball stud or remove the clip securing the fork to the transmission case, depending on your specific bellhousing design.
- Surface Plate Setup: Place the clutch fork on a machined surface plate or a known-flat piece of thick plate glass.
- Feeler Gauge Test: Press the center pivot pad of the fork flat against the surface. Attempt to slide a feeler gauge under the bearing contact pads. Maximum allowable deflection for high-performance applications is 0.010 inches. If you can slide a 0.015-inch gauge under the pad, the fork is bent and must be replaced.
- Inspect the Pivot Contact: Look at the dimple on the fork where it rides on the pivot ball. If it is deeply grooved or asymmetrically worn, the fork has been bending under load, altering the geometry dynamically as you press the pedal.
The Hidden Culprit: Bellhousing Runout
Why do clutch forks bend in the first place? Aside from aggressive power-shifting or using an over-center spring on a cable-clutch setup, the leading cause of premature fork bending and subsequent noise is excessive bellhousing runout.
If the transmission bellhousing is not perfectly concentric with the engine crankshaft, the input shaft enters the transmission at an angle. This forces the release bearing collar into a bind, transferring lateral stress directly to the clutch fork. Over thousands of clutch cycles, this lateral load yields the metal, bending the fork.
Critical Tolerances and Torque Specs
To prevent recurrence, you must measure bellhousing runout using a dial indicator mounted to the back of the engine block, sweeping the inside register of the bellhousing. According to Tremec engineering specifications, maximum allowable Total Indicator Reading (TIR) is 0.005 inches. If your runout exceeds this, you must install offset dowel pins to correct the alignment.
- Pivot Ball Stud Torque: Typically 25 to 30 ft-lbs into the cast iron block. Use a high-strength threadlocker (e.g., Loctite 262) to prevent the stud from backing out under load.
- Pivot Ball Locknut: If using an adjustable pivot ball (highly recommended for setting preload), torque the locknut to 15 ft-lbs after setting the height.
- Release Bearing Collar Clearance: Ensure there is at least 0.050 inches of clearance between the bearing face and the diaphragm fingers when the clutch is fully engaged to prevent 'riding' the bearing, which generates excess heat and weakens the fork.
Upgrading the Pivot Point
A bent clutch fork is often a symptom of a failing pivot point. The OEM pivot balls are frequently soft steel that wears into a flat, mushroomed shape. This flat spot acts like a cam, twisting the fork as it rotates through its arc. Upgrading to a hardened, tool-steel pivot ball with a spherical radiused tip is a best practice that ensures smooth articulation. Companies like RobbMc Performance manufacture precision-machined pivot balls (typically around $60 to $85) that eliminate the binding that leads to fork deformation and the resulting squealing noises.
Summary Checklist for Clutch Noise Diagnosis
When confronted with a chirping or squealing manual transmission, follow this expert workflow to ensure a permanent fix:
- Verify the noise changes during the free-play take-up zone (points to release bearing/fork geometry).
- Measure bellhousing runout and correct with offset dowels if exceeding 0.005 in. TIR.
- Remove and measure the clutch fork on a surface plate; replace if deflection exceeds 0.010 inches.
- Replace the OEM pivot ball with a hardened, radiused aftermarket unit.
- Upgrade to a forged or billet clutch fork if running a high-clamp-load pressure plate.
- Verify hydraulic or cable system free-play to ensure the bearing is not pre-loaded against the fingers.
By addressing the root geometric causes rather than simply swapping out the noisy throwout bearing, you will eliminate the chirping and squealing, ensuring your manual transmission operates smoothly and reliably for tens of thousands of miles.