Understanding the Soft Clutch Pedal Phenomenon
A soft, spongy, or sinking clutch pedal is one of the most common manual transmission complaints. Unlike a cable-actuated system, modern hydraulic clutch setups rely on incompressible fluid to transfer pedal force to the release bearing. When the pedal loses its firm resistance, it indicates a breach in hydraulic integrity, mechanical binding, or severe air intrusion. Ignoring this symptom can lead to incomplete clutch disengagement, synchro grinding, and eventual transmission damage.
In this step-by-step diagnostic guide, we will isolate the exact cause of your soft clutch pedal, moving from the pedal assembly down to the bellhousing. Whether you are driving a daily commuter with an external slave cylinder or a high-performance vehicle with a Concentric Slave Cylinder (CSC) like the Tremec T-56 Magnum or Ford MT-82, this protocol will pinpoint the failure.
Safety Warning: Never use petroleum-based cleaners or DOT 5 (silicone) fluid in a standard hydraulic clutch system. DOT 5 will cause Ethylene Propylene Diene Monomer (EPDM) seals in the master and slave cylinders to swell and fail catastrophically.
Required Tools and Materials
- Digital Caliper (for measuring pedal free play and cylinder bore wear)
- Flare Nut Wrenches (10mm and 12mm are standard for hydraulic hard lines)
- Motive Power Bleeder or 60ml Luer-Lock Syringe (for reverse bleeding)
- High-quality DOT 4 fluid (e.g., Motul RBF 600 or Castrol SRF for high-temp applications)
- Inspection Mirror and LED Work Light
- Shop Towels and Brake Cleaner (Non-chlorinated)
Phase 1: Pedal Assembly and Fluid Reservoir Inspection
Step 1: Measure Pedal Free Play and Travel
Before touching a wrench, measure the pedal feel. Depress the clutch pedal by hand until you feel the resistance of the master cylinder pushrod engaging the piston. This is your free play. According to AA1Car's hydraulic diagnostic standards, typical free play should be between 1/2 inch and 1 inch (12mm to 25mm). If the pedal feels entirely mushy from the top of its travel with zero resistance, the master cylinder pushrod may have backed out of its adjustment nut, or the internal primary seal has completely bypassed.
Next, measure total pedal travel to the firewall. It should typically be between 5 and 6 inches. If the pedal travels too far and hits the floor stop before disengaging the clutch, the system is starved of fluid or severely aerated.
Step 2: Inspect Fluid Level and Hygroscopic Degradation
Locate the clutch master cylinder reservoir. On many modern platforms (like the GM LS or Honda K-Series), this reservoir is integrated into the brake master cylinder cap but separated by a low-fluid dam. If the clutch fluid is dark brown or black, it has absorbed excessive moisture. DOT 3 and DOT 4 fluids are hygroscopic; over time, water contamination lowers the boiling point and accelerates internal cylinder corrosion, leading to pitted bores and leaking seals. Flush the system immediately if the fluid is discolored.
Phase 2: Isolating the Hydraulic Fault
Step 3: The Clutch Master Cylinder (CMC) 'Hold-Down' Test
The CMC is notorious for internal seal failure, which allows fluid to bypass the piston and return to the reservoir instead of traveling down the hard line. To test this:
- Pump the clutch pedal three times to build pressure.
- Press the pedal to the floor and hold it there with your foot or a broom handle for 60 seconds.
- Observe the pedal height. If it slowly creeps upward or loses resistance while held down, the internal primary cup seal is bypassing. The CMC must be replaced.
Pro-Tip: Check the firewall where the CMC mounts. Hairline cracks in the sheet metal or a failing firewall reinforcement plate can cause the entire cylinder to flex backward, mimicking a soft pedal. This is a known issue on 1990-2005 Mazda Miatas and early Subaru WRX models.
Step 4: Inspecting the Slave Cylinder (External vs. Internal)
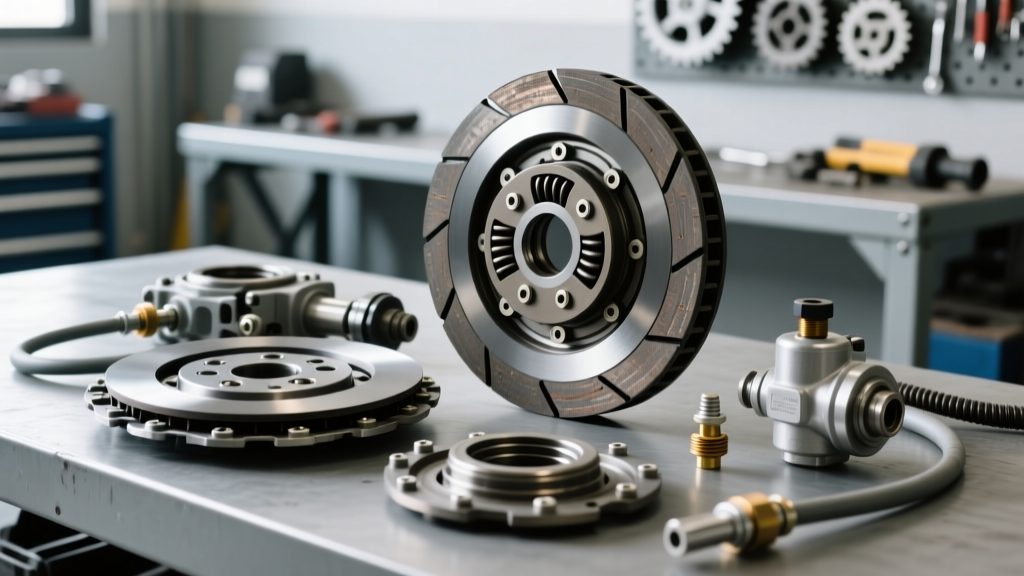
Your vehicle will have either an external slave cylinder or an internal Concentric Slave Cylinder (CSC).
- External Slave Cylinders: Common on Jeep (NSG370), older Toyota trucks, and Honda Civics. Inspect the rubber dust boot. If it is wet with fluid, the internal piston seal has failed. Check the pushrod for excessive lateral play, which indicates a worn pivot ball or release fork.
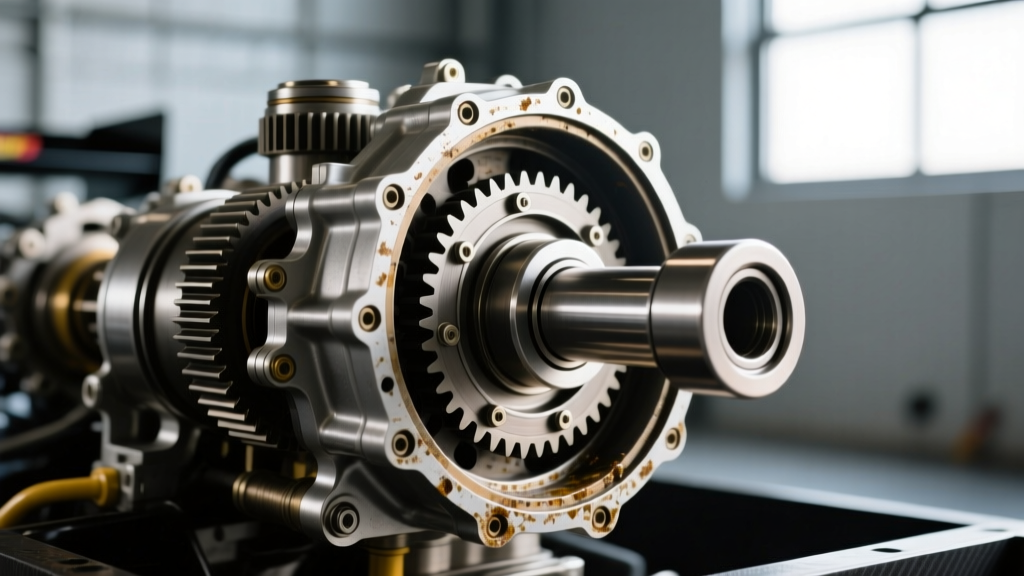
- Internal CSC (Hydraulic Throwout Bearing): Standard on modern RWD performance cars (Camaro, Mustang, Corvette). Because the CSC rides directly on the transmission input shaft, you cannot visually inspect it without dropping the transmission. However, if the CMC passes the hold-down test, the system is full of fluid, and a thorough bleed fails to restore pressure, internal CSC seal failure is the definitive diagnosis.
Phase 3: Advanced Bleeding Procedures
Air intrusion is the leading cause of a spongy pedal. Standard gravity bleeding is rarely sufficient for modern clutch lines, which often feature complex routing and upward loops that trap air bubbles.
Step 5: Pressure Bleeding the System
Attach a pressure bleeder to the master cylinder reservoir set to 15 PSI. Open the bleeder valve at the slave cylinder (usually a 10mm or 7/16-inch inverted flare). Allow fluid to flow until it is completely free of micro-bubbles. Tap the hard line and flexible rubber hose with a rubber mallet to dislodge stubborn air pockets trapped in the line banjos.
Step 6: The 'Reverse Bleed' Technique
If pressure bleeding fails, air is likely trapped in the master cylinder high-point. Reverse bleeding forces fluid from the slave cylinder up into the master cylinder reservoir, pushing air out the path of least resistance. Using a 60ml syringe and a tight-fitting hose, inject clean DOT 4 fluid directly into the slave bleeder valve while the reservoir cap is off. Watch for bubbles emerging in the master reservoir. This method is highly effective for stubborn GM and Ford hydraulic setups.
Phase 4: Mechanical Linkage Verification
Step 7: Release Fork and Pivot Ball Wear
If the hydraulics are flawless but the pedal still feels soft or inconsistent, the mechanical linkage is compromised. Over time, the clutch release fork can wear a groove into the pivot ball stud, or the throwout bearing collar can wear the fork fingers. This creates 'dead travel' that the hydraulic system attempts to compensate for, resulting in a vague pedal feel. Inspect the fork pivot area through the inspection cover or bellhousing access hole using a bright LED light.
Diagnostic Decision Matrix: Soft Clutch Pedal
| Symptom / Test Result | Probable Component Failure | Repair Action | Est. Part Cost (2026) | Labor Time |
|---|---|---|---|---|
| Pedal creeps up during 60-sec hold test | Clutch Master Cylinder (Internal Bypass) | Replace CMC and flush fluid | $45 - $130 | 0.8 hrs |
| Fluid on bellhousing / external slave boot wet | External Slave Cylinder Seal Failure | Replace external slave, bleed system | $30 - $85 | 0.5 hrs |
| Hydraulics hold pressure, but pedal feels vague | Worn Pivot Ball / Release Fork Grooving | Inspect and replace fork/pivot stud | $20 - $60 | 3.5+ hrs (Trans R&R) |
| System won't hold pressure, fluid drops but no external leaks | Internal CSC (Hydraulic Throwout) Rupture | Replace CSC, inspect input shaft seal | $120 - $280 | 4.0 - 6.0 hrs |
| Pedal feels spongy, fluid is dark/black | Hygroscopic Fluid Degradation / Micro-air | Complete system reverse-bleed and flush | $15 (Fluid) | 0.5 hrs |
Torque Specifications and Installation Best Practices
When replacing hydraulic components, proper torque is critical to prevent cracking aluminum housings or stripping threads. Refer to Exedy's technical installation guidelines for comprehensive clutch system torque data. Here are baseline specifications for common applications:
- External Slave Cylinder Mounting Bolts (M8 x 1.25): 15 - 22 lb-ft (20 - 30 Nm)
- Master Cylinder to Firewall Nuts (M8): 12 - 15 lb-ft (16 - 20 Nm)
- Hard Line Flare Nut to Slave Cylinder: 11 - 14 lb-ft (Use a flare nut wrench to avoid rounding)
- Clutch Fork Pivot Ball Stud: 25 - 30 lb-ft (Apply high-temp moly grease to the ball surface)
Crucial CSC Installation Note: When installing a new Concentric Slave Cylinder, never compress or stroke the CSC piston before the transmission is bolted to the engine. Prematurely compressing the internal spring or popping the retaining clip will destroy the new unit. The clutch pressure plate fingers will naturally push the CSC into its correct operating position as you torque the bellhousing bolts (typically M12 bolts torqued to 35-45 lb-ft in a star pattern).
Summary
Diagnosing a soft clutch pedal requires a methodical approach, separating hydraulic failures from mechanical wear. By performing the hold-down test, utilizing reverse-bleeding techniques, and understanding the architectural differences between external and internal slave setups, you can accurately pinpoint the fault. Always prioritize high-quality DOT 4 fluid and OE-equivalent cylinders from reputable suppliers found on platforms like RockAuto to ensure longevity and consistent pedal feel.