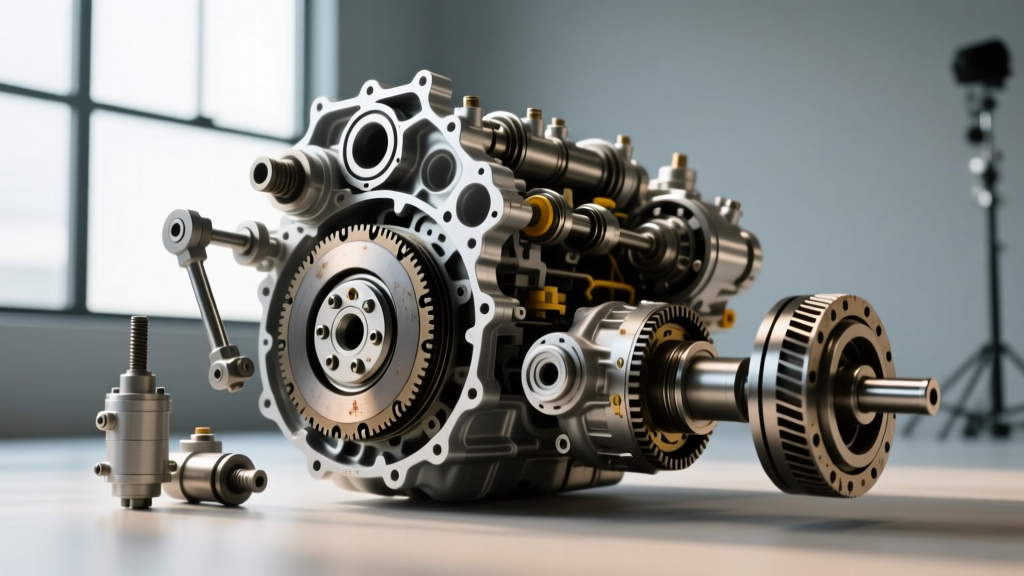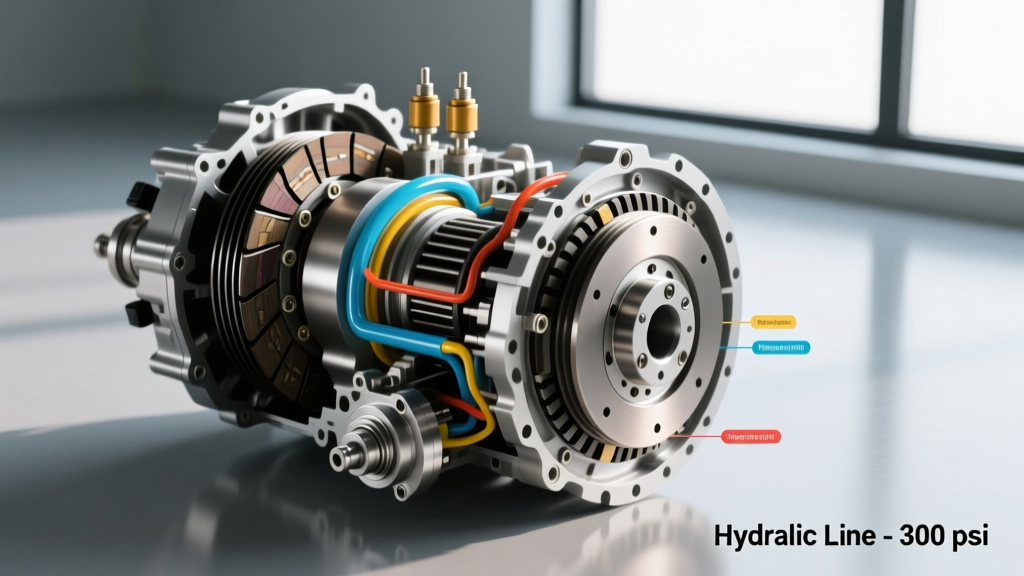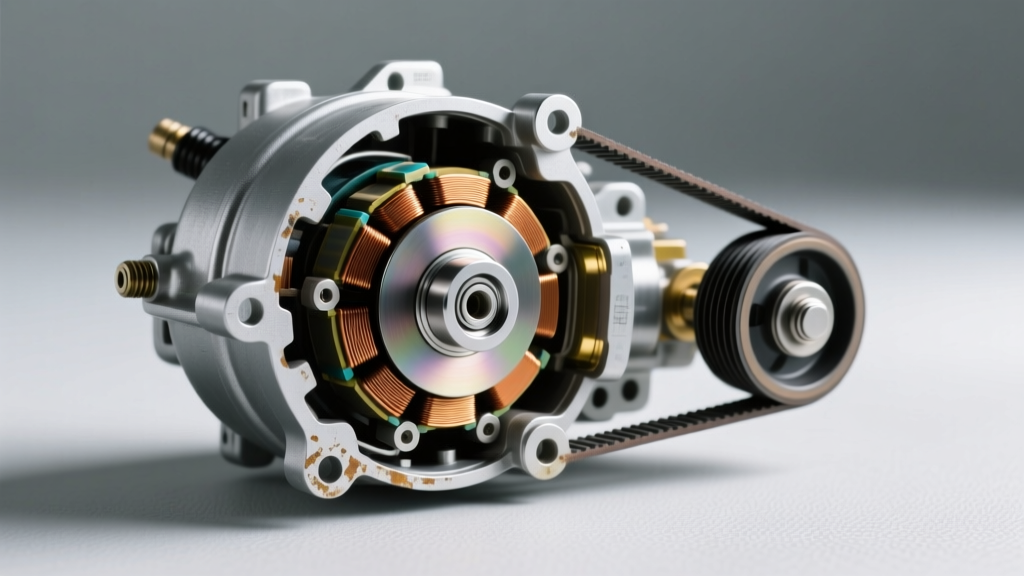
While AutoGearNexus primarily focuses on drivetrain and transmission friction packs, the electromagnetic air conditioner compressor clutch operates on identical principles of friction modulation, magnetic actuation, and thermal management. When your vehicle's AC system fails to engage, or worse, begins shuddering and squealing, the fault often lies not in the compressor's internal swashplate, but in the clutch assembly mounted to its snout.
Diagnosing an air conditioner compressor clutch requires a systematic approach to isolate electrical faults, mechanical wear, and friction surface degradation. This step-by-step guide will walk you through professional-grade symptom diagnosis, from auditory cues to precise air-gap calibration.
The Anatomy of an Electromagnetic AC Clutch
Before diving into diagnostics, you must understand the three distinct components of the clutch assembly, typically found on ubiquitous compressors like the Denso 10S17C, Sanden SD7V16, and Harrison HT6:
- The Pulley and Bearing Assembly: Driven continuously by the serpentine belt. It freewheels on a sealed double-row angular contact bearing (commonly a 35BD5220 or 35BD5523 size) when the AC is turned off.
- The Electromagnetic Coil: A stationary copper winding housed inside the pulley. When energized with 12V, it generates a magnetic field.
- The Friction Plate (Hub/Armature): Splined or keyed to the compressor shaft. The magnetic field pulls this plate against the spinning pulley face, locking them together via friction to drive the compressor.
Phase 1: Static Inspection (Engine Off)
Begin your diagnosis with the engine off and the keys out of the ignition. Safety first: ensure the serpentine belt tensioner is locked if you need to manipulate the pulley extensively.
1. The Spin Test (Bearing Diagnosis)
Reach in and spin the AC clutch pulley by hand. It should rotate smoothly with a slight, consistent viscous drag from the bearing grease. If you feel any notchiness, grinding, or lateral play, the pulley bearing has suffered cage failure or moisture ingress. A failing bearing will mimic compressor noise but occurs strictly when the clutch is disengaged.
2. Friction Surface Visual Check
Inspect the mating surfaces of the pulley face and the friction plate. Look for two specific failure markers:
- Glazing/Bluing: Indicates severe thermal abuse from prolonged slipping. The friction material has hardened and lost its coefficient of friction.
- Oil Contamination: If you see a dark, oily film on the friction surfaces, your compressor front shaft seal is leaking PAG or POE refrigerant oil. Oil destroys the clutch's friction coefficient, guaranteeing slip and vibration under load.
Pro Tip: Never attempt to clean oil-soaked clutch friction surfaces with brake cleaner. The porous sintered iron or composite material will absorb the oil. If the shaft seal has leaked onto the clutch, both the seal and the entire clutch assembly must be replaced.
Phase 2: Dynamic Auditory & Tactile Tests (Engine Running)
Start the engine, turn the cabin blower to maximum, and set the temperature to full cold. Have an assistant cycle the AC compressor clutch on and off while you observe. Use the following diagnostic matrix to map your symptoms to the failing component.
| Symptom Observed | When It Occurs | Probable Root Cause | Diagnostic Action Required |
|---|---|---|---|
| High-pitched squeal or chirp | Clutch Engaged | Slipping friction plate due to excessive air gap or oil contamination | Measure air gap with feeler gauge; check for shaft seal leak |
| Loud metallic clunk | Clutch Engaging | Worn hub splines, broken damper springs, or excessive air gap slamming | Inspect center hub splines; check coil voltage for delayed engagement |
| Continuous grinding/rumbling | Clutch Disengaged | Pulley bearing failure (35BD5220) | Replace pulley/bearing assembly; compressor internals are likely fine |
| Deep rotational vibration | Clutch Engaged | Internal compressor swashplate failure, NOT the clutch | Connect manifold gauges; check for abnormal high/low side pressures |
| Rapid clicking/cycling | Attempted Engagement | Low refrigerant charge tripping the low-pressure switch | Check static system pressure; do not condemn the clutch yet |
Phase 3: Electrical Verification & Air Gap Calibration
If your air conditioner compressor clutch is slipping, vibrating, or failing to engage entirely despite a full refrigerant charge, you must verify the electrical supply and the physical air gap.
Step 1: Voltage Drop and Coil Resistance
Disconnect the electrical connector at the compressor clutch. Set your multimeter to measure resistance (Ohms). Probe the two pins on the clutch coil side. A healthy 12V electromagnetic coil should read between 3.0 and 5.0 ohms at room temperature (20°C/68°F). If the reading is infinite (open circuit), the internal thermal fuse has blown or the winding is broken. If it reads near zero, the coil has an internal short.
Next, with the engine running and AC commanded on, probe the vehicle-side wiring harness connector for DC voltage. You must see at least 11.5 volts. If you only see 9V or 10V, you have a voltage drop across a corroded relay, a failing PCM driver, or damaged wiring, which will result in a weak magnetic field and a slipping clutch.
Step 2: The Air Gap Measurement (Crucial Step)
The magnetic pull of the coil follows the inverse-square law; even a slight increase in distance drastically reduces holding force. As the friction plate and pulley face wear down over 100,000 miles, the air gap widens.
- Insert a flat feeler gauge between the friction plate and the pulley face.
- Measure at three equidistant points around the circumference.
- The specification for 95% of modern automotive clutches is 0.020" to 0.030" (0.5mm to 0.75mm).
- If your gap exceeds 0.040" (1.0mm), the magnetic field cannot fully pull the plate in at high engine RPMs, causing the clutch to slip, vibrate, and eventually burn out the coil due to increased amperage draw from the slipping armature.
Step 3: Shimming the Clutch
If the air gap is too wide, you do not necessarily need a new clutch. Remove the center retaining bolt (typically a 10mm or 6mm hex head). Pull the friction plate off the shaft. Underneath, you will find a stack of precision shim washers. Remove one washer (usually 0.015" to 0.020" thick) and reinstall the plate. Re-measure the gap until it falls perfectly within the 0.020" - 0.030" window.
Replacement Economics: OEM vs. Aftermarket Clutch Kits
When a component is physically destroyed (e.g., burnt friction surfaces, blown coil, or seized bearing), replacement is mandatory. You can buy individual components or a complete clutch kit. Here is what you can expect regarding pricing and part selection in the current market:
- Complete Clutch Assembly (Hub, Coil, Pulley): $85 to $160. Recommended for high-mileage vehicles where the pulley bearing is also suspect. Example: Four Seasons Part #88931 or Denso Part #471-8118.
- Electromagnetic Coil Only: $35 to $55. Requires the use of a snap-ring plier and a specialized clutch puller to remove the old pulley without damaging the compressor snout.
- Pulley and Bearing Only: $45 to $70. Ideal if the clutch engages perfectly but squeals when the AC is turned off.
Torque Specifications for Reassembly
When reinstalling the friction plate onto the compressor shaft, the center bolt torque is critical. Overtightening can strip the soft aluminum threads of the compressor shaft or preload the internal thrust bearing, causing immediate compressor failure. Undertightening will allow the hub to fret and destroy the splines.
- Denso 10S17C / 10PA17C: 11 to 15 lb-ft (15 to 20 Nm)
- Sanden SD7V16 / PXE16: 10 to 12 lb-ft (13 to 16 Nm)
- Harrison HT6 / Delco R4: 15 to 18 lb-ft (20 to 24 Nm)
Always apply a medium-strength threadlocker (blue Loctite 243) to the center bolt threads, as the rotational inertia and magnetic shock loads can easily back the bolt out over time.
Final Diagnostic Thoughts
Diagnosing an air conditioner compressor clutch is an exercise in isolating variables. By separating the static mechanical checks, the dynamic auditory symptoms, and the precise electrical measurements, you can confidently determine whether you need a simple shim adjustment, a $40 coil replacement, or a full compressor swap. For further reading on mobile HVAC standards and advanced pressure diagnostics, consult the technical bulletins provided by the Mobile Air Climate Systems Association (MACS) and the comprehensive wiring diagrams available through AA1Car Automotive Diagnostics.