The Hidden Cost of Dana 44 Axle Seepage
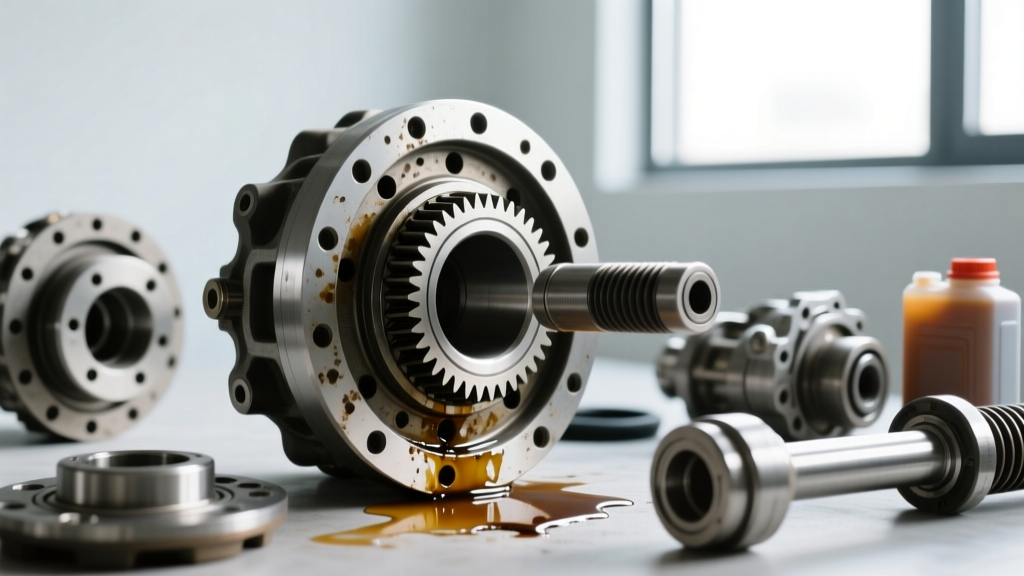
Jeep Wrangler JK and JL models equipped with the Dana 44 rear axle are legendary for off-road capability, but they are equally notorious for drivetrain fluid seepage. A neglected differential leak does not just make a mess on your driveway; it drops the fluid level below the critical splash-lubrication threshold. When the fluid drops below the axle tube centerline, the differential ring gear fails to pick up enough gear oil to sling it into the pinion bearings and carrier assembly. This leads to catastrophic heat buildup, accelerated bearing wear, and eventual gear whine.
This model-specific repair guide covers comprehensive leak detection, precise seal replacement procedures, and the crucial internal inspection you must perform while the differential cover is off. Whether you are daily-driving a 2018 JL Rubicon or wheeling a built 2015 JK, mastering these procedures will save you from a $2,500 axle rebuild.
Common Leak Points and OEM Part Data
Before tearing into the axle, you must accurately identify the source of the leak. The Dana 44 has three primary failure points for fluid egress. Below is the diagnostic matrix and OEM part data sourced from Spicer Parts and Dana Aftermarket catalogs.
| Leak Source | OEM Part Number (Spicer) | Avg. Part Cost (2026) | Primary Cause of Failure |
|---|---|---|---|
| Pinion Seal | 51143 (or National 711004) | $14 - $18 | Driveshaft vibration, worn yoke surface, dry-rot |
| Axle Shaft Seal | 51264 | $9 - $15 | Worn axle shaft bearing, seal surface groove |
| Diff Cover Gasket | 34279 (or RTV Silicone) | $5 - $12 | Overtorqued cover bolts, warped stamped steel cover |
Step 1: Accurate Leak Detection Methodology
Never guess the source of a drivetrain leak based on where the fluid pools on the ground. The 'Gravity Trace' rule dictates that fluid migrates downward and rearward due to axle rotation and highway airflow. A wet differential cover might actually be a leaking pinion seal dripping onto the skid plate or crossmember and blowing back onto the axle housing.
- Clean the Housing: Use aerosol brake cleaner and compressed air to completely degrease the pinion yoke, differential cover, and axle tube ends.
- Apply UV Dye: If the leak is intermittent, add a 1/4 oz bottle of oil-soluble UV dye to the fill plug, drive the vehicle for 20 miles, and inspect with a 365nm UV flashlight.
- Check the Breather Valve: A clogged axle tube breather valve will cause internal pressure to build up as the fluid heats and expands, forcing gear oil past perfectly good seals. Always clear the breather line on the passenger-side axle tube before condemning the seals.
Step 2: Pinion Seal Replacement (Rotational Torque Method)
The pinion seal is the most common culprit on the Dana 44. Replacing it requires care to avoid destroying the crush sleeve preload.
The Rotational Torque Procedure
- Measure Pre-Load: Before removing anything, use a beam-style inch-pound torque wrench to measure the rotational torque required to spin the pinion yoke. A typical used Dana 44 with broken-in bearings will read between 15 and 25 in-lbs. Record this exact number.
- Mark the Alignment: Use a paint pen to mark the pinion nut, the yoke, and the pinion shaft threads. This ensures you can return the nut to its exact original depth.
- Remove the Yoke: Hold the yoke with a specialized strap wrench and break the pinion nut loose. Slide the yoke off using a 3-jaw puller. Never hammer the yoke off, as this will shatter the internal pinion bearings.
- Extract and Install the Seal: Pry out the old Spicer 51143 seal. Lubricate the outer rim of the new seal and drive it in squarely using a seal driver tool. Cocking the seal in the bore will guarantee an immediate leak.
- Reassemble and Verify: Reinstall the yoke and thread the nut back on. Torque it down until your paint marks align. Re-measure the rotational torque. It should read 3 to 5 in-lbs higher than your initial baseline to account for the friction of the new seal lip. If it is lower, the crush sleeve has collapsed, and a full teardown is required.
Step 3: Internal Audit - Inspecting the Differential Ring Gear
If you are repairing an axle shaft seal leak, or if your drained fluid contains excessive metallic particulate, you must remove the differential cover. This provides direct access to the differential ring gear and carrier assembly. According to the Quadratec Jeep Library technical archives, ignoring internal wear signs during a leak repair is a missed opportunity to prevent catastrophic failure.
Visual and Dimensional Inspection
Once the cover is off and the fluid is drained, perform these critical checks on the differential ring gear:
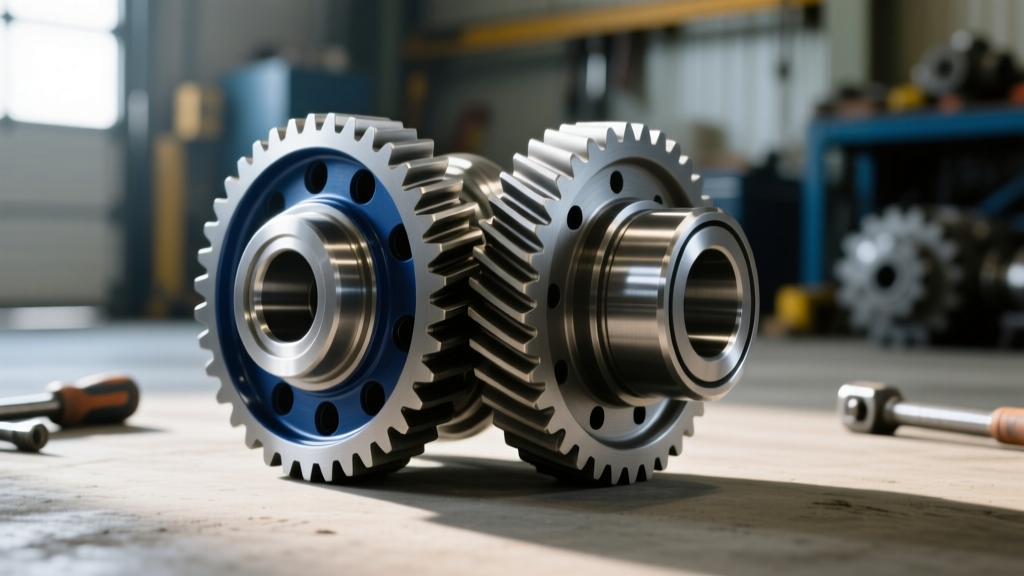
- Ring Gear Bolt Torque: The Dana 44 uses 10 bolts to secure the ring gear to the carrier. These are torqued to 75 lb-ft from the factory with blue threadlocker. Use a torque wrench to verify none have backed out. A loose ring gear bolt will elongate the hole and destroy the carrier.
- Backlash Measurement: Mount a magnetic dial indicator on the axle housing and position the probe perpendicular to a ring gear tooth. Hold the pinion yoke stationary and rock the ring gear back and forth. The Dana 44 backlash specification is 0.006 to 0.010 inches. If your reading exceeds 0.012 inches, the carrier bearings are worn, or the ring gear is separating from the carrier.
- Runout Check: Rotate the axle through a full 360-degree revolution while watching the dial indicator on the back face of the ring gear. Maximum allowable runout is 0.003 inches. Excessive runout indicates a warped ring gear or a bent carrier, often caused by severe off-road shock loading.
Analyzing Gear Tooth Contact Patterns
Inspect the teeth of the differential ring gear for abnormal wear patterns. A healthy gear will show a smooth, centered wear patch on the face of the tooth.
Expert Diagnostic Tip: If you see heavy wear on the 'heel' (outer edge) of the ring gear teeth, the pinion gear is too close to the ring gear. If the wear is concentrated on the 'toe' (inner edge), the pinion is too far away. Adjusting this requires changing the pinion depth shims and carrier side shims, a job that demands a complete differential rebuild kit and specialized setup tools.
Step 4: Axle Shaft Seals and C-Clip Removal
If the leak is originating from behind the brake backing plate, the axle shaft seal (Spicer 51264) has failed. Replacing this seal on a semi-floating Dana 44 requires dropping the differential cover, removing the cross-pin, and extracting the C-clips that retain the axle shafts.
When pulling the shaft, inspect the sealing surface where the old seal lip rode. If you can feel a physical groove worn into the steel shaft, the new seal will not seat properly and will leak immediately. In 2026, the most cost-effective fix for a grooved shaft is installing a SKF Speedi-Sleeve (Part #99171 for many Dana 44 applications), which provides a fresh, mirror-finish sealing surface without the $400 cost of a new OEM axle shaft.
Reassembly, RTV Selection, and Fluid Specifications
When reinstalling the differential cover, abandon the cheap paper or cork gaskets. Stamped steel Dana 44 covers warp easily and will leak with traditional gaskets. Instead, use a high-quality RTV silicone like Permatex Ultra Black (Part #81878). Apply a continuous 3mm bead around the mating surface, encircling the bolt holes. Allow it to skin over for 10 minutes before mating it to the housing, and torque the cover bolts to 25-30 ft-lbs in a crisscross star pattern.
Fluid Capacity and Additives
The Dana 44 rear axle holds approximately 2.0 to 2.2 quarts of gear oil. For modern Jeep Wranglers, a full synthetic 75W-140 (such as AMSOIL Severe Gear or Mobil 1) is highly recommended, especially if the vehicle is equipped with larger aftermarket tires or sees heavy towing and off-road use.
Critical Warning: If your Dana 44 is equipped with the factory Trac-Lok limited-slip differential, you must add 2.5 oz of Mopar Limited Slip Additive (Friction Modifier, Part #04318060AB) before filling the axle. Failing to add this modifier will result in severe clutch chatter during low-speed turns and will prematurely destroy the limited-slip friction discs.
Conclusion
Addressing a Dana 44 differential leak is a straightforward task if you follow proper torque procedures and utilize OEM-quality Spicer seals. More importantly, treating a leak repair as an opportunity to audit the differential ring gear backlash, runout, and tooth wear pattern transforms a messy maintenance job into a proactive drivetrain health assessment. By maintaining proper fluid levels and verifying internal clearances, you ensure your axle survives the harshest trails and highway miles alike.