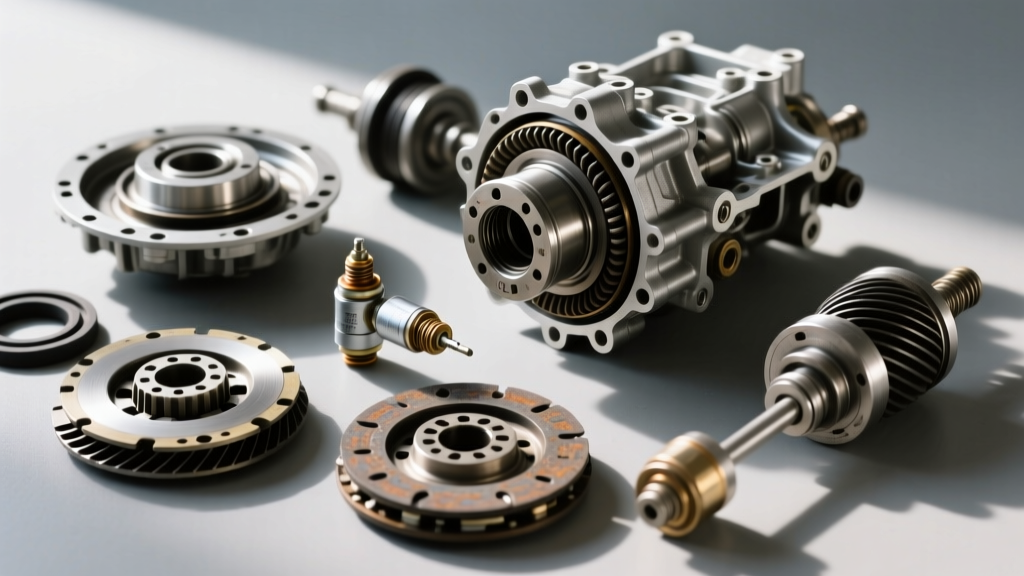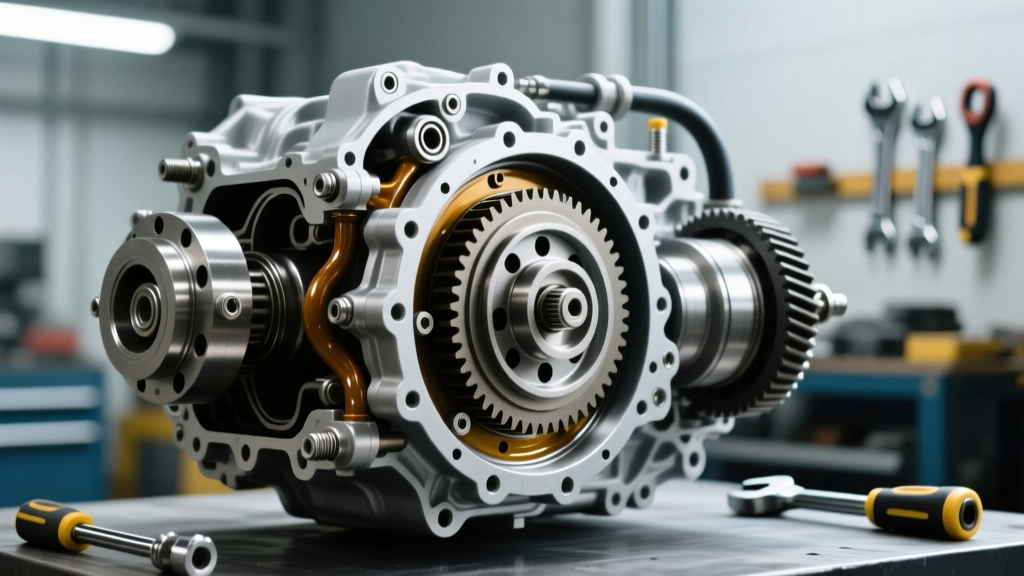
The Myth of the "Missing" CVT Torque Converter
A persistent misconception in the automotive repair industry is that Continuously Variable Transmissions (CVTs) rely solely on start-up clutches or electromagnetic powder clutches to engage the drivetrain. While early-generation CVTs (like the first-generation Nissan Hyper CVT or some older Honda units) utilized wet multi-plate start clutches, nearly every modern CVT on the road today utilizes a traditional hydrodynamic torque converter. Understanding the exact CVT torque converter location and its mechanical integration is critical for diagnosing off-the-line shudder, lock-up clutch (LUC) failures, and front pump seal leaks.
In modern platforms like the Subaru Lineartronic TR580, the Jatco JF016E (Nissan/Chrysler), and the Toyota Direct Shift-CVT (K120), the torque converter serves the exact same primary function as it does in a stepped automatic: multiplying engine torque off the line, absorbing torsional engine vibrations, and providing a smooth hydraulic coupling before the variator pulleys and steel push-belt (or chain) take over the ratio management.
Exact CVT Torque Converter Location Across Major Platforms
Regardless of the manufacturer, the torque converter location in a CVT is sandwiched directly between the engine flexplate and the transmission front pump. It slides onto the transmission input shaft (turbine shaft) and is bolted to the flexplate through the bellhousing inspection window. However, the internal architecture and mounting depths vary significantly.
| Manufacturer / CVT Model | Vehicle Applications | TC Architecture | Fluid Specification | Bellhousing Torque Spec |
|---|---|---|---|---|
| Subaru TR580 (Lineartronic) | Outback, Legacy, Forester (2.5L) | Single-Stage w/ Lock-up Clutch | Subaru CVTF-II | 37 ft-lbs (50 Nm) |
| Jatco JF016E (CVT8) | Nissan Rogue, Altima, Chrysler Pacifica | Single-Stage w/ Damper | Nissan NS-3 | 35 ft-lbs (47 Nm) |
| Aisin K120 (Direct Shift) | Toyota Corolla, RAV4 (2.5L) | TC + Physical Launch Gear | Toyota CVTF FE | 41 ft-lbs (55 Nm) |
Step-by-Step Guide: Accessing the CVT Torque Converter
Accessing the torque converter location requires separating the CVT from the engine block. Because CVTs are highly sensitive to fluid contamination and input shaft misalignment, this procedure demands meticulous preparation. Below is a comprehensive guide based on the widely serviced Jatco JF016E and Subaru TR580 platforms.
Step 1: CVT Fluid Preservation and Temperature Check
Before dropping the transmission, you must verify the CVT fluid level and condition. CVTs do not have traditional dipsticks; fluid level is verified via an overflow plug on the transmission pan while the fluid is at a specific temperature (usually between 95°F and 104°F / 35°C - 40°C). Use an OBD2 bidirectional scanner to read the CVTF temperature sensor PID. If the fluid smells burnt or contains excessive metallic particulate on the magnetic drain plug, the torque converter lock-up clutch may have disintegrated, contaminating the entire hydraulic circuit.
Step 2: Drivetrain Support and Subframe Removal
Unlike rear-wheel-drive setups where the transmission can be slid backward on a jack, front-wheel-drive and all-wheel-drive CVTs require the engine and transmission to be supported independently.
- Install an engine support bar across the strut towers to bear the engine's weight.
- Disconnect the CVT cooler lines. Pro-Tip: Cap the lines immediately. Debris entering the CVT cooler lines will bypass the inline filter and destroy the new torque converter upon startup.
- Remove the front axle half-shafts. On Subaru models, this requires popping the roll pins from the front differential stub axles.
- Lower the front subframe to gain clearance for the transmission jack.
Step 3: Exposing the Torque Converter Location
To access the flexplate-to-torque converter bolts, you must remove the starter motor and the lower bellhousing inspection cover. On the Nissan JF016E, this requires removing a 10mm and 12mm bolt combination. On the Subaru TR580, the inspection plate is secured by several 10mm bolts. Rotate the crankshaft manually using a 22mm socket on the harmonic balancer bolt to bring each torque converter-to-flexplate nut into view through the access window.
Step 4: Flexplate and TC Bolt Removal
Most CVT torque converters are secured to the flexplate using 4 to 6 nuts (typically 12mm or 14mm).
Critical Warning: Never use an impact wrench to remove these nuts without holding the flexplate. The extreme torsional force can crack the CVT front pump housing or warp the turbine shaft. Use a dedicated flexplate holding tool anchored to the bellhousing bolts, and break the nuts loose with a torque wrench set in reverse or a standard breaker bar. The torque spec for these nuts is generally tight, around 18 to 25 ft-lbs.
Step 5: Bellhousing Separation and TC Extraction
Remove the perimeter bellhousing bolts (typically 12mm and 14mm, torqued to 35-41 ft-lbs depending on the model). Support the CVT with a transmission jack equipped with a flat, wide platform. Slide the transmission straight back.
Do not let the torque converter hang. As you separate the case, the torque converter will remain seated on the input shaft. Once the transmission is on the jack, immediately secure the torque converter to the bellhousing using a retention strap or a specialized C-clamp. If the torque converter falls forward and drops even half an inch, it can crack the front pump stator support or damage the internal Teflon sealing rings, leading to immediate lock-up clutch failure upon reinstallation.
Diagnosing CVT Torque Converter Shudder vs. Belt Slip
When a customer complains of a "shaking" or "shuddering" sensation, technicians must accurately isolate the torque converter location as the culprit versus the CVT variator assembly. Misdiagnosis leads to unnecessary $4,000 complete transmission replacements when a $600 torque converter swap would suffice.
Identifying Torque Converter Lock-Up Clutch (LUC) Shudder
According to diagnostic data published by Sonnax transmission engineering, torque converter shudder typically occurs under light throttle acceleration between 25 and 45 MPH. This is the exact moment the Transmission Control Module (TCM) commands the Lock-Up Control Solenoid to apply the internal friction clutch, creating a 1:1 mechanical lock. If the friction material is degraded, or if the CVT fluid has lost its specialized friction modifiers, the clutch will rapidly engage and slip, causing a harmonic vibration that feels like driving over rumble strips.
- Scanner PID Check: Monitor the "Torque Converter Slip Speed" PID. If the RPM slip fluctuates wildly (e.g., bouncing between 0 and 80 RPM) while the LUC duty cycle is commanded to 100%, the torque converter clutch is failed.
- Fluid Test: A simple friction modifier additive test (like Dr. Tranny Instant Shudder Fixx) can temporarily verify if the issue is fluid friction degradation or mechanical clutch failure.
Identifying CVT Belt/Chain Slip
Conversely, if the shudder is accompanied by a high-pitched whining noise, or if it occurs during heavy load (like climbing a hill), you are likely experiencing variator slip. This triggers ratio monitoring codes such as P0868 (Line Pressure Low) or P2810 (Clutch Pressure Control). In these scenarios, the torque converter is functioning perfectly, but the hydraulic line pressure is insufficient to clamp the steel belt against the pulleys. Information sourced from the Subaru Technical Information System (STIS) emphasizes that chain slip on the TR580 will leave distinct scoring marks on the chain links and variator faces, which is entirely separate from the torque converter assembly.
Replacement Costs and Part Sourcing (2026 Market)
If your diagnostic steps confirm the torque converter location is the source of the failure, replacement is the only viable repair. You cannot reliably rebuild a modern CVT torque converter in-house due to the specialized balancing and friction welding equipment required.
Pricing Breakdown
- OEM Torque Converter: $800 - $1,400 (Dealership parts counter)
- Aftermarket Remanufactured Unit: $350 - $650 (e.g., from suppliers like Powertrain Industries or Precision International)
- CVT Fluid & Inline Filter: $120 - $180 (Requires 8-12 quarts of NS-3, CVTF-II, or CVTF FE)
- Labor (R&R Engine/Trans Assembly): $800 - $1,500 (8 to 14 hours flat rate)
Total Estimated Cost: $1,270 to $3,080 depending on OEM vs. aftermarket parts and dealership vs. independent shop labor rates.
Crucial Installation Step: The Pre-Fill
Before sliding the new torque converter onto the CVT input shaft, you must pre-fill it with at least 1.5 to 2 quarts of the correct CVT fluid. If you install a dry torque converter, the front pump will draw air upon initial startup, leading to immediate cavitation, lack of line pressure, and severe scoring of the front pump bushing. Align the flats of the torque converter hub with the slots of the front pump gear, push inward, and rotate slightly until you feel it seat fully over the stator support and turbine shaft splines. Measure the distance from the bellhousing mating surface to the torque converter mounting pad; it should sit at least 1/8th to 1/4th of an inch below the bellhousing edge. If it sits flush or protrudes, it is not fully seated, and bolting the engine to the transmission will instantly crush the front pump.
For more in-depth diagnostic routines and community-verified repair strategies, transmission professionals frequently consult resources provided by the Automatic Transmission Rebuilders Association (ATRA), which offers continuous updates on CVT valve body modifications and torque converter clutch apply strategies for late-model vehicles.