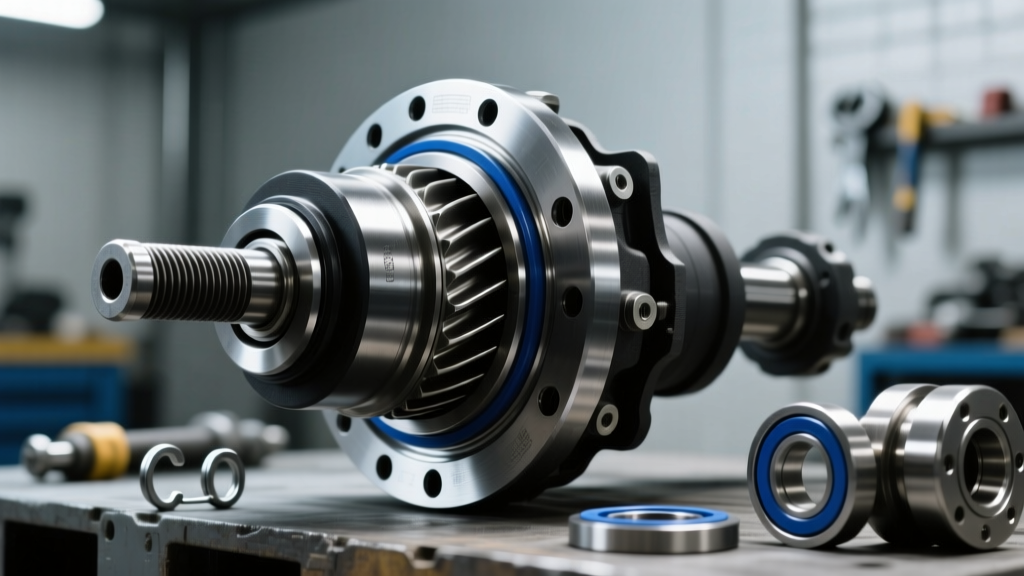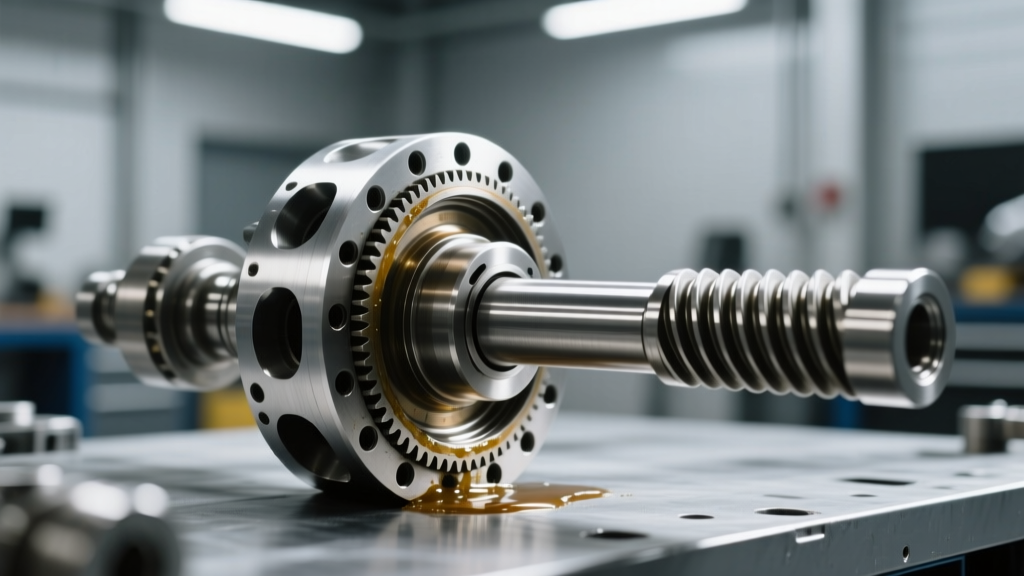
There are few sounds more disheartening to a drivetrain technician than the dull thud of a slide hammer failing to dislodge an inner CV joint stub shaft. When a CV axle stuck in differential scenario occurs, it transforms a routine 45-minute axle replacement into a multi-hour transaxle teardown. Whether you are working on a front-wheel-drive GM 6T70, a Ford 6F35, or a Subaru symmetrical AWD system, the inner stub shaft seizing inside the differential side gear is a widespread issue rooted in galvanic corrosion, thermal cycling, and improper preventive maintenance.
The Metallurgy of a Seized Inner Stub Shaft
To understand why extraction is so difficult, we must examine the interface between the CV axle stub shaft and the differential. The stub shaft is machined from high-carbon steel (typically 4340 or equivalent induction-hardened alloy) featuring 26 to 28 splines. This steel shaft slides into a differential side gear, which is housed within an aluminum or magnesium alloy transaxle case.
When the outer CV boot fails, or when the inner tri-pod joint boot weeps, moisture and road salt infiltrate the splines. Because steel and aluminum have different galvanic potentials, the presence of an electrolyte (saltwater) triggers galvanic corrosion. The steel spline essentially rusts and expands into the microscopic pores of the aluminum housing and side gear. Furthermore, extreme heat cycling from the exhaust crossover pipes (common on transverse V6 engines) bakes any residual moisture into a concrete-like oxide layer.
Preventive Maintenance: The First Line of Defense
The most effective way to deal with a seized axle is to ensure it never seizes in the first place. Preventive maintenance during reinstallation is critical. Many novice mechanics simply slide the new axle in dry, guaranteeing that the next technician will inherit a nightmare.
1. Spline Preparation and Cleaning
Before installing a new or remanufactured CV axle, the splines must be immaculate. Use a brass wire brush attached to a die grinder to polish the male splines. Never use a steel wire brush, as it can embed iron particles into the steel shaft, accelerating future rust. Wipe the splines clean with brake cleaner and a lint-free shop towel.
2. The C-Clip Bevel Orientation
Most modern transaxles (including the widely used Aisin and GM 6-speed automatics) retain the inner stub shaft using a circular snap ring, or C-clip. This C-clip has a distinct cross-sectional geometry: one side is flat or slightly concave, and the other features a sloped chamfer or bevel. The beveled edge must face outward (toward the wheel). This slope acts as a wedge, compressing the C-clip as it slides past the side gear teeth during installation, and snapping outward into the retention groove to lock it in place. If installed backward, the axle will either refuse to seat or will require excessive force that rolls the C-clip off the groove.
3. Selecting the Correct Spline Lubricant
Applying the correct compound to the splines prevents moisture ingress and galvanic corrosion. Do not use standard WD-40 or generic chassis grease. You need a high-molybdenum or nickel-based anti-seize compound that can withstand the shear forces of the differential side gears without breaking down or contaminating the transmission fluid.
| Product / Compound | Base Material | Temperature Rating | Best Application |
|---|---|---|---|
| Honda Moly Paste 60 (08798-9010) | Molybdenum Disulfide | Up to 500°F (260°C) | Inner CV joints, Honda/Acura spline coating |
| Permatex Nickel Anti-Seize (77164) | Nickel / Graphite | Up to 2400°F (1315°C) | High-heat areas near exhaust crossovers |
| Molykote BR2 Plus | Lithium / MoS2 | Up to 265°F (130°C) | General spline lubrication, heavy load bearing |
| OEM Differential Gear Oil | Synthetic 75W-90 | N/A | Light coating if anti-seize is unavailable |
Note: Apply only a thin, translucent film of anti-seize to the splines. Excessive globs will break off inside the differential, potentially clogging the fluid pickup screen or contaminating the friction modifiers in the limited-slip differential (LSD) additive package.
Safe Extraction Techniques: When Prevention Fails
If you are currently staring down a CV axle stuck in differential, panic is your enemy. Brute force applied to the wrong area will crack the aluminum transaxle case, turning a $150 axle job into a $3,500 transmission replacement. Follow these extraction protocols in order of escalation.
Method 1: The Dedicated Axle Puller Tool (Recommended)
The safest method utilizes a specialized axle puller that threads onto the outer CV joint or grips the inner joint housing, paired with a slide hammer. Tools like the OTC 7315A Axle Puller or Schley 56800 are designed to distribute pulling force evenly along the axis of the shaft.
- Step 1: Remove the axle nut, lower control ball joint, and sway bar end link to allow maximum outward suspension travel.
- Step 2: Thread the puller tool onto the inner CV joint housing (ensure you are gripping the steel housing, not the rubber boot or aluminum race).
- Step 3: Attach a 5 lb or 10 lb slide hammer. Deliver sharp, decisive strikes. The kinetic energy transfers directly to the C-clip, popping it out of the side gear groove.
Method 2: The Pry-Bar Fulcrum Technique (High Risk)
If a slide hammer fails, a pry bar is the next option, but it requires extreme precision to avoid destroying the transaxle case. Never pry between the inner CV joint housing and the aluminum transmission pan. The aluminum will gouge, warp, or crack, leading to immediate fluid leaks and structural failure.
Instead, locate the reinforced casting ribs on the differential housing. Use a specialized pry tool with a rolled, non-marring tip. Place the tip precisely in the machined relief groove located between the inner joint housing and the differential seal. Apply steady, increasing pressure. If the axle does not release after 150 lbs of leveraged force, stop. The corrosion is too severe for prying.
Method 3: Differential Cover or Pan Removal (The Last Resort)
When galvanic corrosion has entirely welded the stub shaft to the side gear, external force will only break the shaft. You must gain internal access.
- Drain the transaxle fluid into a clean catch pan (inspect for metallic glitter, which indicates internal wear).
- Remove the transmission side cover or differential pan (depending on the architecture of the specific transmission model).
- Locate the differential side gear. Using a brass punch and a dead-blow hammer, tap the side gear outward from the inside. This pushes the entire side gear and seized stub shaft assembly out of the differential carrier.
- Once removed from the vehicle, clamp the stub shaft in a hydraulic press or heavy vise. Heat the side gear with an oxy-acetylene torch to 400°F to break the corrosion bond, then press the shaft out.
Reinstallation Specifications and Torque Data
Once the old axle is extracted and the differential side gear is inspected for rolled splines or debris, proper reinstallation is mandatory. Below are standard reference specifications for common FWD/AWD platforms. Always verify with the OEM service manual for your exact VIN.
| Vehicle Platform / Transaxle | Typical Spline Count | Axle Nut Torque Spec | Diff Fluid Capacity |
|---|---|---|---|
| GM 6T70 / 6T75 (FWD/AWD) | 27 Spline (Inner) | 140 lb-ft + 60° angle | ~4.5 Quarts (Total) |
| Ford 6F35 / 6F50 | 26 Spline | 184 lb-ft | Integrated with Trans |
| Honda/Acura 6-Speed Auto | 28 Spline | 134 lb-ft (180 Nm) | Separate Diff (approx 3.0 qts) |
| Subaru 5MT / 6MT | Stub Axle / Roll Pin | 140 lb-ft | ~3.8 Quarts (75W-90 GL-5) |
Expert Warning: Never reuse a stretched axle nut. Most modern axle nuts are torque-to-yield (TTY) or feature a prevailing torque crimp that deforms upon initial tightening. Reusing them risks the nut backing off under load, which will destroy the wheel bearing hub assembly within 500 miles.
Subaru and Solid Axle Exceptions
It is vital to note that not all drivetrains use C-clips. If you are working on a Subaru manual transmission or older solid-rear-axle configurations, the inner joint is often retained by a roll pin or a bolt that passes directly through the stub shaft and side gear. In these cases, a CV axle stuck in differential is rarely a C-clip issue; it is almost exclusively severe rust jacking on the splines. Penetrating oils like Kroil or a 50/50 mix of acetone and ATF, applied 24 hours in advance, are your best preventive measures here.
Final Thoughts on Drivetrain Longevity
Dealing with a seized CV axle stub shaft is a masterclass in patience and mechanical empathy. By understanding the metallurgical causes of galvanic corrosion and adhering to strict preventive maintenance protocols—specifically spline polishing, correct C-clip orientation, and the application of molybdenum-based anti-seize—you can ensure that the next time the axle needs service, it slides out with a satisfying, resistance-free pop. Protect the transaxle case, respect the torque specs, and never let brute force override precision tooling.