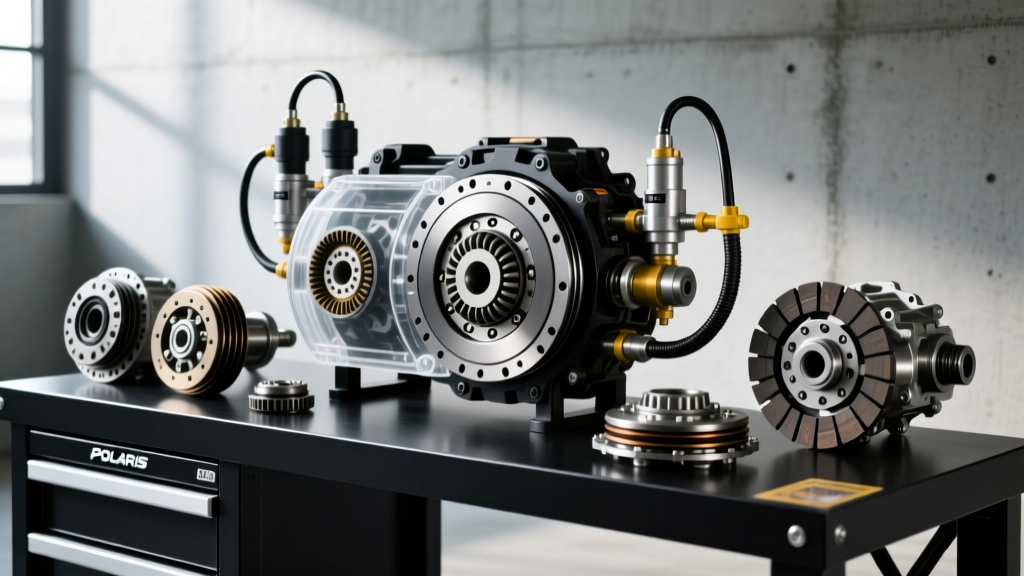
The Heart of Your Mower's Blade System
While AutoGearNexus typically focuses on complex automotive drivetrains like the ZF 8HP automatic or the GM 10L90, the fundamental physics of electromagnetic friction clutches remain identical whether they are engaging an all-wheel-drive transfer case or the mower deck on your riding tractor. If you are searching for a Cub Cadet PTO clutch repair guide because your blades refuse to spin—or worse, refuse to stop spinning—you are dealing with a classic engagement and disengagement failure.
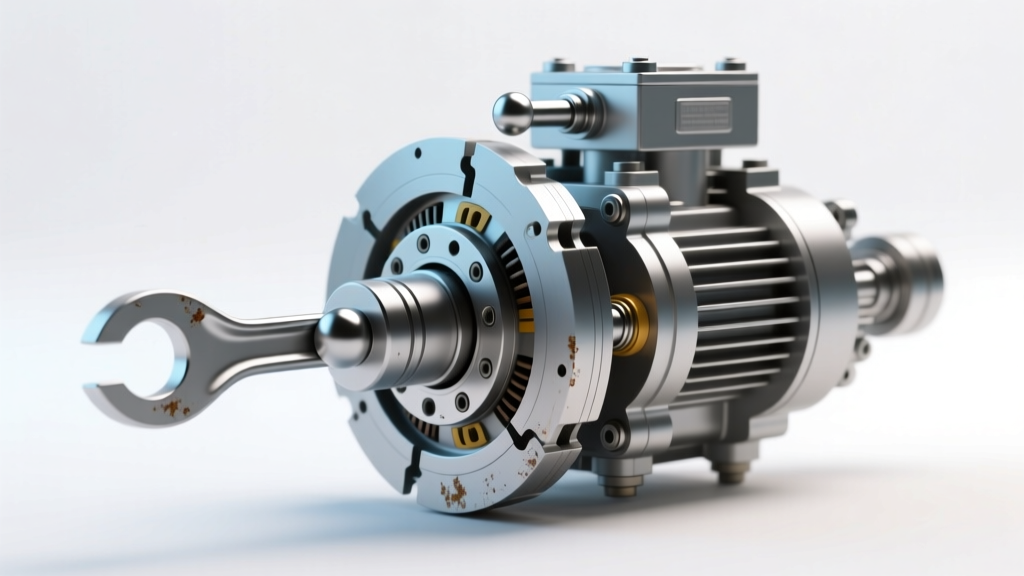
The Power Take-Off (PTO) clutch is an electromagnetically actuated friction device. It is the critical bridge between your engine's crankshaft and the mower deck's drive belt. For beginners, diagnosing this component can seem daunting, but by breaking the system down into electrical and mechanical sub-circuits, you can pinpoint the exact failure mode without throwing expensive parts at the problem.
How an Electromagnetic PTO Clutch Actually Works
Most modern Cub Cadet tractors utilize an Ogura or Warner Electric electromagnetic clutch (commonly the Ogura GT2.5 series). Unlike a manual automotive clutch that uses a diaphragm spring and hydraulic fluid, a PTO clutch relies on a 12-volt DC electromagnet.
The Engagement Circuit (Powering Up)
When you pull the PTO switch on your dashboard, 12 volts are routed through a safety interlock relay to the clutch's copper coil. This coil is housed inside the stationary rotor. As current flows, it generates a powerful magnetic field that pulls the steel armature plate across a tiny air gap, clamping it against the rotor's friction surface. This friction locks the pulley to the crankshaft, spinning the deck belt.
The Disengagement Mechanism (Spring Return)
When you flip the switch off, the magnetic field collapses instantly. Three or four small leaf springs (or wave washers) push the armature back away from the rotor, breaking the friction bond and allowing the pulley to freewheel on its internal bearing.
Diagnostic Specifications & Tolerances
Before grabbing a wrench, you need to know the exact engineering tolerances for these clutches. Guesswork leads to burnt coils and glazed friction surfaces.
| Parameter | Specification | Tool Required |
|---|---|---|
| Coil Resistance | 2.4Ω - 3.8Ω (at 70°F) | Digital Multimeter (Ohms) |
| Operating Voltage | 12.2V - 13.8V DC (Under Load) | Multimeter (Backprobe) |
| Air Gap Clearance | 0.012' - 0.018' | Feeler Gauge |
| Center Bolt Torque | 55 - 65 ft-lbs (with Threadlocker) | Torque Wrench & Loctite 242 |
Diagnosing Engagement Failures (Blades Won't Spin)
If you pull the PTO switch and hear a faint click but no blade engagement, or if the blades slip under heavy grass, you have an engagement issue. This is almost always caused by one of three factors: voltage drop, excessive air gap, or a burnt coil.
Step 1: Electrical Verification (The 12V Test)
The most common beginner mistake is assuming the clutch is dead when the wiring harness is actually starving it of power. The safety interlock system (including the seat switch and brake pedal switch) can introduce severe voltage drop if connectors are corroded.
- Test the Battery: Ensure the battery reads at least 12.6V with the engine off, and 13.5V+ with the engine at full throttle.
- Test at the Pigtail: Unplug the clutch connector. Set your multimeter to DC Volts. Insert the probes into the harness side of the plug while the engine is running and the PTO switch is pulled. You must see at least 12.0V. If you see 9V or 10V, your clutch is fine; you have a bad relay, a corroded ground wire, or a failing PTO switch.
- Test the Coil Resistance: Set the multimeter to Ohms (Ω). Measure across the two pins on the clutch itself. A reading of 2.4 to 3.8 ohms indicates a healthy copper winding. A reading of 'OL' (Open Loop) means the internal wire has snapped, requiring a full clutch replacement.
Step 2: Measuring and Adjusting the Air Gap
If the electrical tests pass, the friction surfaces are likely worn, causing the air gap to widen beyond the magnetic field's reach. According to Ogura Industrial, once the air gap exceeds 0.030 inches, the electromagnet cannot generate enough pulling force to bridge the gap, resulting in a slipping or non-engaging clutch.
- Remove the mower deck for clear access.
- Locate the three adjustment nuts spaced evenly around the perimeter of the clutch armature.
- Insert a 0.015-inch feeler gauge between the armature plate and the rotor face.
- Loosen the lock nuts and turn the adjustment screws until you feel a slight drag on the feeler gauge.
- Tighten the lock nuts and repeat for all three points. Rotate the pulley by hand and check the gap at multiple intervals to ensure the armature is perfectly parallel to the rotor.
Diagnosing Disengagement Failures (Blades Won't Stop)
A clutch that fails to disengage is a severe safety hazard. If the blades continue to spin after you turn off the PTO switch, the issue is mechanical binding or residual magnetism.
Rust Jacking and Debris Bind
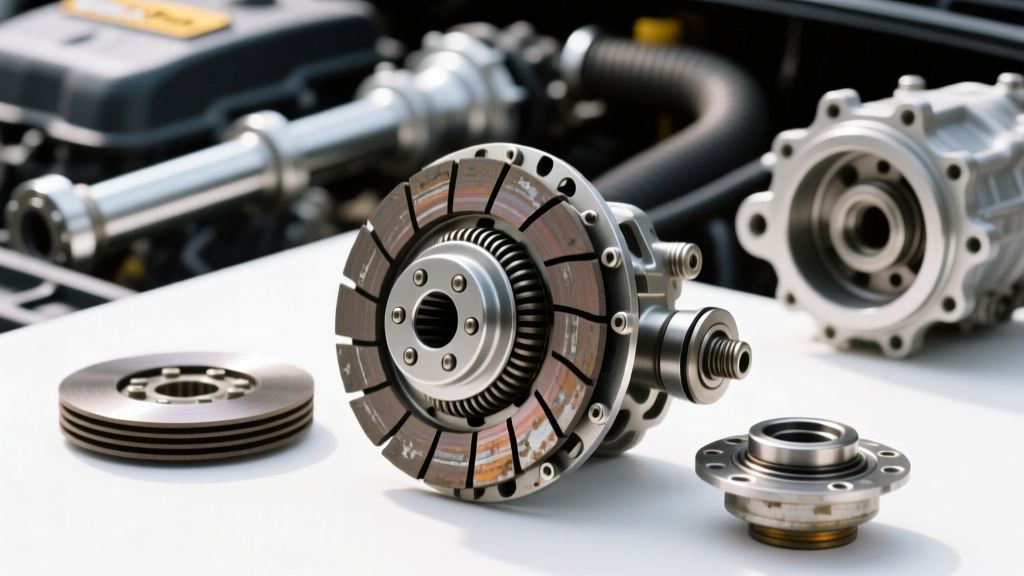
Because these mowers operate in damp, grassy environments, rust can form on the mating surfaces of the rotor and armature. This phenomenon, known in automotive drivetrain engineering as 'rust jacking,' creates a mechanical bond stronger than the return springs. Furthermore, grass clippings and dirt can pack into the air gap, acting like a wedge that prevents the armature from retracting.
The Fix: Manually pull the armature away from the rotor. Use 220-grit sandpaper to lightly scuff and clean both friction surfaces. Blow out the gap with compressed air. Do not use WD-40 or any petroleum-based lubricants, as this will cause severe belt slip and glaze the friction surfaces.
Weak Return Springs
Over thousands of engagement cycles, the small leaf springs that push the armature away can suffer from metal fatigue. If the air gap is set correctly and the surfaces are clean, but the armature still drags, the springs must be replaced. Most Warner Electric and Ogura rebuild kits include fresh return springs and new adjustment hardware.
The Critical Burnishing Procedure
If your diagnostic tests lead you to install a brand-new PTO clutch, do not immediately mow thick grass. Just like the friction plates in a manual automotive transmission or the brake pads on a high-performance caliper, a new PTO clutch requires a burnishing (bedding-in) process.
The friction surfaces out of the box are machined flat but lack the microscopic surface mating required for full torque transfer. If you apply maximum load immediately, the clutch will slip, generate extreme heat, and permanently glaze the friction material.
Expert Burnishing Protocol: With the mower deck raised off the ground (no load), engage the PTO for 10 seconds, then disengage for 10 seconds. Repeat this cycle 10 to 15 times. This allows the friction surfaces to mate smoothly and seat the armature without thermal overload.
When to Replace vs. Repair: Cost Breakdown
Knowing when to stop adjusting and start replacing saves time and frustration. Here is what you can expect to spend in the current market:
- Adjustment & Cleaning (Repair): $0 - $15 (Cost of sandpaper and feeler gauges). Best for minor slipping due to air gap widening.
- Aftermarket Replacement (e.g., Xtreme or A.E.I.O.U): $110 - $160. Acceptable for light-duty residential mowing, though coil windings may run slightly hotter than OEM.
- OEM Ogura / Warner Replacement: $190 - $260. Highly recommended for commercial use or heavy terrain. OEM units feature superior epoxy potting in the coil, preventing moisture intrusion and short circuits.
Summary
A successful Cub Cadet PTO clutch repair relies on methodical elimination. By verifying your 12V supply, testing the coil resistance, and precisely setting the air gap to 0.015 inches, you can solve 90% of engagement and disengagement issues without replacing the unit. Treat your mower's electromagnetic clutch with the same diagnostic respect you would give an automotive AWD coupling, and it will provide years of reliable, instantaneous blade engagement.