The Economics and Reality of Craftsman Hydrostatic Bench Rebuilds
When a Craftsman lawn tractor or zero-turn mower begins to lose power, whine under load, or fail to return to a true neutral, the culprit is almost always the hydrostatic transaxle. It is a common misconception that Craftsman manufactures these units. In reality, Craftsman relies heavily on Hydro-Gear (such as the ZT-2800 and ZT-3100 series) and occasionally Peerless heavy-duty hydrostatics. Replacing a new Hydro-Gear ZT-2800 can cost upwards of $950 to $1,200 per side in 2026, making the decision to utilize a Craftsman hydrostatic transmission rebuild kit an incredibly cost-effective alternative.
However, hydrostatic transmissions are not like standard gear-driven manual transmissions. They operate on tight tolerances, relying on a continuous film of 20W-50 synthetic oil to maintain charge pressure and prevent cavitation. A successful rebuild requires meticulous bench build procedures, a sterile environment, and an understanding of the swashplate and piston dynamics. This guide details the exact bench build procedures, torque specifications, and cost breakdowns required to rebuild a Craftsman-compatible Hydro-Gear unit on your workbench.
Anatomy of a Craftsman Hydrostatic Rebuild Kit
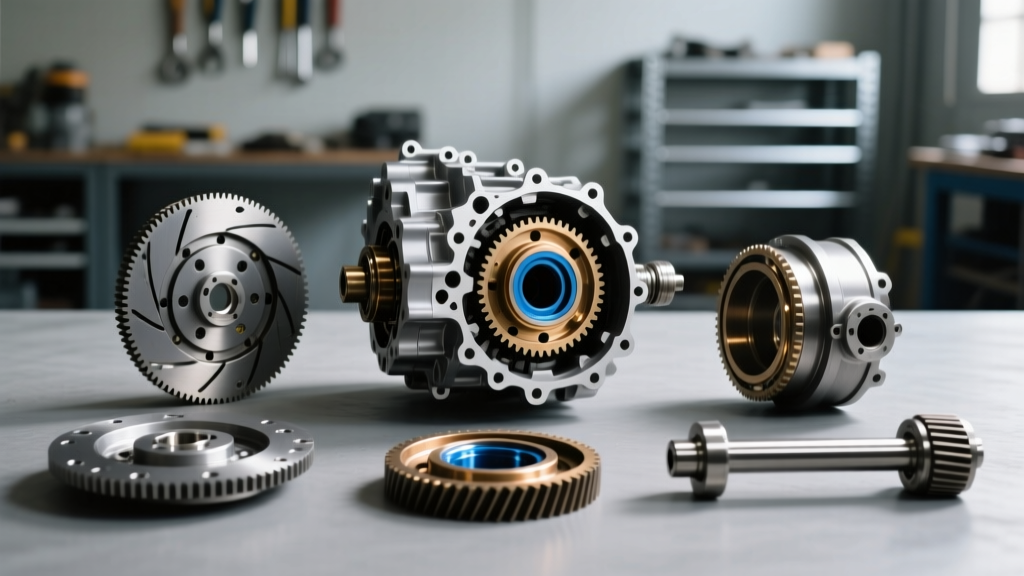
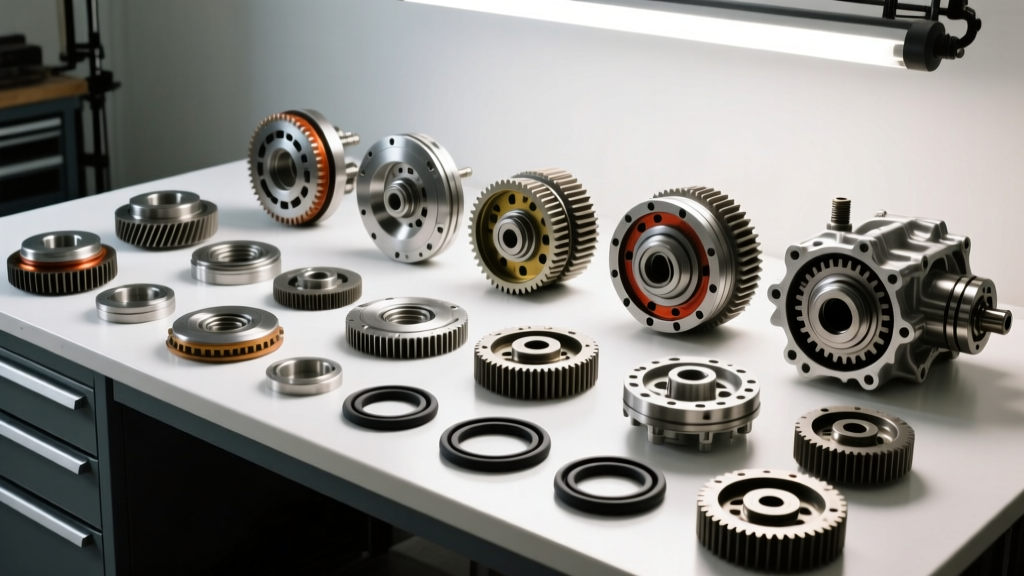
Before tearing into the casing, you must understand what a standard seal and gasket kit actually covers. A typical rebuild kit (such as Hydro-Gear part number 194335 for the ZT-2800) does not include hard internal components like the center section or the cylinder block. It focuses on wear items that degrade due to heat, pressure, and contamination.
| Component / Kit | Part Number (Example) | Average Cost | Function & Failure Mode |
|---|---|---|---|
| Complete Seal & Gasket Kit | 194335 | $75 - $95 | O-rings, lip seals, case gaskets. Fails via heat degradation and external leaks. |
| Charge Pump Rebuild Kit | 194336 | $55 - $70 | Gerotor set, check valves. Fails via scoring, causing low charge pressure and whining. |
| Trunnion Shaft & Bushings | 188950 (Kit) | $40 - $60 | Controls swashplate angle. Fails via wear, causing 'creep' or failure to find neutral. |
| Axle Shaft Seals & Bearings | Various | $25 - $40 | Supports wheel load. Fails via water ingress and dirt contamination. |
| Total DIY Bench Rebuild Cost | N/A | $195 - $265 | Assumes center section and cylinder block are not deeply scored. |
Pre-Bench Preparation & Teardown Diagnostics
Hydrostatic units are exceptionally vulnerable to particulate contamination. A single grain of sand trapped between the cylinder block and the valve plate can score the mating surfaces, instantly destroying charge pressure. Your bench must be spotless, and you should use lint-free shop towels exclusively.
Step 1: External Decontamination & Mounting
Before opening the case, the exterior must be degreased and pressure-washed. Once dry, secure the transmission in a heavy-duty bench vise using aluminum soft jaws. Never clamp the fragile aluminum fins of the hydrostatic housing directly, as warping the case will lead to immediate gasket failure and fluid bypass.
Step 2: Fluid Draining & Component Removal
Remove the cooling fan, brake caliper assembly, and the external neutral linkage. Note the exact position of the trunnion arm relative to the swashplate shaft. Drain the fluid into a measured pan; a ZT-2800 holds approximately 56 to 64 ounces of fluid depending on the external reservoir configuration. Inspect the drained oil for brass glitter (indicative of trunnion bushing wear) or steel flakes (indicative of piston or gerotor failure).
Step 3: Case Splitting & Extraction
Remove the perimeter case bolts. Using a dead-blow hammer, gently tap the housing to break the seal. Lift the main housing off the center section. You will now have access to the charge pump, the cylinder block, the pistons, and the swashplate. Take high-resolution photos of the check valve and spring orientation in the charge pump cavity before removing them.
Critical Bench Build Procedures: Assembly & Torque Specs
The reassembly phase is where the success of your Craftsman hydrostatic transmission rebuild kit is determined. Follow these bench procedures meticulously.
Step 4: Center Section & Valve Plate Mating
The center section houses the valve plate, which directs high-pressure oil to the drive pistons. Clean the mating surface with brake cleaner and compressed air. Apply a thin, even coat of clean 20W-50 synthetic oil to the new O-rings from your kit. Do not use assembly grease; grease will not dissolve quickly enough in hydrostatic fluid and will clog the 0.040-inch internal orifices, leading to catastrophic dry-start failure.
Step 5: Piston and Cylinder Block Reintegration
Inspect the cylinder block bores for scoring. If the bores are mirror-smooth, reinstall the pistons. Compress the piston return springs using a custom-made compression tool or a modified C-clamp. Slide the cylinder block over the center section shaft, ensuring the timing marks align perfectly with the valve plate. If the block binds, do not force it; rotate it slightly until the pistons seat into their respective slipper pads on the swashplate.
Step 6: Swashplate and Trunnion Shaft Assembly
The swashplate dictates the stroke of the pistons, which in turn controls the speed and direction of the tractor. Install the new trunnion shaft bushings from your kit. Lubricate the shafts with oil and slide them through the housing. Attach the swashplate to the trunnion shafts, torquing the retaining nuts to 15-18 lb-ft. Ensure the swashplate moves freely from full forward to full reverse without any mechanical binding.
Step 7: Charge Pump Rebuild & Case Sealing
The charge pump supplies the makeup oil required to prevent cavitation in the main hydrostatic loop. Install the new gerotor set from the charge pump kit. Ensure the inner and outer gears are seated flat against the wear plate. Replace the check valves and springs. Apply a 1/16-inch bead of high-temperature RTV silicone (if specified by the kit) or install the pre-cut cork/rubber gasket. Carefully lower the main housing onto the center section.
Torque Sequence: Hand-thread all perimeter case bolts. Using a calibrated torque wrench, tighten the bolts in a crisscross pattern to 25-30 lb-ft. Over-torquing these bolts will strip the aluminum threads or warp the case, causing immediate external leaks.
Expert Bench Tip: Before reinstalling the axle shafts, pack the new axle lip seals with a small amount of waterproof marine grease on the outer lip to prevent dry-rot and water ingress from the mower deck environment. Torque the axle retaining nuts to 60-75 lb-ft using a holding fixture to prevent transmission binding.
Bench Testing & Fluid Priming (Pre-Installation)
One of the most critical, yet frequently ignored, bench build procedures is priming. Never install a rebuilt hydrostatic transmission into a Craftsman tractor without bench-bleeding it first. Running the unit dry for even 10 seconds can score the valve plate beyond repair.
- Mount the transmission securely on the bench.
- Fill the reservoir or case plug with the manufacturer-recommended fluid (typically 20W-50 Synthetic Motor Oil or specific Hydro-Gear ZT fluid).
- Using a heavy-duty drill and a custom socket adapter, slowly rotate the input shaft (the shaft that normally connects to the engine drive pulley) at approximately 300 RPM.
- Simultaneously, cycle the trunnion arm slowly from full forward to full reverse. This forces the pistons to stroke, drawing fluid from the center section and pushing trapped air out through the top expansion port.
- Continue this process for 3 to 5 minutes, topping off the fluid as air bubbles purge, until the fluid level stabilizes and the unit exhibits hydraulic resistance when the axles are held stationary.
Cost Breakdown: DIY Bench Rebuild vs. Professional vs. Replacement
Understanding the financial landscape of hydrostatic repair helps justify the time invested in bench build procedures. Below is a comparative analysis for a single Hydro-Gear ZT-2800 unit commonly found in Craftsman Zero-Turn models.
- DIY Bench Rebuild: $195 - $265 (Parts only). Requires 4-6 hours of bench time, specialized soft-jaw vise, and torque wrenches. Highest risk of error, but highest financial reward.
- Professional Rebuild Service: $450 - $650. Includes labor, bench testing, and warranty. Ideal if your center section is scored and requires machining or replacement.
- OEM Replacement (New): $950 - $1,250. Bolt-on solution, but cost-prohibitive for older Craftsman tractors where the replacement cost exceeds the machine's residual value.
Final Verdict on Hydrostatic Bench Procedures
Utilizing a Craftsman hydrostatic transmission rebuild kit is a highly viable way to extend the life of your equipment, provided you respect the tight tolerances of the hydraulic loop. By adhering to strict bench cleanliness, utilizing precise torque specifications, and performing a thorough bench-bleed prior to installation, you can restore your Hydro-Gear transaxle to factory performance for a fraction of the replacement cost. For further technical schematics and fluid specifications, always consult the official Hydro-Gear support documentation or reference parts diagrams via authorized distributors like Jack's Small Engines to ensure you are ordering the correct kit for your specific serial number.