The Gearhead Transition: From Street Manuals to Off-Road Drivetrains
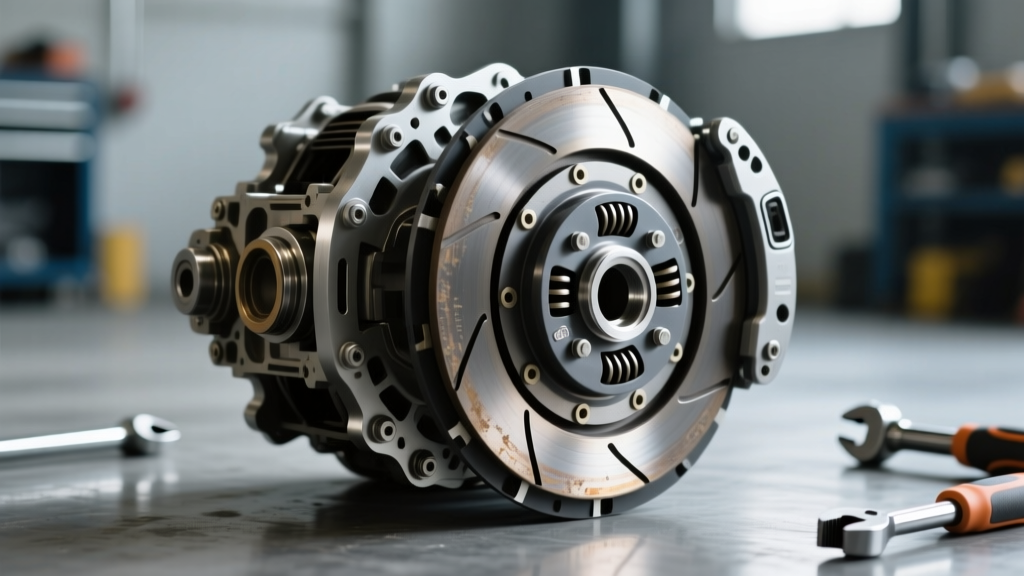
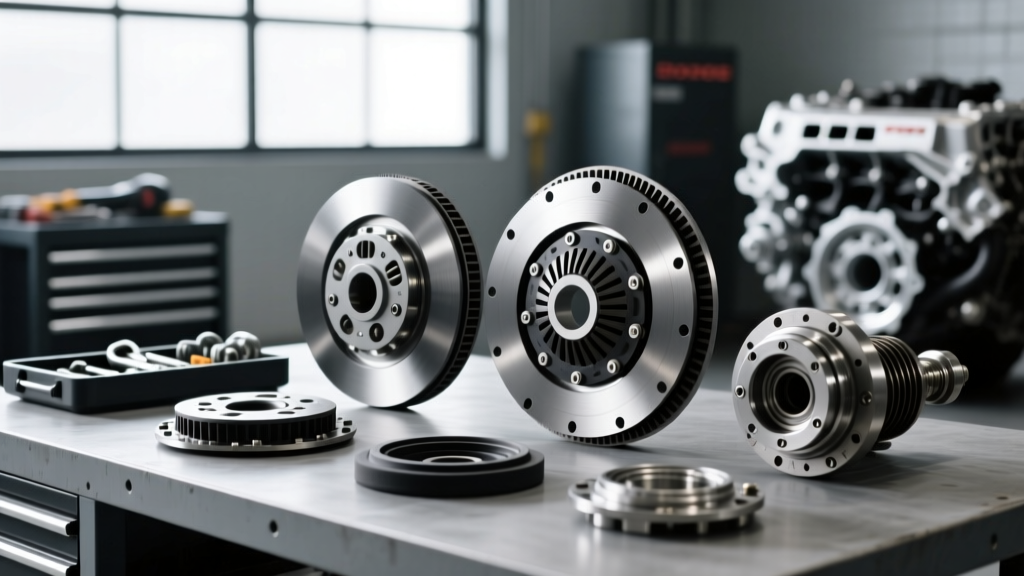
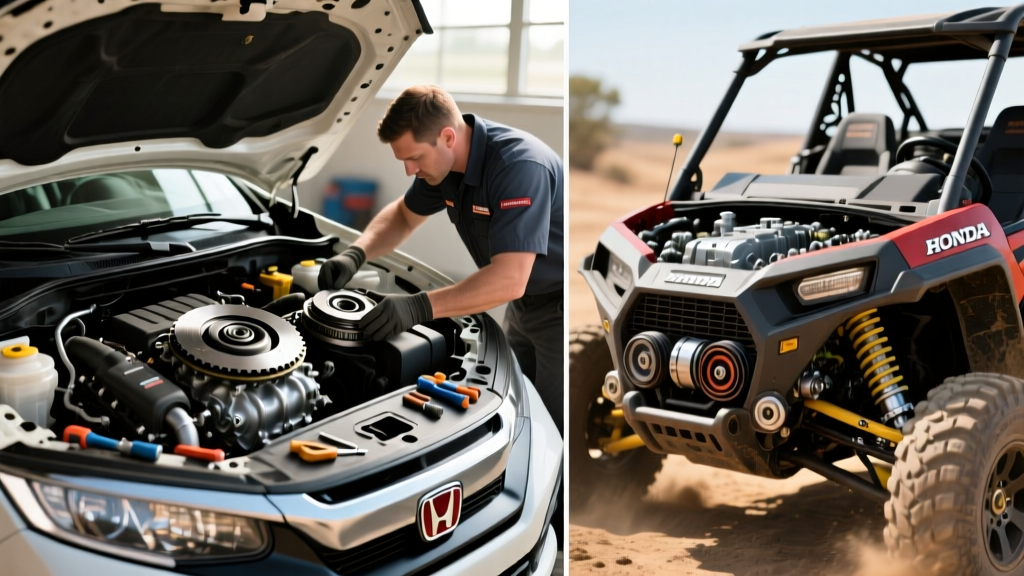
For many automotive enthusiasts, a Honda Civic clutch replacement is a definitive rite of passage. Swapping an Exedy Stage 1 friction disc and resurfacing the flywheel on a K-series or B-series engine teaches you the foundational physics of clamping force, hydraulic actuation, and friction materials. However, as we navigate the 2026 off-road season, a massive wave of gearheads are translating their street-performance skills to the dirt. Whether you are rebuilding the manual wet clutch on a Honda Pioneer 1000 or tuning the Continuously Variable Transmission (CVT) primary and secondary sheaves on a 225-horsepower Polaris RZR Pro R, the paradigm of clutch service changes drastically.
While the fundamental goal remains the same—transferring engine torque to the drivetrain without parasitic loss—the execution, tooling, and wear metrics are entirely different. This performance and upgrade guide bridges the gap between traditional street-car manual transmissions and modern high-horsepower UTV drivetrains, providing exact part numbers, torque specifications, and tuning methodologies for the advanced DIY mechanic.
Honda Pioneer 1000: Traditional Wet Clutch Replacement Specs
Honda remains unique in the UTV market by offering traditional manual transmissions and Dual-Clutch Transmissions (DCT) in models like the Pioneer 1000 and Foreman, rather than relying solely on rubber-band CVTs. If you are approaching a Honda UTV clutch rebuild with the mindset of a Honda Civic clutch replacement, you must adapt to a multi-plate wet clutch system bathed in engine oil.
Friction Pack and Spring Measurement
Unlike a single dry disc found in a Civic, the Pioneer 1000 utilizes a stacked friction and steel plate assembly. When inspecting the clutch pack, you must measure both the friction material thickness and the clutch spring free length.
- OEM Friction Plate Part Number: 22201-HL3-A01 (Always verify against your specific VIN via the Partzilla Honda Powersports Catalog)
- Friction Plate Thickness Limit: Standard thickness is roughly 3.0mm; the absolute service limit is 2.6mm. If any plate falls below this, the entire pack must be replaced to prevent uneven clamping and catastrophic basket notching.
- Clutch Spring Free Length: OEM spring (22401-HL3-A01) measures 45.2mm new. The service limit is 43.8mm. Springs that have sagged beyond this limit will result in clutch slip under heavy load, especially when turning oversized 32-inch mud tires.
Torque Specifications and Assembly
Reassembling a wet clutch requires meticulous attention to torque and lubrication. The clutch center locknut requires a specialized basket holding tool. The factory torque specification for the main shaft locknut is 108 Nm (80 lb-ft). Crucially, you must stake the new collar after torquing to prevent the nut from backing off under the high-RPM shock loads of off-road driving. Always soak the new friction plates in the exact OEM engine oil (typically Honda GN4 10W-30) for at least two hours before installation to prevent dry-start scarring.
Polaris and Can-Am CVT Systems: The Performance Upgrade Path
If your off-road rig is a Polaris RZR, Ranger, or Can-Am Maverick, you are dealing with a CVT. There is no friction disc, pressure plate, or flywheel to machine. Instead, performance hinges on sheave geometry, roller weights, and torsion springs. Upgrading a CVT is less about 'replacement' and more about 'tuning' the shift curve to match your specific tire size and terrain.
Primary Clutch (Drive Clutch) Tuning
The primary clutch is bolted directly to the engine crankshaft. It uses centrifugal force to push the movable sheave inward, pinching the drive belt and forcing it higher in the groove. To remove the primary clutch on a modern Polaris, you need a 28mm x 1.0 thread pitch clutch puller. Never use an impact wrench to remove the primary bolt; use a primary clutch holding tool and a breaker bar to avoid damaging the crankshaft threads.
For 2026 high-horsepower builds, aftermarket tuners like Dalton Industries offer adjustable profile weights (e.g., the DPK clutch kit). By adjusting the mass distribution inside the weight, you can manipulate the engagement RPM and the shift-out curve without having to buy multiple sets of fixed weights.
Secondary Clutch (Driven Clutch) and Helix Angles
The secondary clutch relies on a torsion spring and a helix ramp to control backshifting and belt pressure. The helix angle is the most critical variable in CVT tuning. A helix stamped with '50/44' means it starts at a 50-degree angle and ramps down to 44 degrees.
Pro Tuning Tip: A steeper finishing angle (like 44) provides aggressive backshifting, which is ideal for tight, technical rock crawling where the engine needs to stay in the powerband during rapid deceleration. A shallower angle (like 40) keeps RPMs pinned and is preferred for wide-open dune running or desert racing.
When servicing the secondary clutch, the center bolt torque is typically 55-60 lb-ft with a drop of Red Loctite 271. Always use a secondary clutch compression tool to safely remove the torsion spring; the stored kinetic energy in a high-rate UTV spring can cause severe injury if released uncontrolled.
Comparative Service Data: Street Car vs. Off-Road UTV
To contextualize the mechanical differences, review the comparative data below between a traditional street manual, a UTV wet manual, and a UTV CVT.
| Metric | Honda Civic (Street Manual) | Honda Pioneer 1000 (UTV Wet Manual) | Polaris RZR Pro R (UTV CVT) |
|---|---|---|---|
| Clutch Type | Single Dry Disc / Pressure Plate | Multi-Plate Wet (Oil Bathed) | Variable Sheave CVT |
| Primary Fastener Torque | 28 lb-ft (Pressure Plate to Flywheel) | 80 lb-ft (Center Shaft Locknut) | 120 lb-ft (Primary to Crankshaft) |
| Wear Indicator | Disc Thickness / Flywheel Runout | Friction Plate Stack Height / Spring Sag | Belt Width / Sheave Face Grooving |
| Performance Tuning Method | Upgraded Friction Material / Clamping Force | Stiffer Clutch Springs / Friction Material | Roller Weights, Helix Angles, Spring Rates |
| Typical Upgrade Brand | Exedy, ACT, South Bend | Honda OEM, EBC | Dalton Industries, EPI, STM |
Diagnosing Belt Slip and Sheave Wear in CVTs
In a CVT, the 'clutch replacement' often manifests as belt slip or erratic shifting. Belt slip generates immense heat, which glazes the belt cord and scores the aluminum sheave faces. If you are upgrading to 32-inch tires without retuning the clutch, the added rotational mass will overpower the stock spring rate, causing the belt to slip at low speeds.
When performing a CVT service, inspect the sheave faces. Minor glazing can be removed using 400-grit wet/dry sandpaper and a Scotch-Brite pad, always sanding in a radial outward motion. If you can catch your fingernail in a groove worn into the aluminum, the sheave is beyond repair and must be replaced or professionally re-sleeved. For extreme 2026 builds pushing over 200 horsepower, upgrading to a billet aluminum primary clutch from STM (Slayer Machine) provides superior heat dissipation and prevents the sheave from deforming under extreme belt pinch pressure.
Essential Tools for the 2026 UTV Clutch Rebuild
You cannot perform a UTV clutch service with standard automotive tools. To transition from street cars to off-road rigs, add these to your arsenal:
- Primary Clutch Puller (28mm x 1.0): Essential for Polaris and Can-Am applications. Do not confuse this with standard automotive harmonic balancer pullers.
- Secondary Clutch Compression Tool: Safely compresses the secondary spring to remove the retaining circlip.
- Clutch Alignment Tool: A straight edge or laser aligner to ensure the primary and secondary sheaves are perfectly parallel. Misalignment by even 1mm will destroy a $200 Kevlar drive belt in under 50 miles.
- Spring Rate Gauge / Chart: Reference charts from EPI Engineering to match your spring rate (e.g., EPI Purple 140/220 lbs) to your elevation and tire size.
Final Thoughts on Drivetrain Longevity
Whether you are torquing a pressure plate on a track car or adjusting roller weights on a trail rig, respect the engineering tolerances. The jump from a Honda Civic clutch replacement to UTV CVT tuning requires a shift in mindset: from managing static friction to managing dynamic, continuous centrifugal forces. Keep your sheaves clean, your springs matched to your tire size, and always torque your fasteners to factory specifications. The dirt is unforgiving, but a properly tuned drivetrain will deliver power to the ground flawlessly, mile after brutal mile.