The Olfactory Diagnostic Matrix: Identifying the Burn
When a burning odor penetrates the cabin of a GM Silverado, Camaro, or Corvette, the immediate assumption among many drivers is a failing drivetrain clutch. However, as automotive systems have grown more complex in 2026, the source of a 'clutch burning smell' is frequently misdiagnosed. The accessory drive system—specifically the air conditioning compressor clutch—can generate odors that perfectly mimic burning friction material. Proper symptom diagnosis requires a systematic approach to isolate whether the smell originates from the manual transmission, the automatic torque converter clutch (TCC), or the AC compressor electromagnetic assembly.
Before reaching for a transmission jack or a gm ac compressor clutch removal tool, technicians must perform an olfactory and operational triage. The chemical composition of the smoke and the conditions under which the odor presents itself are your primary diagnostic data points.
| Odor Profile | Probable Component | Chemical Source | Diagnostic Trigger Condition |
|---|---|---|---|
| Burnt Toast / Acrid | Manual Clutch Facings | Organic/Kevlar friction material | High RPM launches, heavy traffic slipping |
| Sweet / Syrupy Burn | Automatic Trans TCC | Overheated Dexron VI / ULV fluid | Highway cruising, torque converter slip |
| Electrical / Ozone | AC Compressor Coil | Melting copper windings / epoxy | AC engaged, compressor seized or locked |
| Hot Metal / Burnt Rubber | AC Friction Plate | Slipping clutch hub / bearing drag | AC engaged, wide air gap or low voltage |
Drivetrain Clutch Failures: Manual and Automatic
Manual Transmission (Tremec T56 / T56 Magnum)
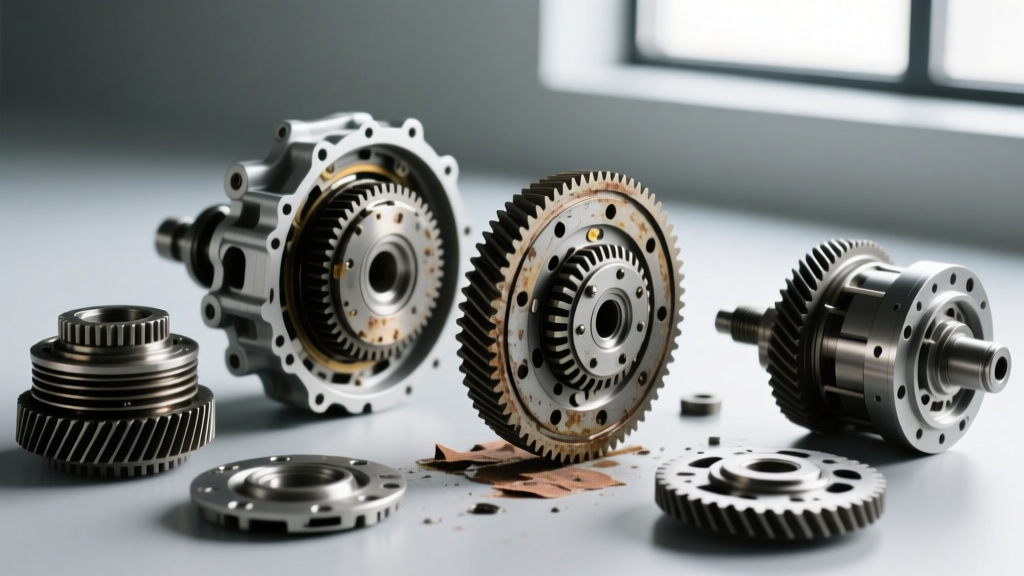
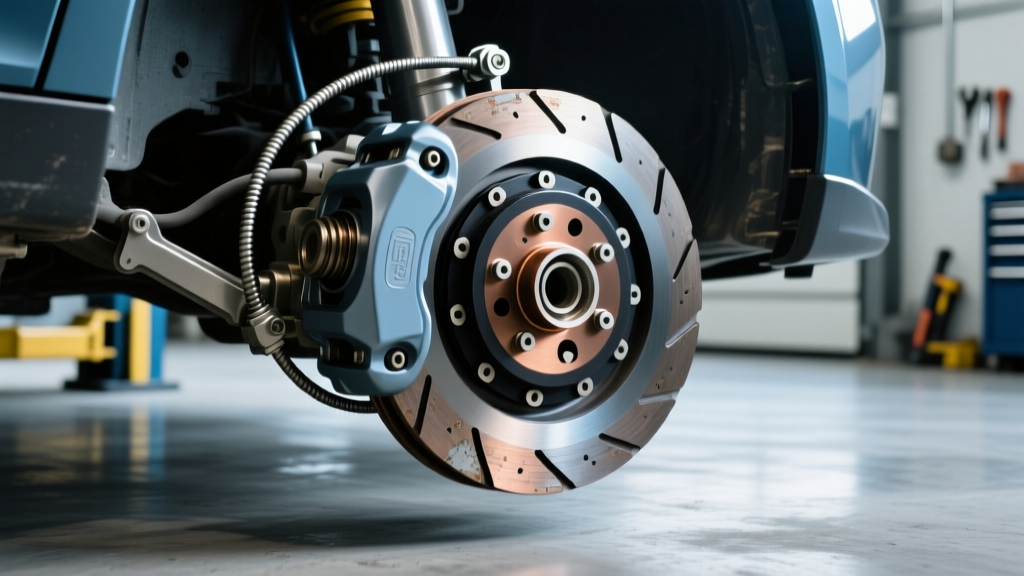
In GM manual applications, such as the Camaro SS equipped with the Tremec T56 Magnum, a burning smell is almost always the result of excessive slip on the organic or ceramic friction facings. Organic facings begin to glaze and burn at surface temperatures exceeding 400°F (204°C). If the smell is accompanied by a high engagement point or a spongy pedal, check the hydraulic master cylinder for internal bypassing. A failing clutch master cylinder will not fully disengage the pressure plate, causing continuous micro-slipping and subsequent burning. Pedal freeplay should be strictly maintained between 1.0 and 1.5 inches.
Automatic Transmission (GM 6L80 / 8L90)
For GM automatics like the 6L80 or the 8L90, the 'clutch' in question is the Torque Converter Clutch (TCC). When the TCC friction lining degrades or the apply pressure is compromised by a worn valve body bore, the converter slips continuously. This generates immense heat, boiling the Dexron VI (or Dexron ULV in the 8L90) and producing a distinct, sweet, syrupy burning smell. Diagnosis requires reading the TCC slip speed via an OBD-II scanner; slip exceeding 50 RPM at steady-state highway cruising indicates internal failure.
The Hidden Culprit: AC Compressor Clutch Failures
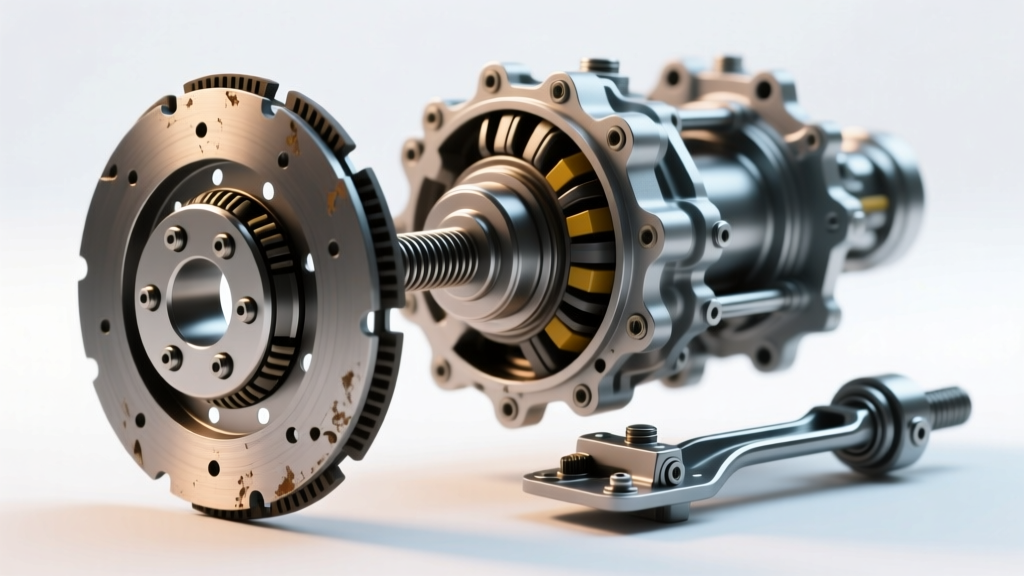
If the drivetrain data is nominal and the burning smell only occurs when the HVAC system is set to 'A/C' or 'Defrost', the AC compressor electromagnetic clutch is the prime suspect. The AC clutch consists of three main components: the pulley (rotor), the electromagnetic coil, and the friction plate (hub).
Burning occurs here for two primary reasons:
- Electrical Coil Burnout: If the compressor's internal swashplate seizes due to lack of lubrication, the pulley stops turning while the coil remains energized. The resulting friction between the stationary pulley and the spinning friction plate will melt the coil's epoxy casing, releasing a harsh, electrical burning smell.
- Voltage Drop and Micro-Slipping: The electromagnetic coil requires a solid 12V reference to maintain the air gap closure. A corroded relay or degraded wiring harness dropping voltage below 10.5V will cause the friction plate to slip continuously against the pulley, generating a hot metal and burnt rubber odor.
Step-by-Step: Using a GM AC Compressor Clutch Removal Tool
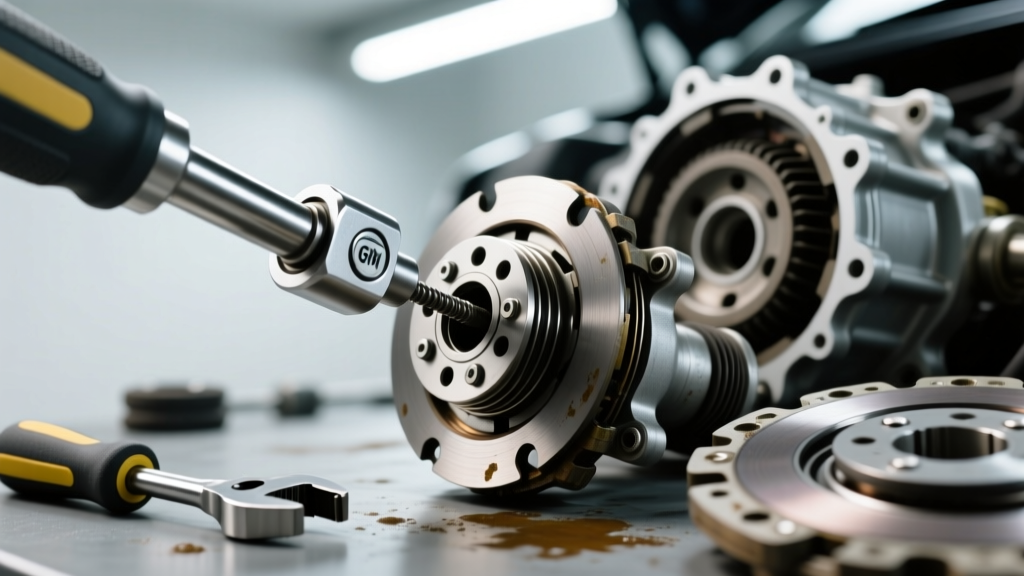
Once the AC system is isolated as the source of the odor, deploying a dedicated gm ac compressor clutch removal tool is mandatory to prevent catastrophic damage to the compressor snout and internal bearings. Prying the clutch off with screwdrivers will warp the friction plate and ruin the compressor housing. Authoritative tool manufacturers like Lisle Corporation (Part #45750) and OTC Tools (Part #4521) produce application-specific puller/installer sets for GM compressors (such as the common Harrison HT6 and Delphi CVC models).
Extraction Procedure
- Center Bolt Removal: Use a 10mm or 15mm socket (depending on the specific GM compressor model) to remove the friction plate center bolt. Note the presence of any shims or spacers on the shaft.
- Friction Plate Pulling: Thread the appropriate adapter from your GM AC compressor clutch removal tool into the friction plate. Turn the forcing screw to extract the hub from the tapered compressor shaft.
- Snap Ring Extraction: Use internal/external snap ring pliers to remove the retaining ring securing the pulley and coil assembly.
- Pulley and Coil Removal: Reconfigure the puller tool to grip the pulley. Apply steady pressure to slide the pulley and coil assembly off the compressor snout. Inspect the coil windings for visible melting or charred epoxy.
Reassembly, Air Gap Shimming, and Torque Specifications
Whether you are replacing just the coil (e.g., ACDelco Part # 15-2212) or the entire clutch assembly, precise reassembly is critical to prevent a recurrence of the burning smell. The most vital measurement is the air gap between the friction plate and the pulley rotor.
- Target Air Gap: 0.020' to 0.030' (0.5mm to 0.75mm).
- Shimming: If the gap is too wide (>0.035'), the electromagnetic coil cannot fully engage the friction plate, leading to slipping and burning. Remove the friction plate and add shims to the compressor shaft. If the gap is too tight (<0.015'), the clutch will drag when disengaged, causing bearing wear and heat.
- Center Bolt Torque: Torque the friction plate center bolt to 11 lb-ft (15 Nm). Do not over-torque, as this can strip the aluminum threads on the compressor shaft.
- Coil Resistance Test: Before final reassembly, test the new coil with a multimeter set to Ohms. A healthy GM AC clutch coil should read between 3.5 and 4.5 ohms at 68°F (20°C).
2026 Repair Cost and Tool Investment Analysis
Understanding the financial implications of these repairs helps technicians and DIY enthusiasts make informed decisions. Below is a breakdown of average costs associated with clutch burning smell diagnoses and repairs in the current market.
| Component / Tool | Estimated Cost (USD) | Notes |
|---|---|---|
| GM AC Clutch Puller Tool Kit | $45 - $85 | One-time investment; essential for preventing snout damage. |
| AC Compressor Clutch Coil | $35 - $60 | Requires system recovery if compressor is replaced, but coil can often be swapped in-car. |
| Complete AC Compressor (OEM) | $280 - $450 | Required if internal swashplate seizure caused the clutch burn. |
| Manual Clutch Kit (Tremec T56) | $350 - $600 | Includes disc, pressure plate, and throwout bearing. |
| Automatic TCC Solenoid / Valve Body | $150 - $300 | Fixes TCC slip; does not require full transmission removal. |
Conclusion
A clutch burning smell in a GM vehicle is a distress signal that demands immediate, accurate diagnosis. While the drivetrain manual and automatic clutches are common culprits, the accessory drive system—specifically the AC compressor clutch—must never be overlooked. By utilizing an olfactory diagnostic matrix, verifying electrical voltages, and employing the correct gm ac compressor clutch removal tool, you can accurately isolate the failure, protect surrounding components from collateral damage, and execute a precise, lasting repair. For further diagnostic procedures and technical service bulletins, always consult the GM Owner Center or your factory service manual.