The Physics of Air Ingress in Clutch Hydraulics
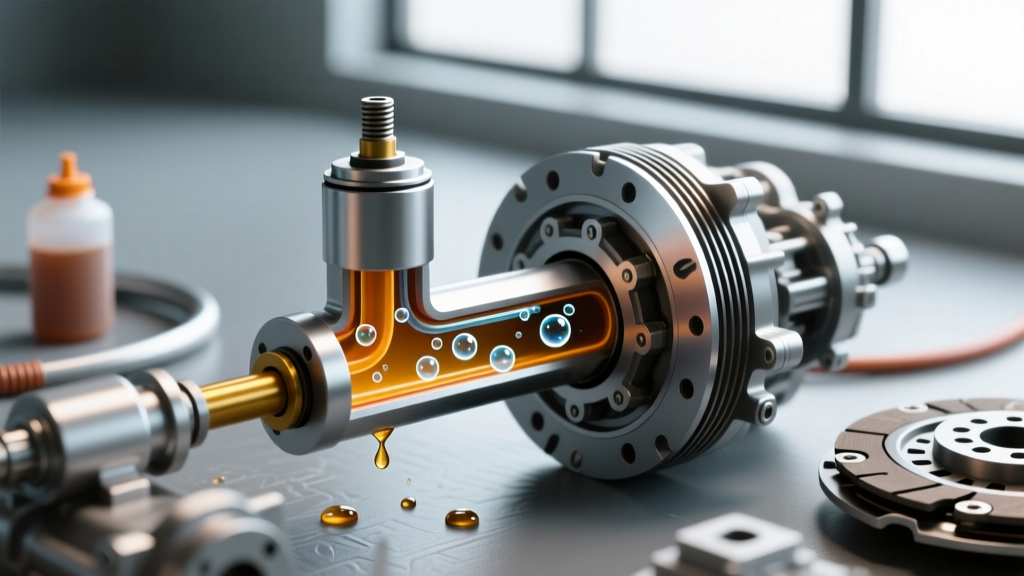
A spongy clutch pedal, difficulty engaging gears, and premature synchronizer wear are the hallmark symptoms of air in the clutch hydraulic system. When bleeding clutch slave cylinder assemblies, technicians and DIY enthusiasts frequently battle stubborn micro-bubbles that refuse to evacuate. Unlike mechanical linkages, hydraulic systems rely on the incompressibility of fluid to transfer pedal force to the clutch fork or release bearing. When air enters the system, the compressible gas absorbs pedal travel, resulting in incomplete clutch disengagement.
Air typically infiltrates the system through three primary vectors: hygroscopic fluid degradation, porous master cylinder seals, and microscopic leaks at banjo fittings or quick-connect joints. In modern vehicles equipped with internal slave cylinders—such as the Tremec T56 Magnum or the ZF S6-650 transmissions found in high-performance applications—the slave cylinder resides inside the bell housing. This design makes traditional gravity bleeding nearly ineffective, as air naturally rises and becomes trapped in the high points of the hydraulic line or the master cylinder itself.
Fluid Selection: DOT 4 vs. DOT 5.1 for High-Performance Applications
Before attempting any bleeding procedure, verifying the correct hydraulic fluid is paramount. Using the wrong fluid can degrade internal EPDM rubber seals, leading to catastrophic failure. While DOT 3 and DOT 4 fluids are standard for most OEM applications, high-performance or heavy-duty towing vehicles benefit from upgraded formulations.
| Fluid Specification | Dry Boiling Point | Wet Boiling Point | Best Application |
|---|---|---|---|
| DOT 3 | 401°F (205°C) | 284°F (140°C) | Standard daily drivers, low-cost maintenance |
| DOT 4 | 446°F (230°C) | 311°F (155°C) | OEM replacement, moderate performance driving |
| DOT 5.1 | 500°F (260°C) | 356°F (180°C) | Track use, heavy towing, high-heat environments |
| DOT 5 (Silicone) | 500°F (260°C) | 356°F (180°C) | Classic cars (WARNING: Do NOT mix with DOT 3/4/5.1) |
According to Motul Technical Data Sheets, glycol-based fluids (DOT 3, 4, and 5.1) are hygroscopic, meaning they absorb moisture from the atmosphere over time. This moisture lowers the fluid's wet boiling point and promotes internal corrosion. For optimal results when bleeding the system, always use a fresh, unopened bottle of DOT 4 or DOT 5.1 fluid. Flushing the system every two years is a best practice to prevent the master and slave cylinder seals from swelling or pitting.
Expert Technique: Reverse Bleeding the Slave Cylinder
Traditional 'pump-and-hold' or gravity bleeding methods often fail when dealing with internal slave cylinders or complex routing. The most effective method for purging air in lines is reverse bleeding. This technique involves forcing fluid from the slave cylinder bleeder valve UP through the hydraulic line and into the master cylinder reservoir. Because air naturally rises, pushing the fluid upward aligns with the buoyancy of the trapped air bubbles, carrying them effortlessly into the reservoir.
Step-by-Step Reverse Bleed Procedure
- Prep the Reservoir: Extract old fluid from the master cylinder reservoir using a turkey baster or syringe. Fill with fresh DOT 4/5.1 fluid to the MAX line.
- Attach the Reverse Bleeder: Connect a reverse bleeder tool (such as the Motive Products Power Bleeder or a large 100ml veterinary syringe) to the slave cylinder bleeder valve using a clear vinyl hose.
- Open the Bleeder Valve: Use a 6-point box-end wrench to crack the bleeder screw. Avoid using open-end wrenches, which can round off the soft brass or steel bleeder nipples.
- Inject the Fluid: Slowly push the fluid from the syringe into the slave cylinder. Watch the master cylinder reservoir closely to ensure it does not overflow.
- Monitor for Bubbles: Continue injecting until you see a steady stream of clear, bubble-free fluid entering the master cylinder reservoir.
- Close and Clean: Tighten the bleeder valve, remove the hose, and immediately wash any spilled fluid off the vehicle's paint, as glycol-based fluids will strip clear coat within minutes.
Hardware Upgrades and Critical Torque Specifications
Air in the clutch hydraulic system isn't always due to improper bleeding; it can be caused by expanding OEM lines or loose fittings. Many modern trucks, such as the GM Silverado/Sierra platforms, utilize plastic hydraulic lines with quick-connect fittings. Under high hydraulic pressure, these plastic lines can expand, mimicking the sensation of air in the system. Upgrading to a braided stainless steel line from manufacturers like Goodridge Hydraulic Lines eliminates line expansion and provides a rock-solid pedal feel.
When reinstalling hydraulic components, adhering to precise torque specifications is critical. Over-tightening banjo bolts can crush the copper or aluminum crush washers, leading to micro-leaks that draw in air during pedal release (when the system experiences negative pressure).
| Hardware Component | Thread Size / Type | Target Torque Specification |
|---|---|---|
| Master Cylinder Banjo Bolt | M10 x 1.0 | 18 - 22 lb-ft (25 - 30 Nm) |
| Slave Cylinder Hard Line Flare Nut | M12 x 1.0 | 11 - 15 lb-ft (15 - 20 Nm) |
| Bleeder Screw (External Slave) | M6 x 1.0 | 4 - 6 lb-ft (5 - 8 Nm) |
| Hydraulic Quick-Connect Retainer | Push-to-Connect | Hand Seat + Verify Yellow/Red Lock Tab |
Expert Tip: Always use two new crush washers (one on each side of the banjo fitting) every time the line is disconnected. Reusing old, compressed washers is the leading cause of post-repair fluid weeping.
Advanced Troubleshooting for Stubborn Air Pockets
Even after a meticulous reverse bleed, some systems—particularly those with a master cylinder positioned lower than the reservoir or with complex looped lines—may retain micro-bubbles. If the pedal still feels spongy, employ these advanced diagnostic tricks:
- The Zip-Tie Method: Depress the clutch pedal to the floor and secure it to the steering wheel or seat bracket using a heavy-duty zip-tie. Leave the vehicle overnight. This maintains positive pressure in the line, forcing micro-bubbles to coalesce into larger bubbles that will naturally float up into the master cylinder reservoir by morning.
- Vibration Agitation: While a helper holds pressure on the clutch pedal, use a vibrating tool (or gently tap with a rubber mallet) along the length of the hydraulic hard lines and the master cylinder body. This vibration breaks the surface tension of bubbles clinging to the inner walls of the steel lines.
- Bench Bleed the Master Cylinder: If the master cylinder was replaced or run completely dry, it must be bench-bled before installation. Clamping the master cylinder in a vise and cycling the pushrod with a screwdriver while submerged in fluid is the only way to evacuate air from the primary and secondary internal chambers. Schaeffler LUK Clutch Systems strongly recommends bench bleeding all replacement hydraulic master cylinders to prevent immediate cavitation upon first use.
Diagnostic Note: If the pedal feels firm when pumped rapidly but slowly sinks to the floor under sustained pressure, you do not have air in the lines. You have an internal bypass leak inside the master cylinder or a blown slave cylinder seal. No amount of bleeding will fix this; component replacement is mandatory.
Summary of Best Practices
Successfully eliminating air from a clutch hydraulic system requires patience, the correct fluid chemistry, and an understanding of hydraulic physics. By prioritizing reverse bleeding techniques, upgrading vulnerable OEM plastic lines to braided stainless steel, and strictly adhering to factory torque specifications, you can achieve a crisp, predictable clutch pedal. Whether you are maintaining a daily driver or tuning a high-horsepower track car, treating the clutch hydraulics with the same precision as the brake system is essential for seamless power delivery and transmission longevity.