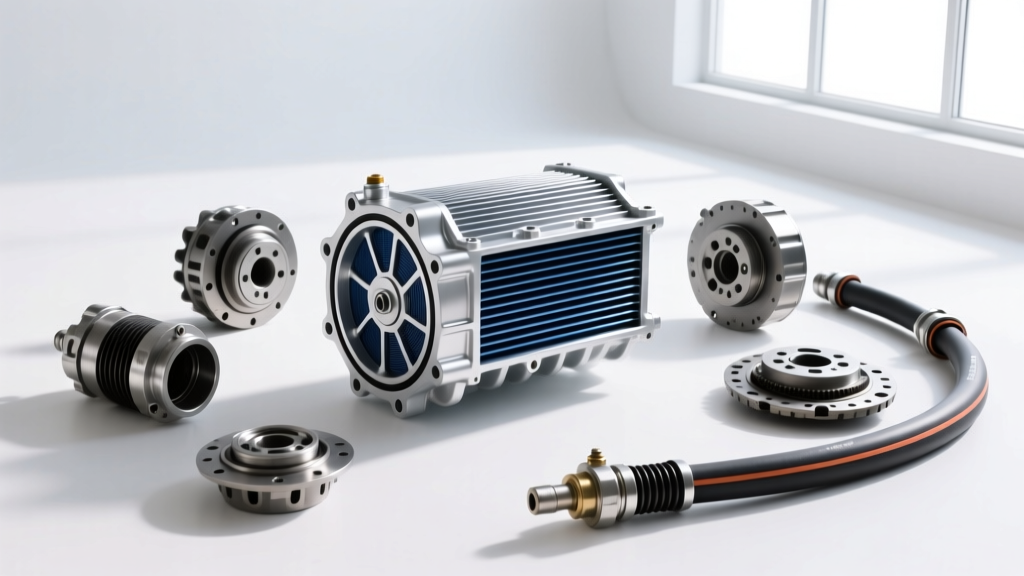
Why Transmission Cooler Mounting Dictates Your Maintenance Routine
When enthusiasts and daily drivers alike decide to add an auxiliary transmission cooler to their vehicle, the focus is almost entirely on thermal performance. We look at core volume, fin density, and fluid capacity. However, as we move through 2026, with modern 10-speed automatics and heavy-duty EV conversions pushing thermal management systems to their limits, the physical installation is just as critical as the cooler's specifications. Specifically, transmission cooler mounting is the hidden foundation of your entire maintenance routine.
If you are new to automotive drivetrain care, you might assume that once the cooler is bolted on and the lines are bled, the job is done. In reality, how and where you mount the cooler determines how often you need to inspect it, how quickly the fins clog with road debris, and whether the internal brazed joints will survive high-frequency chassis vibrations. A poorly mounted cooler transforms a simple annual inspection into a monthly chore, and worse, it can lead to catastrophic fluid loss. This beginner-friendly guide will bridge the gap between installation and long-term transmission cooler maintenance, giving you the exact torque specs, hardware requirements, and inspection checklists needed to keep your drivetrain cool and reliable.
The Hidden Link Between Vibration, Mounting, and Fluid Leaks
To understand maintenance, you must first understand the forces acting on your cooler. Vehicles with body-on-frame architectures, solid axles, or aggressive off-road suspensions transmit immense high-frequency vibration through the chassis. If you rigidly mount a stacked-plate cooler—such as the popular Mishimoto MMTC-U—directly to a steel crossmember without proper isolation, those vibrations travel straight into the cooler's core.
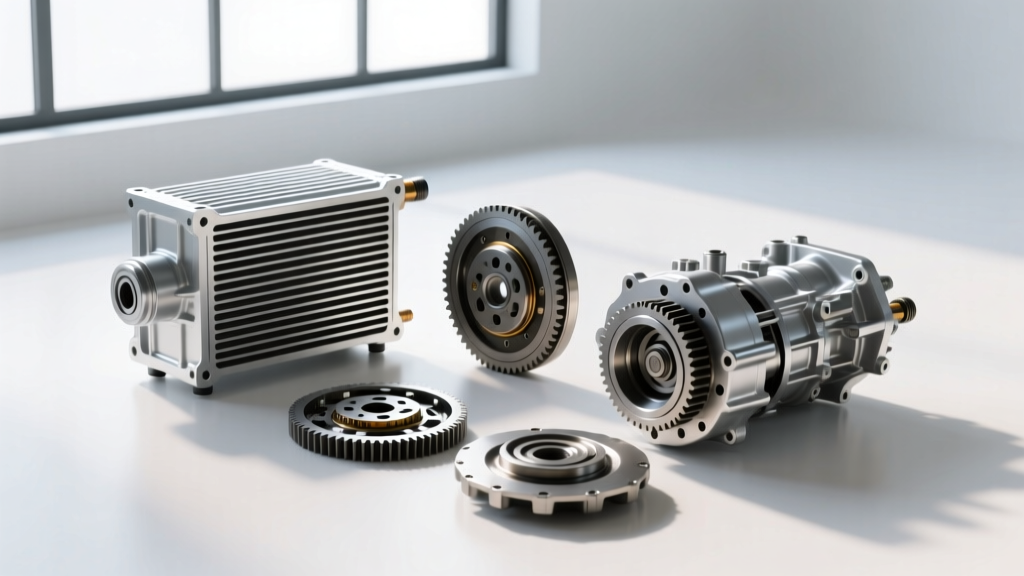
Stacked-plate coolers are constructed by brazing thin aluminum plates together in a furnace. While incredibly strong under static pressure (often rated for 150+ PSI), the brazed joints are susceptible to metal fatigue from harmonic vibration. Over time, this leads to micro-fractures. You will not see a massive blowout; instead, you will notice a slow, persistent weeping of ATF (Automatic Transmission Fluid) around the core edges. According to Mishimoto engineering guidelines, utilizing rubber isolators with a Shore A hardness of 60 to 70 is mandatory to absorb these harmonics. Checking these isolators for dry rot and compression set is the very first step in your maintenance routine.
The 4-Point Transmission Cooler Maintenance Checklist
Maintaining your cooler is not just about wiping it down. It requires a systematic approach to hardware, airflow, and fluid connections. Keep this checklist in your garage.
1. Inspecting Mounting Hardware and Isolators
Every 6,000 miles (or during every oil change), physically grab the cooler and attempt to wiggle it. There should be zero metallic clunking. If you used standard Grade 5 hardware, upgrade to Grade 8 or stainless steel flange bolts.
- M6x1.0 Mounting Bolts: Torque to 7-9 lb-ft. Use a medium-strength threadlocker (blue).
- M8x1.25 Mounting Bolts: Torque to 15-18 lb-ft.
- Rubber Grommets: Inspect for cracking or flattening. If the grommet is compressed by more than 30% of its original thickness, replace it. A set of universal 60A durometer isolators costs between $8 and $12 at most hardware stores.
2. Fin Cleaning and Airflow Verification
Different cooler designs require different cleaning approaches. Tube-and-fin coolers (like the Derale Series 8000) typically feature a lower fin density (8-12 FPI, or Fins Per Inch), making them easy to blast clean with compressed air or a low-pressure water spray. Stacked-plate coolers pack fins much tighter (16-18 FPI) to maximize surface area in a compact footprint.
During maintenance, use a soft-bristle brush and a dedicated fin comb tool ($12-$18) to straighten any bent fins before cleaning. Bent fins create localized turbulence and dead zones where dirt accumulates. Never use a high-pressure washer directly on stacked-plate fins, as the water pressure will easily fold the delicate aluminum, permanently choking your airflow.
3. Fitting and Line Connection Torque Checks
The most common maintenance failure for beginners is ignoring the AN (Army-Navy) fittings. Vibrations from the engine bay and thermal expansion/contraction cycles can cause fittings to back out or, conversely, cause overtightened fittings to strip the aluminum end-tanks. When performing your bi-annual maintenance check, use a crowfoot wrench to verify torque specs on your lines:
- -6 AN Fittings (9/16-18 UNF): Torque to 15-18 lb-ft. Common on standard passenger cars and light trucks.
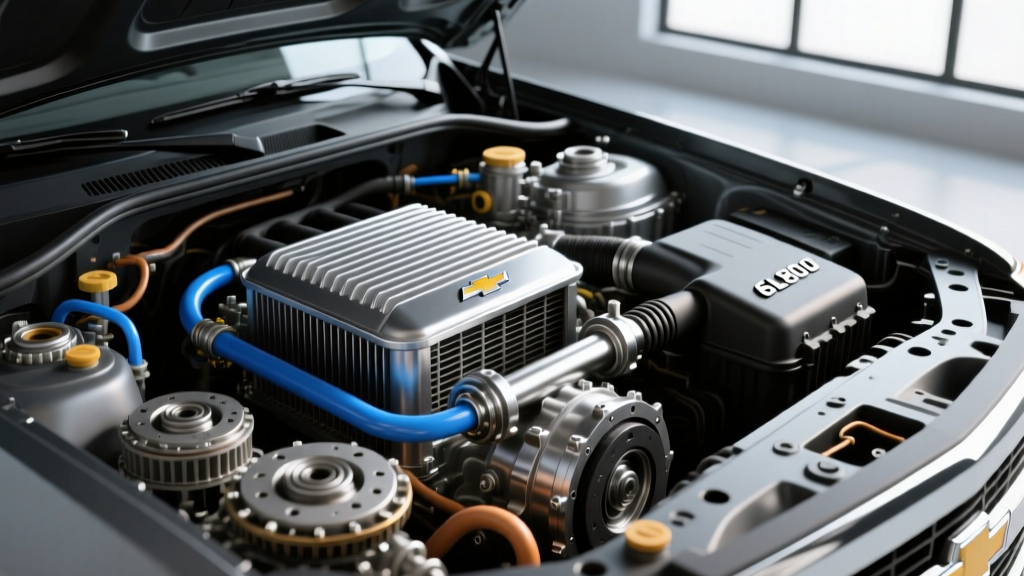
- -8 AN Fittings (3/4-16 UNF): Torque to 20-25 lb-ft. Required for high-flow applications like the GM 6L80 or Allison 1000 series.
Always use aluminum or stainless steel crush washers (or specific O-ring boss seals, depending on your adapter) and replace them if you ever disconnect the lines for a fluid flush.
4. Thermal Tape and Line Routing Inspection
Auxiliary cooler lines often run dangerously close to exhaust components. During your maintenance walk-around, check the thermal barrier tape or heat-shleeving on your rubber hoses. If the reflective tape is peeling or the rubber hose feels excessively hard and brittle to the touch, it is time to reroute the line or replace the hose. A professional transmission flush and fluid replacement costs between $150 and $220, but a melted cooler line will drain your pan in seconds, resulting in a $3,000+ transmission rebuild.
Transmission-Specific Cooling Requirements and Maintenance Intervals
Your maintenance intensity should scale with the thermal sensitivity of your specific transmission. Modern units are incredibly precise, and degraded fluid leads directly to mechatronic and solenoid failures. Below is a breakdown of common transmissions, their fluid needs, and how mounting location dictates maintenance frequency.
| Transmission Model | Fluid Type / Capacity | Ideal Temp Range | Recommended Cooler & Mount Style | Maintenance Interval |
|---|---|---|---|---|
| GM 4L60E | Dexron VI / ~11.5L | 160°F - 190°F | Tube-and-Fin, Front Bumper Mount | 12 Months / 12k Miles |
| GM 6L80 | Dexron VI / ~11.2L | 170°F - 200°F | Stacked-Plate, Core Support Bracket | 6 Months / 6k Miles |
| ZF 8HP70 | ZF Lifeguard 8 / ~9.5L | 175°F - 205°F | High-Flow Plate, Dedicated Fan | 6 Months / 6k Miles |
The ZF 8HP series is notoriously sensitive to fluid degradation. As noted in Sonnax technical resources, elevated temperatures accelerate the breakdown of friction modifiers, leading to harsh shifts and solenoid sticking. If you are running a ZF transmission in a towing or track application, mounting a cooler with an integrated auxiliary fan (like the Hayden Automotive Rapid-Cool series) ensures airflow even in stop-and-go traffic, drastically reducing your need to constantly monitor fluid degradation.
Common Mounting Mistakes That Accelerate Wear
As a beginner, it is easy to fall into a few common traps when installing and maintaining your cooler. Avoid these mistakes to save yourself hours of frustrating maintenance:
Expert Tip: Never use plastic zip-ties to mount a heavy stacked-plate cooler directly to the vehicle's AC condenser. The weight of the cooler (often 8-12 lbs) combined with the leverage of the fluid-filled lines will bend the condenser fins, restrict AC airflow, and eventually snap the condenser tubes. Always use independent L-brackets bolted to the core support or frame horns.
Another major mistake is mounting the cooler behind the plastic bumper cover or below the bumper beam where it looks 'hidden.' This creates a low-pressure zone. Without direct, high-velocity ram air, the cooler acts as a fluid reservoir rather than a heat exchanger. This forces you to drop the transmission pan and change the fluid twice as often to combat thermal breakdown. If you must mount it low, Derale Performance recommends utilizing a pusher-style electric fan mounted directly to the cooler core to guarantee active airflow.
Upgrading Your Hardware for Easier Maintenance
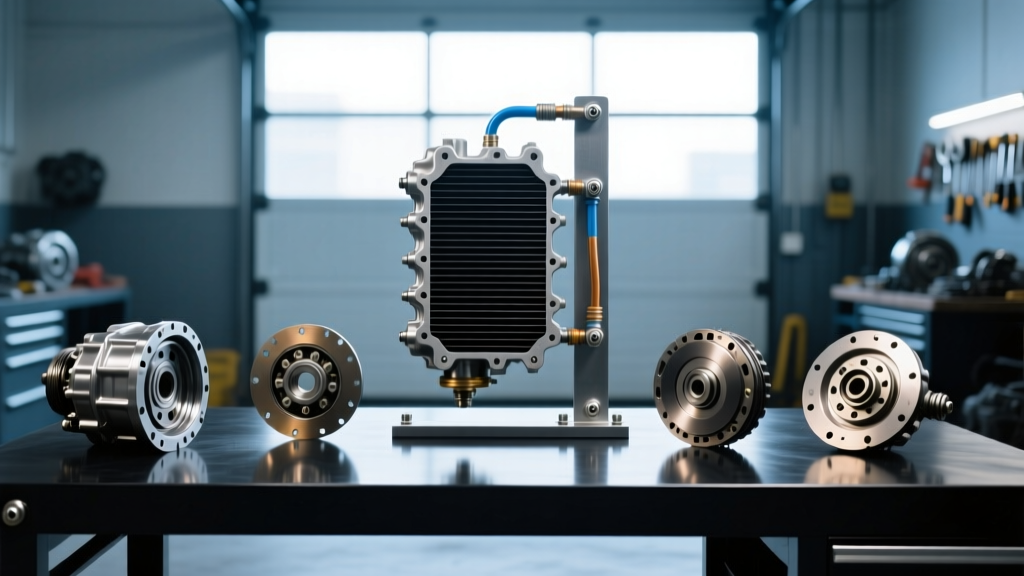
If you inherited a vehicle with a poorly mounted cooler, or if your current setup makes cleaning and inspection difficult, take the time to upgrade your hardware. Swapping out rigid steel straps for a universal L-bracket kit ($25-$45) with slotted mounting holes allows you to easily slide the cooler out of the way without disconnecting the fluid lines. This simple modification turns a frustrating 45-minute cleaning job into a quick 10-minute task with a can of compressed air.
Furthermore, installing inline magnetic filters (such as the Magnefine brand) on the return line from the cooler back to the transmission is a game-changer for maintenance. These inline filters catch the microscopic clutch material and metallic debris that would otherwise pack into the tight 16 FPI fins of your stacked-plate cooler. Changing a $15 inline filter during your oil change is infinitely easier than trying to back-flush a clogged cooler core.
Final Thoughts on Drivetrain Longevity
Transmission cooler maintenance is not an isolated task; it is deeply intertwined with how the cooler was originally mounted. By respecting torque specifications, utilizing proper vibration isolation, and ensuring unobstructed airflow, you transform your auxiliary cooler from a potential failure point into a reliable guardian of your drivetrain. Whether you are daily driving a truck with a 6L80 or track-testing a ZF 8HP, treating your mounting hardware with the same respect as your internal engine components will ensure your transmission stays cool, shifts crisp, and lasts for hundreds of thousands of miles.