Heat is the undisputed enemy of automatic transmissions. For every 20°F increase over the optimal 175°F to 200°F operating range, the lifespan of your transmission fluid is effectively cut in half. When fluid degrades, clutch packs slip, valve bodies clog, and catastrophic failure follows. The component standing between your drivetrain and this thermal destruction is the transmission cooler. As a beginner, understanding how to maintain this system and execute a basic transmission cooler leak repair is one of the most cost-effective skills you can develop to protect your vehicle.
Expert Insight: Modern 8-speed and 10-speed transmissions (like the ZF 8HP and Ford 10R80) operate with incredibly tight tolerances and low-viscosity fluids like Dexron ULV or Mercon ULV. These fluids are highly sensitive to thermal breakdown, making cooler integrity more critical in 2026 than ever before.
The Anatomy of a Transmission Cooling System
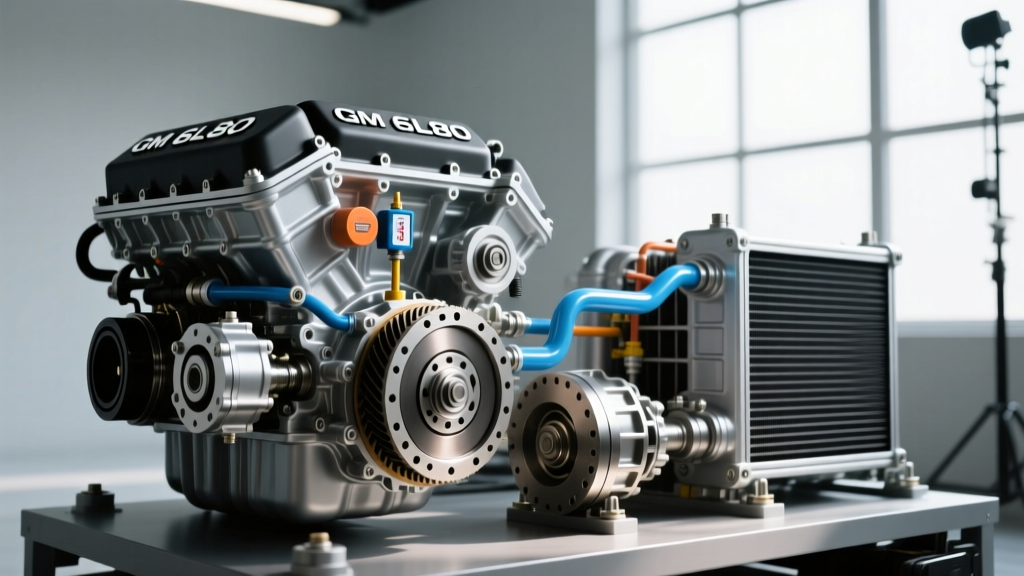
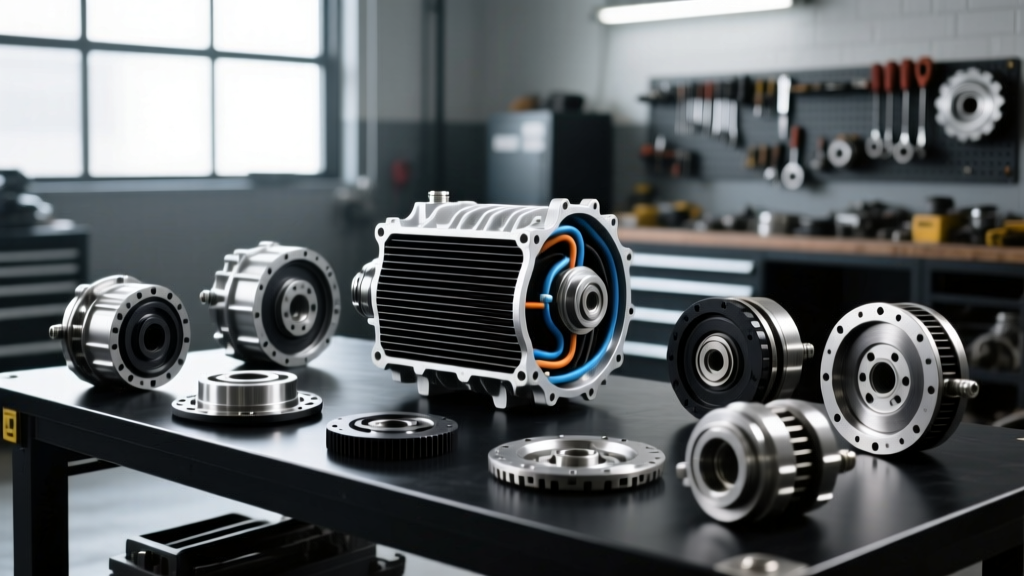
Before attempting any repairs, you must understand how transmission fluid routes through your vehicle. In most daily drivers, the primary transmission cooler is integrated into the bottom tank of the engine's radiator. Hot automatic transmission fluid (ATF) enters the radiator's isolated cooler chamber, sheds heat into the surrounding engine coolant, and returns to the transmission.
Integrated vs. Auxiliary Coolers
While integrated coolers work for standard commuting, they fall short under heavy loads. This is where auxiliary coolers come in. Aftermarket stacked-plate coolers (such as the Hayden Rapid-Cool 679 or Derale Series 8000) are typically mounted in front of the radiator or AC condenser. They use ambient airflow to drop fluid temperatures by an additional 20°F to 40°F. However, adding an auxiliary cooler introduces extra hoses, fittings, and potential leak points, making routine maintenance essential.
4 Warning Signs You Need a Transmission Cooler Leak Repair
Catching a leak early prevents low-fluid operation, which causes immediate internal friction damage. Watch for these symptoms:
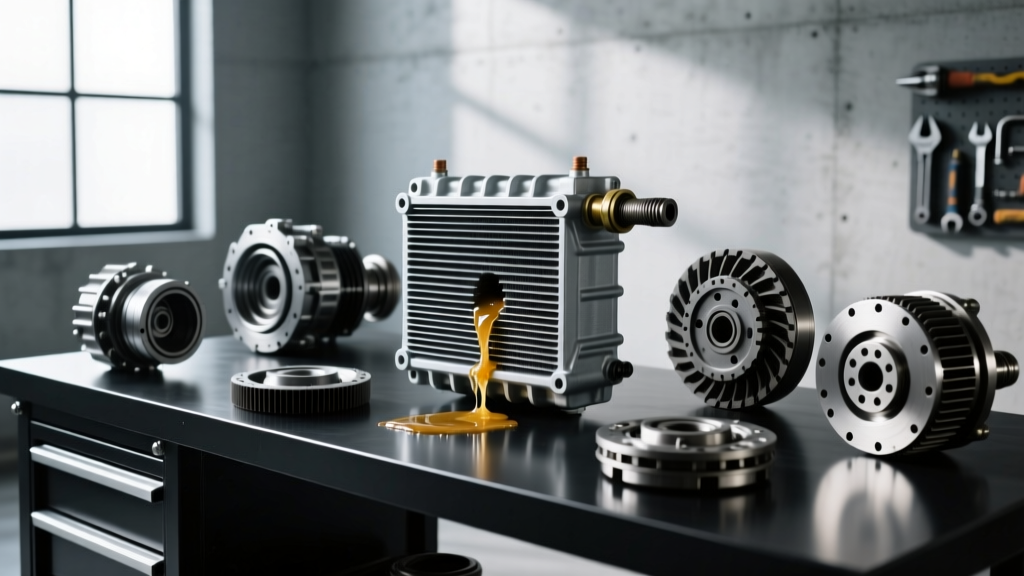
- Puddles Under the Front End: ATF is typically bright red (when new) or dark brown (when old). If you spot oily, reddish-brown puddles near the radiator or front crossmember, suspect a cooler line leak.
- Burning Odors: Leaking fluid often drips onto hot exhaust manifolds or the radiator cooling fans, creating a distinct, acrid burning smell in the cabin.
- Erratic Shifting or Slipping: A slow leak drops the overall fluid volume. The transmission pump will begin to cavitate (suck air), leading to delayed engagements, harsh shifts, or RPM flaring between gears.
- The "Strawberry Milkshake" Effect: If your fluid on the dipstick looks like a pink, frothy milkshake, the internal barrier inside the radiator has ruptured. Coolant and ATF have mixed. This requires immediate professional intervention, not a simple external line repair.
Preventative Transmission Cooler Maintenance Checklist
Prevention is always cheaper than a rebuild. Follow this maintenance matrix to keep your cooling system pressurized and leak-free.
| Component | Inspection Interval | Action Required | Pro Tip for 2026 Vehicles |
|---|---|---|---|
| Cooler Hoses (Rubber) | Every 15,000 miles | Check for dry rot, sponginess, or weeping at clamps. | Only use SAE J1532 spec transmission hose; standard fuel line will dissolve. |
| Metal Hard Lines | Every 30,000 miles | Inspect for rust scaling, especially near frame mounts. | Spray with fluid film or lanolin-based rust inhibitor annually. |
| Quick-Connect Fittings | Every fluid change | Check for brittle plastic retaining clips and O-ring weeping. | Upgrade to CNC-machined aluminum bypass fittings on GM 4L60E/6L80 models. |
| Cooler Fins (External) | Bi-Annually (Spring/Fall) | Blow out debris, bugs, and road grime with compressed air. | Use low-pressure air from the engine-side outward to avoid bending delicate fins. |
DIY Transmission Cooler Leak Repair: Fixing External Line Leaks
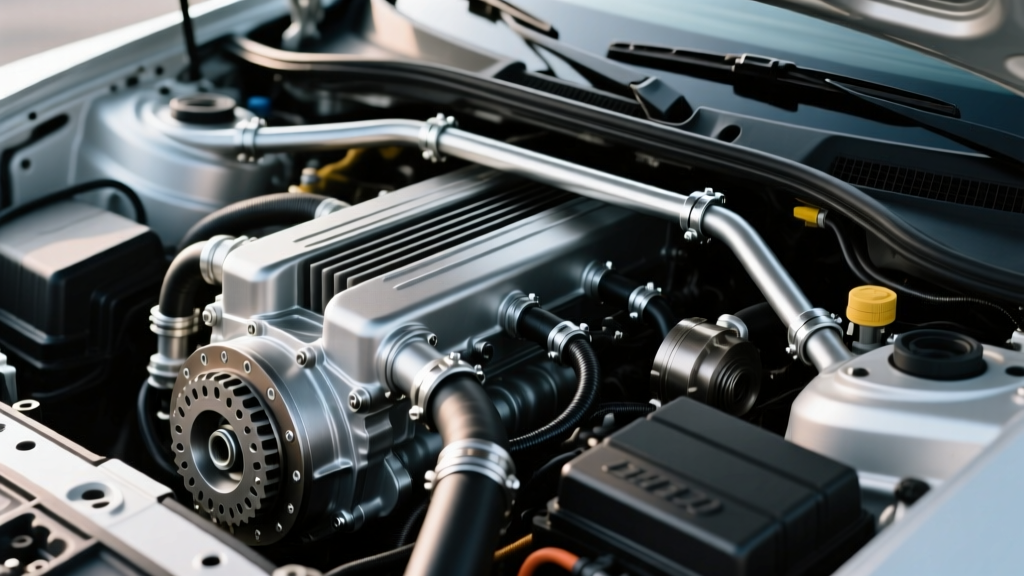
The most common external leaks occur at the rubber isolation hoses, the hose clamps, or the threaded adapter fittings where the hard lines meet the radiator. Below is a beginner-friendly guide to repairing a leaking external cooler line.
Step 1: Depressurize and Drain
Transmission cooler lines operate under low pressure (typically 15 to 30 PSI) compared to fuel or power steering lines, but they hold a significant volume of fluid. Place a large drain pan (minimum 10-quart capacity) under the radiator. Use a 14mm or 16mm flare nut wrench to loosen the hard line fitting at the radiator tank. Never use an open-end wrench, as cooler line nuts are easily rounded off. Allow the fluid to drain completely.
Step 2: Remove and Replace the Failing Section
If the leak is at a rubber hose section, use a specialized hose removal tool or carefully slice the rubber hose longitudinally with a utility knife to avoid scoring the metal hard line barb.
Critical Rule: When replacing the hose, you must use dedicated Transmission Cooler Hose (rated for hot ATF and high-pressure surges). Standard fuel or vacuum hose will degrade internally within weeks, sending rubber debris directly into your transmission valve body.
Step 3: Reassembly and Torque Specifications
Slide high-quality stainless-steel worm gear clamps or constant-tension spring clamps over the new hose. Push the hose onto the hard line barbs until it bottoms out. Tighten the clamps securely.
When reinstalling the metal hard line into the radiator adapter fitting, thread it in by hand to prevent cross-threading. Once seated, tighten the flare nut to the manufacturer's specification. For most standard 3/8" and 1/2" cooler lines on vehicles like the GM 4L60E or Ford 6R80, the torque spec is generally between 15 lb-ft and 18 lb-ft. Do not overtighten, as this will crush the brass flare seat inside the radiator and ruin the entire unit.
Step 4: Refill and Bleed the System
Refill the transmission dipstick tube with the exact OEM-specified fluid (e.g., ATF+4, Dexron VI, or Toyota WS). Start the engine, cycle the gear shifter through all positions (P-R-N-D-L) while holding the brake pedal, and let the vehicle idle. Check the fluid level again with the engine running and the transmission at normal operating temperature. Top off as necessary.
The "Strawberry Milkshake" Disaster: Internal Radiator Leaks
It is vital to understand the difference between an external line leak and an internal cooler failure. Inside your radiator, the transmission cooler is a sealed metal tube surrounded by engine coolant. Over time, corrosion or manufacturing defects can cause this internal tube to rupture.
Because the engine cooling system and the transmission cooling system share this physical space, a rupture causes cross-contamination. Engine coolant (water and glycol) enters the transmission. Glycol destroys the paper-based friction materials on your clutch packs in a matter of miles, causing them to delaminate and fail entirely. If you pull your transmission dipstick and see a milky, opaque pink fluid, do not drive the vehicle. An external transmission cooler leak repair will not fix this; you must replace the radiator, perform a massive transmission flush, and potentially rebuild the gearbox. For more on diagnosing internal failures, refer to the technical archives at AA1Car's Transmission Cooling Guide.
2026 Cost Estimate: DIY vs. Professional Shop Rates
Understanding the financial landscape helps you decide whether to turn the wrenches yourself or hand the keys to a professional. Below is a breakdown of current market averages for external cooler repairs.
| Repair Scenario | DIY Cost (Parts Only) | Professional Shop Cost (Parts + Labor) |
|---|---|---|
| Rubber Hose & Clamp Replacement | $25 - $45 | $150 - $250 |
| Complete Metal Hard Line Replacement | $60 - $120 | $350 - $600 |
| Quick-Connect Fitting / O-Ring Repair | $15 - $30 | $120 - $180 |
| Adding an Auxiliary Stacked-Plate Cooler | $80 - $150 | $300 - $500 |
Note: Prices do not include the cost of replacement transmission fluid, which can range from $8 to $15 per quart for modern synthetic ULV/LV fluids, requiring 4 to 6 quarts for a standard cooler drain and fill.
Final Thoughts on Drivetrain Longevity
Mastering basic transmission cooler maintenance and knowing how to perform a simple transmission cooler leak repair empowers you to protect one of the most expensive components in your vehicle. By routinely inspecting your lines, using the correct SAE-rated hoses, and respecting torque specifications, you ensure your transmission operates in its optimal thermal sweet spot. Whether you are commuting in a modern ZF 8HP-equipped sedan or towing heavy loads with a 6L80 truck setup, a healthy cooler system is your first line of defense against premature drivetrain failure. For further reading on auxiliary cooler selection and towing setups, consult the engineering resources available at Hayden Automotive's Cooler Division.