The Limits of Quick-Lube Differential Services
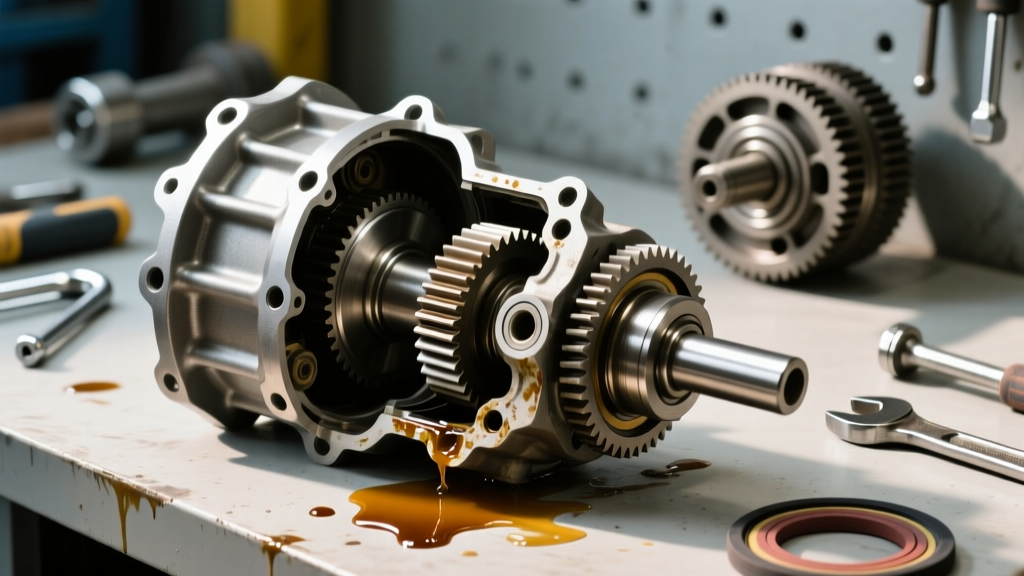
When drivers notice a faint whine from the rear of their vehicle or spot a dark, pungent-smelling puddle in the driveway, the immediate instinct is often to seek out a quick, affordable service. Many owners opt for a jiffy lube differential fluid change, assuming that fresh gear oil will resolve the issue. While routine drain-and-fill services are excellent for preventative maintenance, they are fundamentally incapable of addressing mechanical degradation. Fresh 75W-90 synthetic fluid cannot heal a pitted carrier bearing, nor can it reseal a hardened, cracked axle seal.
In fact, performing a standard fluid swap on a failing differential can sometimes accelerate failure. The detergents in modern synthetic gear oils can dislodge accumulated metal shavings and sludge, circulating them into the tight tolerances of the ring and pinion gears. As automotive drivetrain specialists, we must draw a hard line between routine fluid maintenance and actual mechanical repair. If your differential is leaking onto the brake backing plates or growling during deceleration, you need a targeted bearing and seal replacement, not just a fluid exchange.
Diagnosing Bearing vs. Seal Failure
Before tearing into the axle housing, accurate diagnosis is critical. Differential complaints generally fall into two categories: fluid containment failures (seals) and rotational friction failures (bearings).
Seal Failure Symptoms
Axle seals and pinion seals are typically made from nitrile rubber or fluoroelastomer (Viton). Over time, heat cycles and ozone exposure cause the sealing lip to harden and crack.
- Axle Seal Leak: Fluid migrates past the seal and pools on the inside of the brake rotor or drum. This is a severe safety hazard, as gear oil on brake friction surfaces drastically increases stopping distances.
- Pinion Seal Leak: Fluid slings outward from the driveshaft yoke, coating the undercarriage and the front face of the differential housing. This is often caused by a worn pinion bearing allowing excessive yoke runout, which destroys the seal lip.
Bearing Failure Symptoms
Differentials rely on tapered roller bearings (carrier and pinion) and straight roller or ball bearings (axle shafts). When the races spall or the rollers pit, they generate distinct acoustic signatures.
- Pinion Bearing Whine: A high-pitched howl that changes pitch precisely with vehicle speed, regardless of whether you are accelerating or coasting.
- Carrier Bearing Growl: A lower-frequency rumble that typically worsens during deceleration or when loading the drivetrain in reverse.
- Axle Bearing Hum: A localized grinding or humming from one specific wheel corner that changes intensity when the vehicle's weight is shifted laterally (e.g., swerving slightly left or right).
| Symptom / Noise Profile | Primary Suspect | Required Action |
|---|---|---|
| Oil on inside of brake rotor | Axle Shaft Seal | Pull shaft, replace seal & bearing |
| Howl on acceleration only | Ring & Pinion / Coast Side | Gear setup / backlash adjustment |
| Whine on deceleration | Pinion Bearing / Drive Side | Pinion bearing & seal replacement |
| Grinding from one wheel corner | Outer Axle Bearing | Axle bearing extraction & press |
Expert Guide: Axle Seal and Bearing Replacement
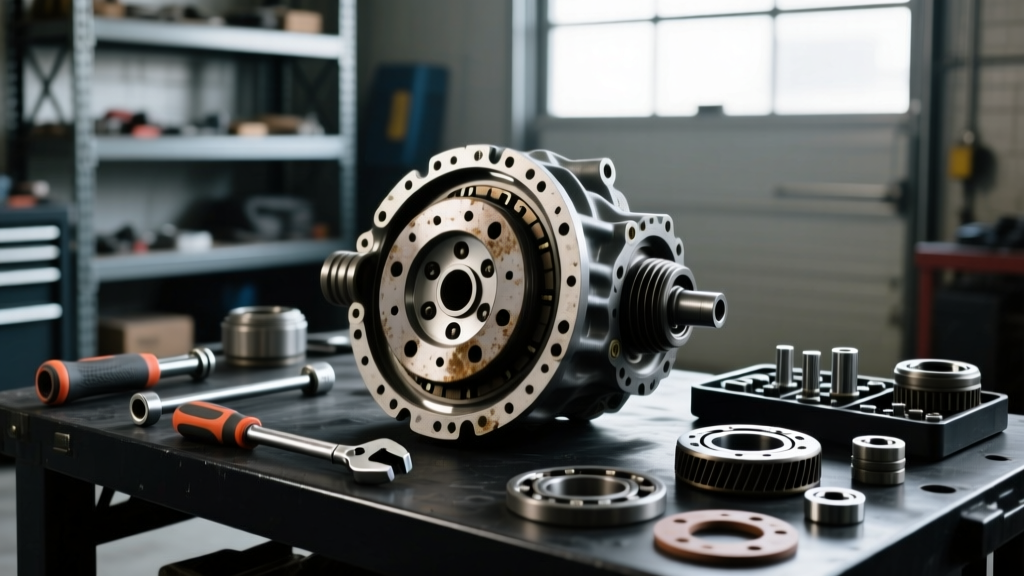
Replacing outer axle bearings and seals on semi-floating axle assemblies (such as the ubiquitous Ford 8.8-inch or GM 10-bolt 8.5-inch) requires specialized extraction tools and precise installation techniques. Relying on a quick-lube shop for this is impossible; this is a dedicated drivetrain specialist's domain.
Teardown and Extraction
Begin by safely supporting the vehicle on jack stands and removing the wheel and brake caliper/rotor assembly. For C-clip style axles, you must remove the differential cover, drain the fluid, and rotate the carrier until the cross-pin is accessible. Remove the cross-pin lock bolt, push the axle shaft inward, and extract the C-clip from the groove inside the carrier.
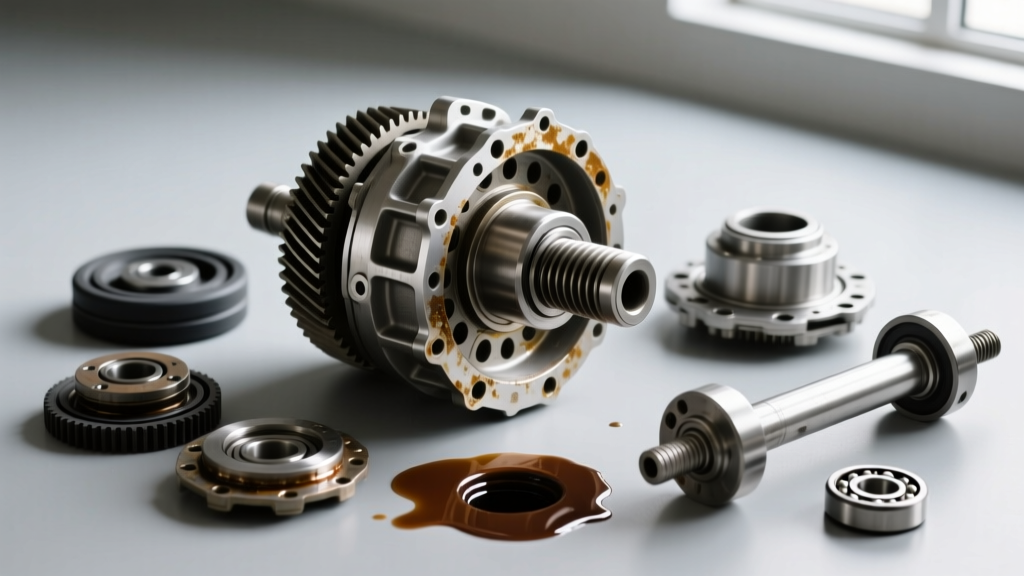
Once the axle shaft is slid out of the housing, inspect the bearing journal. If the old bearing spun on the shaft, the journal will be scored, requiring an axle shaft replacement or a specialized speedi-sleeve repair. To remove the seized bearing and seal from the axle tube, use a heavy-duty slide hammer (such as the OTC 4579) equipped with an internal bearing puller jaw attachment. Never attempt to pry the seal out with a screwdriver, as scoring the aluminum or steel bore will guarantee a permanent leak.
Precision Installation Techniques
According to engineering guidelines from Timken, tapered and straight roller bearings must be installed using controlled force applied only to the press-fit race. Striking the bearing with a hammer or driving it in using the non-press-fit cage will instantly brinell the rollers, dooming the new part to premature failure.
For the axle tube, use a bearing driver set that matches the exact outer diameter of the new seal and bearing. Coat the outer edge of the seal with a thin layer of RTV silicone or clean gear oil to prevent binding during insertion. For the bearing itself, many professional shops utilize a thermal expansion technique: placing the new bearing in an oven at 250°F (120°C) for 20 minutes. This expands the inner race just enough to slide over the axle shaft journal effortlessly, creating a perfect interference fit as it cools.
Critical Torque Specs and Part Numbers
When performing inner carrier or pinion bearing replacements alongside your seals, torque specifications are non-negotiable. Reusing a crush sleeve is a cardinal sin in differential rebuilding. Always install a new crush sleeve, or better yet, upgrade to a Crush Sleeve Eliminator Kit (e.g., Ratech 1401) which uses precision shims and a lock nut, making future pinion seal replacements infinitely easier without destroying the bearing preload.
| Component | Ford 8.8-Inch | GM 8.5-Inch 10-Bolt |
|---|---|---|
| Axle Seal Part # | National 8660S | National 710950 |
| Carrier Bearing Set | Timken SET10 | Timken SET10 |
| Pinion Nut Torque (Crush Sleeve) | 200-250 ft-lbs (to achieve 8-14 in-lbs rotational) | 175-225 ft-lbs (to achieve 10-15 in-lbs rotational) |
| Bearing Cap Bolt Torque | 70-85 ft-lbs | 60-75 ft-lbs |
Note: Rotational torque must be measured using a dial-type inch-pound torque wrench with the carrier removed and pinion bearings fully seated. For more in-depth setup geometry, consult resources like Ring & Pinion for gear pattern analysis.
Post-Rebuild Fluid Selection and Fill Procedure
Once the bearings are pressed, the seals are seated, and the differential cover is resealed using a high-tack gasket or Permatex Ultra Black RTV, the correct fluid must be installed. The era of relying on generic mineral-based 80W-90 is over. For 2026, full synthetic 75W-90 GL-5 gear oil is the standard for thermal stability and shear resistance.
Critical Warning on Limited Slip Differentials (LSD): If your axle houses a clutch-type LSD (like the Ford Trac-Loc or Eaton Posi), you must add a friction modifier. Without it, the clutch packs will chatter violently during low-speed turns, causing drivetrain shudder and accelerated wear. Use the OEM-specific modifier (e.g., Ford XL-3) or a high-quality aftermarket equivalent. Note that torque-biasing differentials (like the Torsen or Eaton G80 locker) generally do not require friction modifiers and perform best on standard GL-5 synthetic fluid.
Fill the differential until the fluid level is exactly even with the bottom of the fill plug hole. On some modern SUVs with angled differential housings, the manufacturer may specify a specific fluid volume (e.g., 1.8 quarts) rather than the "fill to the plug" method. Always verify the factory service manual for your specific application.
2026 Cost Breakdown: DIY vs. Professional Service
Understanding the financial landscape of drivetrain repairs helps you make informed decisions. While a basic jiffy lube differential fluid change might cost between $75 and $120, mechanical bearing and seal repairs require a different budget.
| Service Route | Estimated Cost | Pros & Cons |
|---|---|---|
| DIY (At-Home) | $80 - $150 | Pros: Massive savings, ensures quality parts. Cons: Requires slide hammer, press, and inch-lb torque wrench. |
| Independent Drivetrain Shop | $350 - $550 | Pros: Expert diagnosis, warranty on labor. Cons: Higher labor rate, requires booking in advance. |
| OEM Dealership | $600 - $950+ | Pros: OEM parts, factory procedures. Cons: Often replace entire axle shaft assemblies rather than just bearings. |
Final Expert Takeaway
A quick-lube fluid service is a vital piece of the preventative maintenance puzzle, but it is entirely useless as a corrective measure for mechanical wear. When seals leak and bearings howl, the only proper remedy is a meticulous teardown, precision extraction, and exacting reassembly. By investing in high-quality Timken or SKF bearings, utilizing proper thermal installation techniques, and adhering strictly to rotational torque specifications, you can restore your differential to factory silence and reliability for another 150,000 miles.