The Garage Confusion: Drivetrain Clutches vs. AC Compressors
If you are just starting to wrench on your own powersports machines, the terminology can be incredibly confusing. As we navigate the 2026 riding season, forums and video tutorials are flooded with beginners trying to diagnose ATV and motorcycle clutch problems. A frequent point of confusion arises when new mechanics search for a puller and stumble upon an ac compressor clutch removal tool. Many wonder if this automotive HVAC tool can be repurposed as a universal garage hack to pull the primary clutch off an ATV or the basket off a dirt bike.
The short answer is an absolute no. Using an automotive AC compressor tool on a powersports drivetrain is a guaranteed way to strip your crankshaft threads, crack your engine cases, or damage the sheave faces. To help you avoid costly mistakes, this beginner-friendly explainer breaks down the actual clutch systems found on motorcycles and ATVs, the symptoms of failure, and the exact tools and specifications you need to fix them.
Why the AC Compressor Tool Myth is Dangerous
Automotive AC compressor clutches are electromagnetic pulleys mounted to the front of a car's engine, driven by a serpentine belt. They are removed using specific multi-jaw pullers or specialized metric thread adapters designed for GM, Ford, or Honda HVAC compressors.
Motorcycles and ATVs, however, do not use electromagnetic AC clutches for their drivetrains. They rely on two entirely different systems:
- Wet Multi-Plate Clutches: Found on almost all manual motorcycles and dirt bikes (e.g., Honda CRF450R, Yamaha YZ450F).
- Continuously Variable Transmissions (CVT): Found on almost all automatic ATVs and UTVs (e.g., Polaris RZR, Can-Am Maverick).
These drivetrain clutches mount directly to the crankshaft or transmission input shaft and require high-tolerance, thread-specific pullers or holding tools. Forcing an automotive AC tool onto a CVT primary clutch will result in cross-threading and catastrophic engine damage.
Diagnosing Motorcycle Wet Multi-Plate Clutch Problems
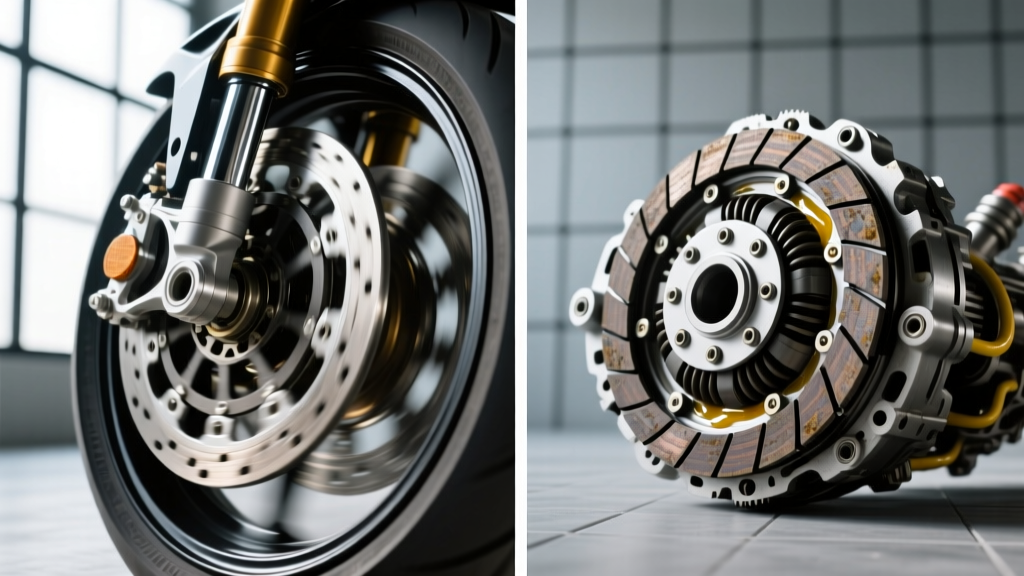
Manual motorcycles use a wet clutch, meaning the alternating friction and steel plates are bathed in engine oil. This oil cools the clutch and provides the necessary friction. When diagnosing wet clutch issues, you are generally looking for three main symptoms:
1. Slipping Under Load
If you roll on the throttle and the engine RPMs climb faster than your road speed, your clutch is slipping. This is often caused by worn friction plates or weakened clutch springs. However, beginners frequently cause this themselves by using the wrong oil. According to RevZilla's technical guides, using standard automotive motor oil (which contains friction modifiers for fuel economy) will ruin a wet clutch. You must always use oil certified to the JASO MA or MA2 standard.
2. Clutch Drag and False Neutrals
If the bike creeps forward with the lever pulled in, or if you struggle to find neutral while stopped, the clutch is dragging. This is usually caused by notched clutch baskets. Over time, the aluminum tabs on the clutch basket and inner hub get hammered by the steel and friction plates, creating grooves. When you pull the lever, the plates get stuck in these grooves instead of separating freely.
3. Lever Sponginess
A spongy feel usually points to a hydraulic issue (air in the line or worn master cylinder seals) on modern bikes, or a frayed cable on older models. It is rarely an internal clutch pack issue.
Pro-Tip for Beginners: When inspecting a Honda CRF450R or similar machine, measure your friction plates with a micrometer. The service manual typically dictates a minimum thickness (often around 2.8mm to 3.0mm). If they are below spec, replace the entire pack.
Essential Tools and Torque Specs
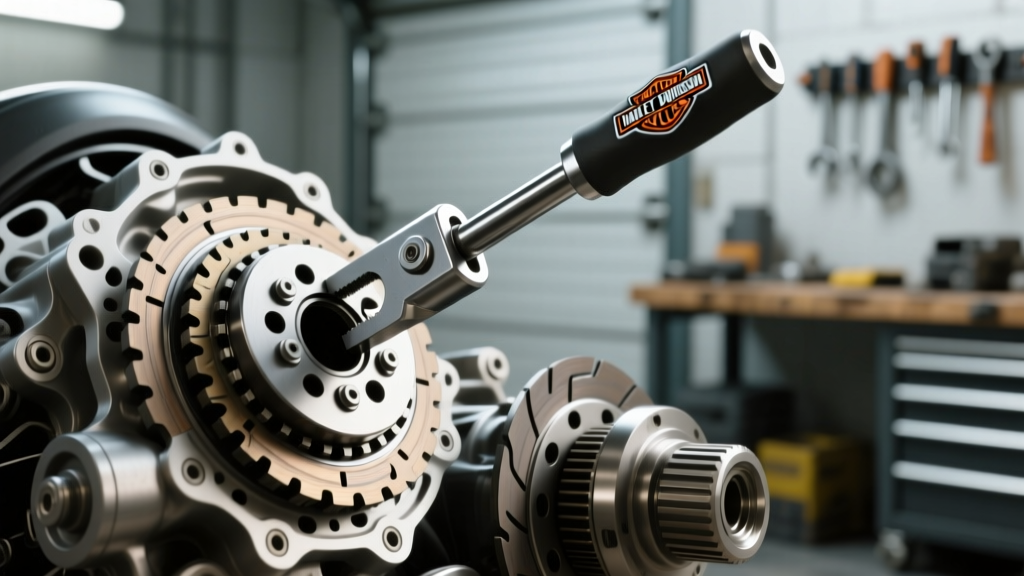
To remove a motorcycle clutch, you do not need a puller; you need a Clutch Holding Tool (like the Motion Pro 08-0513, available via Motion Pro) to stop the basket from spinning while you break the center nut loose.
- Center Nut Torque: Typically 55 to 65 lb-ft (e.g., 59 lb-ft on many Honda CRF models). Always use a new crush washer and apply a medium-strength thread locker.
- Spring Bolts: Usually 7 to 9 lb-ft. Do not overtighten, or you will strip the aluminum inner hub.
ATV and UTV CVT Clutch Diagnostics
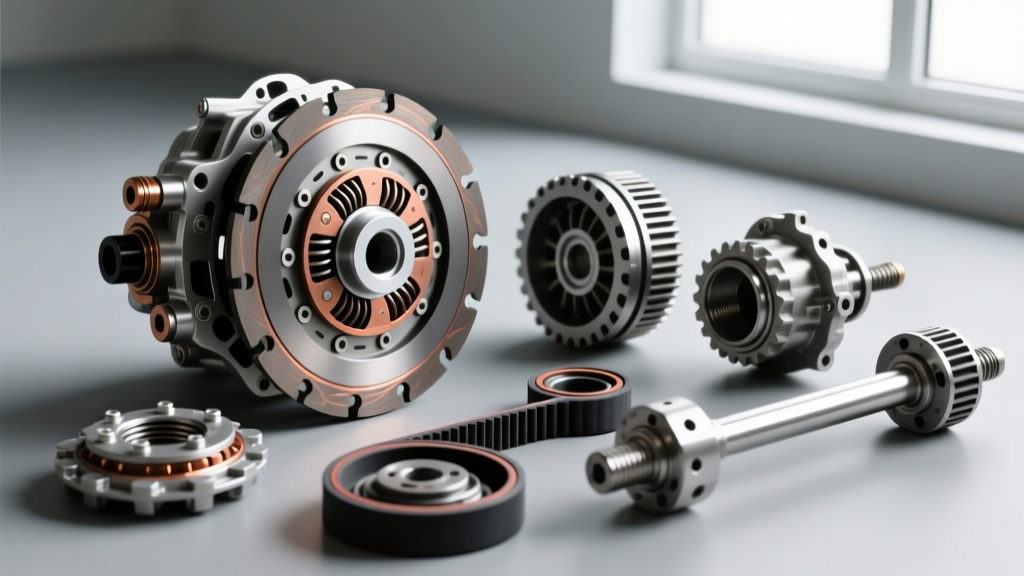
ATVs and side-by-sides use a CVT system consisting of a Primary Clutch (on the engine crank) and a Secondary Clutch (on the transmission input), connected by a drive belt. Diagnosing CVT problems requires understanding how weights, springs, and sheaves interact.
Common CVT Symptoms
- Belt Squeal or Slippage: Usually indicates worn sheave faces, a glazed belt, or a failing secondary clutch spring that isn't applying enough tension.
- Sluggish Takeoff / Bogging: Often caused by worn primary clutch rollers (or sliders in modern Polaris models) that are flat-spotted, preventing the clutch from shifting out smoothly.
- RPM Flares (Loss of Top Speed): The belt is not reaching the top of the primary sheave. This can be caused by belt dust buildup, incorrect belt sizing, or a stuck primary slide.
The Right Tool: CVT Threaded Pullers
Instead of an AC compressor tool, you need a threaded CVT puller that matches your specific machine's crankshaft threads. Using an impact wrench to pulse the puller bolt is the safest way to pop the primary clutch off the tapered crankshaft without damaging the engine cases. Below is a reference chart for common 2026 powersports thread pitches:
| Vehicle Make / Model | Clutch Type | Required Puller Thread Pitch |
|---|---|---|
| Polaris RZR / General / Ranger | Primary CVT | 3/4" - 16 |
| Can-Am Maverick / Defender | Primary CVT | M12 x 1.25 |
| Honda Pioneer / Talon | Primary CVT | M12 x 1.25 (Adapter often required) |
| Yamaha YXZ1000R | Primary CVT | M10 x 1.25 |
| Kawasaki Teryx KRX | Primary CVT | M10 x 1.25 |
Note: Always verify with your specific year's OEM service manual, as manufacturers occasionally update crankshaft thread specs during generation changes.
Spider Nut Removal and Rebuild Specs
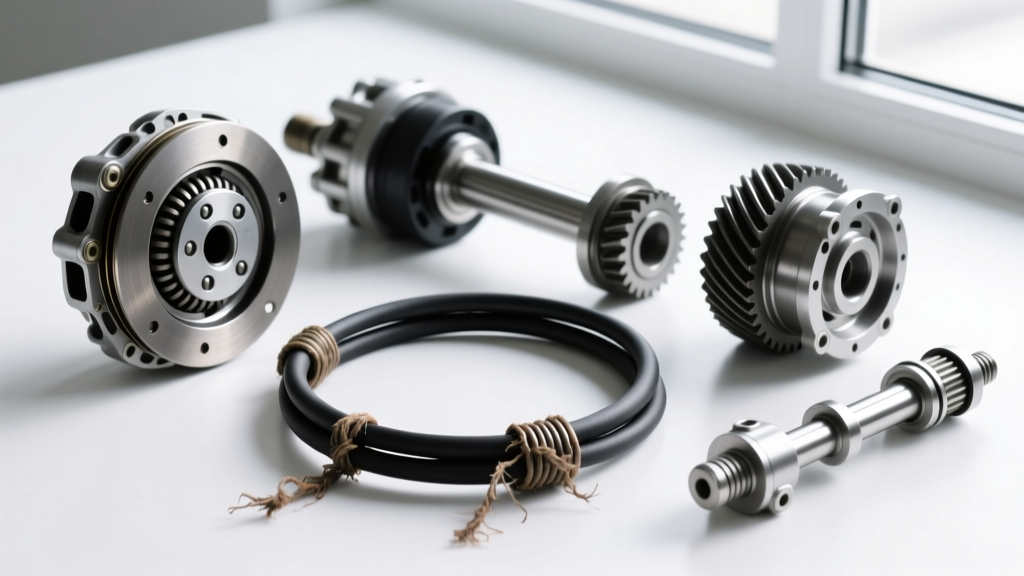
Once the primary clutch is on your bench, you may need to remove the spider to clean out old grease, replace the one-way bearing, or change the engagement spring. The spider nut is tightened at the factory using massive torque to prevent it from backing off under heavy load.
- Spider Nut Torque: Often between 110 and 130 lb-ft depending on the model (e.g., Polaris RZR Pro R specs require roughly 120 lb-ft).
- Tools Required: You will need a specialized 6-point spider socket, a heavy-duty clutch holding strap or vice fixture, and a 1/2-inch or 3/4-inch drive torque wrench. Applying a dab of heat with a heat gun to the spider threads can help break the factory thread locker loose without snapping the spider.
Cost Breakdown: Rebuild vs. Replace
When you crack open your clutch, you have to decide whether to rebuild it or buy a new assembly. According to parts pricing trends on Rocky Mountain ATV/MC, here is what you can expect to spend:
- Basic CVT Rebuild Kit: $40 - $90 (Includes new sliders/rollers, grease, and a primary spring).
- Motorcycle Wet Clutch Pack: $120 - $250 (OEM friction plates, steel plates, and heavy-duty springs).
- Complete OEM Primary CVT Assembly: $600 - $1,100+ (Required if the sheave faces are deeply gouged or the internal casting is cracked).
Final Advice for the Beginner Wrench
Working on powersports clutches is highly rewarding and saves you hundreds of dollars in dealership labor fees. However, you must respect the engineering differences between automotive accessories and powersports drivetrains. Throw the idea of using an ac compressor clutch removal tool out of your head, invest $40 in the correct OEM-threaded CVT puller, buy a quality torque wrench, and always consult your factory service manual for exact torque specifications. Your engine's crankshaft—and your wallet—will thank you out on the trails.