A/C Electromagnetic Clutch Failure Modes: Root Cause Analysis
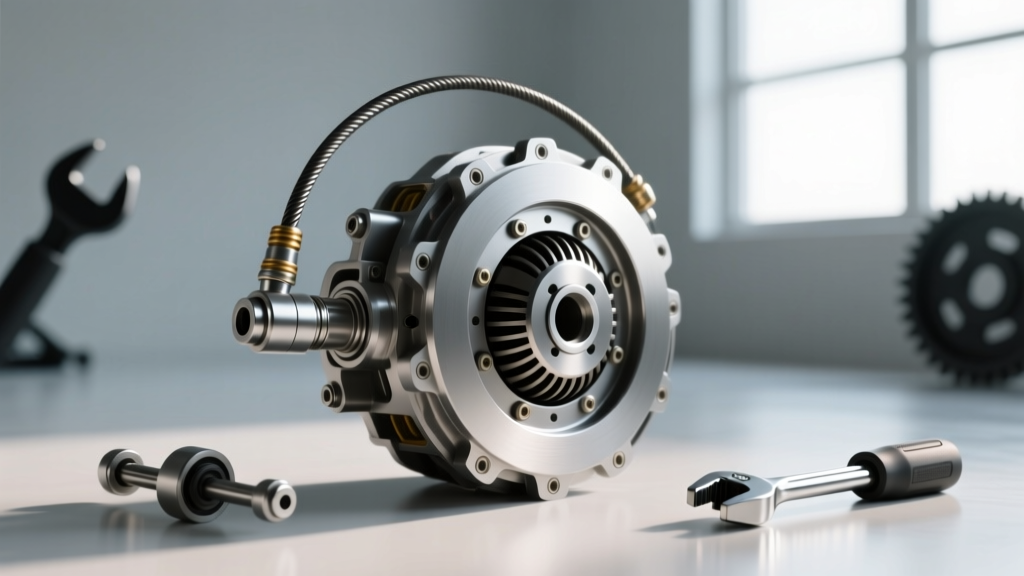
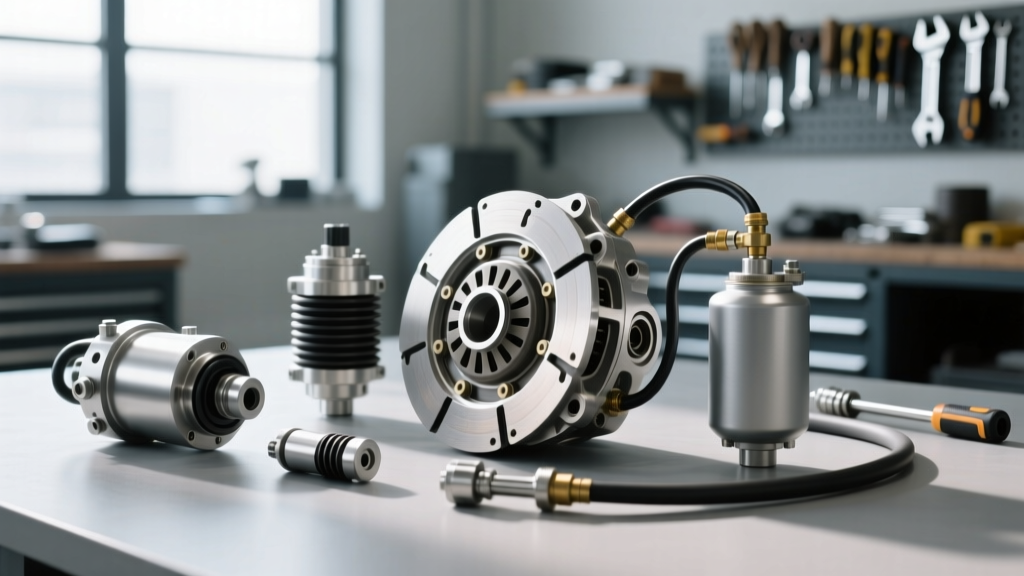
While automotive enthusiasts frequently obsess over transmission clutch diagnostics, the electromagnetic clutch on your A/C compressor is an equally critical friction device. When an A/C clutch fails, it can range from a minor annoyance to a catastrophic engine bay event if the pulley bearing seizes. Understanding the root causes of A/C clutch failure is essential before attempting any removal or replacement. Furthermore, many DIYers search for how to remove ac clutch pulley without tool setups, a practice that carries severe risks to the compressor's internal architecture. In this comparison and buyer's guide, we will dissect A/C clutch failure modes, analyze root causes, and evaluate tool versus no-tool removal methodologies.
1. Pulley Bearing Seizure and Groaning
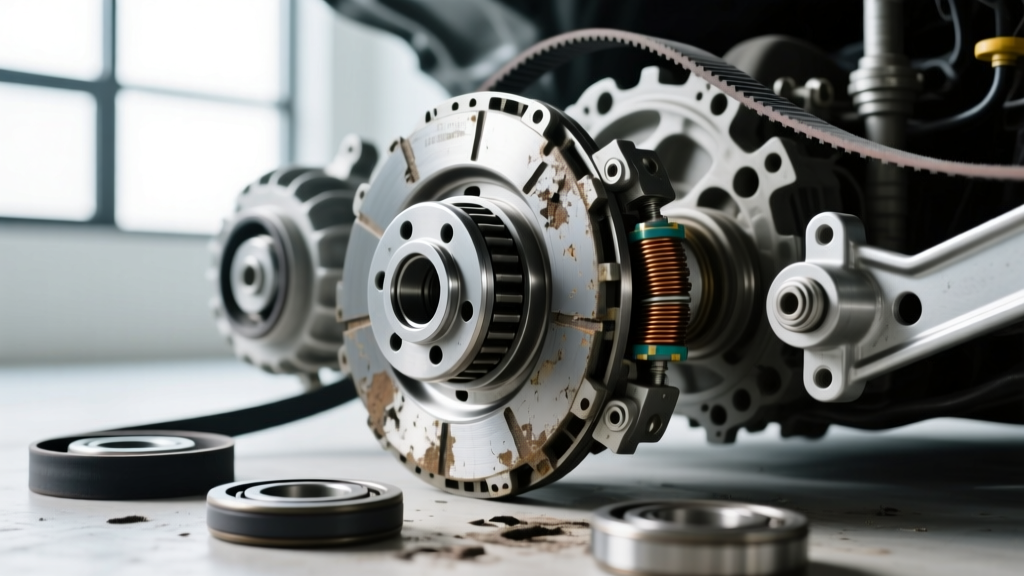
The A/C clutch pulley rides on a double-row angular contact bearing. This bearing is under constant rotational load whenever the engine is running, regardless of whether the A/C system is engaged.
- Symptoms: High-pitched whining, grinding, or a rhythmic 'growl' that changes pitch with engine RPM. In severe cases, smoke from the serpentine belt.
- Root Cause: Moisture ingress due to degraded bearing seals, excessive serpentine belt tension (over-torqued tensioners), or misalignment of the accessory drive pulleys. According to Gates Automotive Tech Tips, improper belt tensioning is the leading cause of premature accessory bearing failure.
- Failure Consequence: If the bearing seizes, the pulley stops spinning. The serpentine belt will burn through, and the immense frictional heat can melt the plastic bobbin of the electromagnetic coil, causing a secondary electrical failure.
2. Electromagnetic Coil Burnout
The coil generates the magnetic field required to pull the friction plate (armature) against the pulley rotor. It is essentially a heavy-duty copper wire winding encapsulated in epoxy.
- Symptoms: The A/C compressor fails to engage despite the system having proper refrigerant pressure (verified via manifold gauges) and the cabin blower functioning. No audible 'click' from the compressor clutch relay.
- Root Cause: Thermal overload from engine bay heat soaking, voltage spikes, or an excessive air gap. If the air gap between the friction plate and pulley exceeds 0.030 inches, the coil must work exponentially harder to bridge the magnetic gap, leading to overheating and internal wire melting.
- Diagnostic Data: A healthy 12V A/C clutch coil should measure between 3.0 and 5.0 ohms at 68°F (20°C). An open circuit (infinite resistance) or a short (under 2.0 ohms) confirms coil death.
3. Friction Plate Slippage and Chatter
The friction plate is the component that physically locks to the pulley to drive the compressor's internal swashplate or scroll mechanism.
- Symptoms: Rapid clicking or chattering when the A/C is first engaged, followed by a lack of cold air. You may also smell burning friction material.
- Root Cause: Oil contamination. If the compressor's front shaft seal (often an HNBR O-ring or mechanical carbon seal on units like the Sanden SD7H13 or Denso 10S17C) begins to weep, PAG or POE oil coats the friction surfaces. Alternatively, the friction plate splines may be worn, or the center hub shimming is incorrect.
The 'No-Tool' Pulley Removal Dilemma: Risks vs. Reality
When a pulley bearing fails or a coil burns out, the pulley assembly must be removed. This brings us to a highly debated DIY topic: how to remove ac clutch pulley without tool. Proper removal requires a dedicated A/C clutch puller (such as the OTC 4521 or Lisle 45750), which uses a threaded forcing screw to apply even, axial pressure to extract the pulley from the compressor snout.
However, many home mechanics attempt to bypass the $50-$80 tool cost using improvised 'no-tool' methods. Below is a technical comparison of the proper tool method versus the common DIY 'no-tool' hacks.
| Removal Method | Equipment Cost | Risk to Compressor Snout | Risk to Internal Swashplate | Success Rate |
|---|---|---|---|---|
| Threaded Puller (OTC/Lisle) | $45 - $85 | Minimal (Even axial load) | None | 99% |
| Pry Bar & Strap Wrench | $20 (Strap Wrench) | High (Lateral sheer force) | Moderate (Shock loading) | 60% |
| Hammer & Wood Block | $10 | Extreme (Snout snapping) | High (Brinelling bearings) | 30% |
| Heat Gun & Gear Puller | $40 (Generic Puller) | Moderate (Uneven jaw grip) | Low | 75% |
Why the 'No-Tool' Pry Method is Catastrophic
The most common answer to how to remove ac clutch pulley without tool involves wrapping a strap wrench around the pulley to hold it stationary while inserting two flathead screwdrivers or pry bars behind the pulley to lever it off the snout. This is a critical error.
Compressor housings, particularly the front heads of GM HT6 and modern Denso scroll compressors, are cast aluminum. Applying uneven lateral prying force creates a bending moment on the compressor snout. This frequently results in:
- Snout Fracture: The aluminum snout cracks at the base, instantly venting the entire refrigerant charge and destroying the front shaft seal.
- Internal Brinelling: The shock load from hammering or aggressive prying transfers directly through the snout into the internal swashplate or scroll bearings, causing microscopic dents (brinelling) in the bearing races. The compressor will sound like a coffee grinder within 500 miles of reassembly.
Buyer's Guide: Selecting the Right Clutch Removal Tools
If you are performing A/C clutch diagnostics and need to replace the pulley bearing or coil, investing in a proper puller is non-negotiable. When shopping for tools, look for the following specifications:
- Thread Size Compatibility: Most modern compressors use an M10 x 1.5 or M12 x 1.25 internal thread on the snout. Ensure your puller includes the correct adapter bolt.
- Forcing Screw Diameter: The forcing screw should be at least 1/2 inch in diameter to prevent bending under the 1,500+ PSI of extraction force required for corroded pulleys.
- Top Recommendations: The OTC 4521 A/C Clutch Puller/Installer (approx. $65) and the Lisle 45750 Clutch Puller (approx. $55) are industry standards referenced by ACKits Technical Guides for safe, damage-free extraction.
Step-by-Step: If You Absolutely Must Use the 'No-Tool' Method
While we strongly advise against it, if you are stranded or cannot acquire a proper puller, the least destructive 'no-tool' method involves thermal expansion rather than brute mechanical force. Note: This voids most aftermarket compressor warranties.
- Remove the Center Hub: Remove the center friction plate by unbolting the 10mm or 13mm center bolt. Note the number of shims/washers behind the hub; losing these will ruin your air gap upon reassembly.
- Apply Targeted Heat: Using a heat gun (not an open flame torch, which will melt the coil epoxy and damage the shaft seal), heat the inner metal race of the pulley bearing to approximately 200°F (93°C). The goal is to expand the inner steel race away from the aluminum snout.
- Use a Generic Jaw Puller: Attach a standard 2-jaw gear puller behind the pulley. Ensure the jaws are gripping the solid metal inner hub of the pulley, not the outer sheet-metal crimp ring.
- Apply Penetrating Oil: Soak the snout interface with a high-quality penetrant like Kroil or PB Blaster 15 minutes prior to heating.
Reassembly Specs: Air Gap and Torque Requirements
Whether you used a professional puller or managed to extract the pulley without destroying the compressor, reassembly requires strict adherence to OEM tolerances. Improper shimming is the leading cause of premature friction plate wear and coil burnout post-repair.
| Specification Parameter | Target Measurement / Torque | Diagnostic Tool Required |
|---|---|---|
| Clutch Air Gap (Most Denso/Sanden) | 0.015' - 0.025' (0.38mm - 0.64mm) | Feeler Gauge |
| Clutch Air Gap (GM HT6 / CVC) | 0.018' - 0.028' (0.45mm - 0.71mm) | Feeler Gauge |
| Center Hub Bolt Torque | 11 - 15 lb-ft (15 - 20 Nm) | 1/4' Drive Torque Wrench |
| Coil Mounting Bolt Torque | 7 - 9 lb-ft (9 - 12 Nm) | 1/4' Drive Torque Wrench |
| Electromagnetic Coil Resistance | 3.0 - 5.0 Ohms (at 68°F) | Digital Multimeter (Ohms) |
Final Diagnostic Verification
After reassembly, do not immediately start the engine. Apply 12V direct current to the coil pigtail to verify the friction plate snaps cleanly against the pulley with an audible 'clack'. Measure the air gap at three equidistant points around the circumference using a feeler gauge. If the gap varies by more than 0.005 inches between points, the friction plate is warped or the pulley bearing is seated crookedly. Finally, verify serpentine belt routing and tension to prevent immediate recurrence of bearing failure. For comprehensive system flushing and seal replacement protocols, always consult Four Seasons Technical Bulletins before opening the refrigerant circuit.