The Electromagnetic AC Compressor Clutch: Architecture and the 2026 Landscape
The automotive air conditioning compressor clutch is a specialized electromagnetic coupling device designed to transmit rotational force from the engine's serpentine belt to the compressor's internal swashplate or scroll mechanism. Traditional fixed-displacement compressors, such as the ubiquitous Denso 10S17C or the Harrison HT6, rely entirely on this clutch to cycle the system on and off to prevent evaporator core freezing. However, as we navigate the 2026 automotive landscape, it is critical to note that many modern vehicles utilize clutchless variable-displacement compressors (like the Denso TVS or Valeo DCS series). In these clutchless systems, the pulley is bolted directly to the drive shaft, and capacity is modulated via an internal PWM solenoid valve. Therefore, when diagnosing traditional ac clutch not engaging symptoms, technicians must first verify whether the platform utilizes a true electromagnetic clutch or an internally controlled clutchless unit, as misdiagnosis is a leading cause of unnecessary compressor replacements.
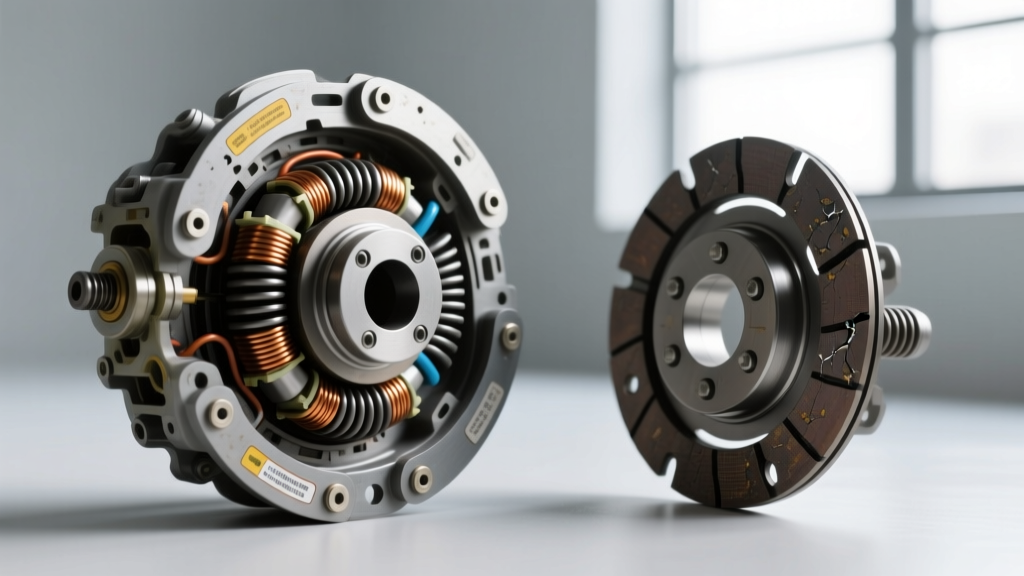
For platforms equipped with a traditional electromagnetic clutch, the assembly consists of three primary components: the electromagnetic coil (stator), the pulley and rotor assembly with an integrated needle or ball bearing, and the friction plate (armature/hub). When the Powertrain Control Module (PCM) or HVAC control head grounds the clutch relay, 12 volts are applied to the coil, generating a magnetic field that pulls the friction plate against the spinning rotor. Understanding the precise mechanical and electrical tolerances of this interaction is the cornerstone of accurate clutch system diagnostics.
Identifying Primary AC Clutch Not Engaging Symptoms
When the electromagnetic coupling fails, the cabin will inevitably lose cooling capacity. However, the specific manifestation of the failure provides vital clues regarding the root cause. According to technical bulletins from the Mobile Air Climate Systems Association (MACS), technicians should categorize engagement failures into three distinct symptom profiles:
- Complete Failure to Engage (No Audible Click): When the HVAC system is commanded on, the friction plate should snap against the rotor with a distinct metallic click. If the plate remains entirely stationary while the pulley freewheels, the issue is typically electrical. This indicates an open circuit, a blown thermal fuse, a failed clutch relay, or a completely burned-out electromagnetic coil. It can also indicate a system lockout by the PCM due to a faulty refrigerant pressure transducer reading below 25 psi or above 450 psi.
- Intermittent Engagement and Thermal Fade: A highly specific symptom of a degrading clutch coil is engagement when the engine is cold, followed by failure once the engine bay reaches operating temperature. As copper windings heat up, their electrical resistance increases. If the coil already suffers from micro-fractures or degraded insulation, the increased resistance drops the amperage below the threshold required to generate sufficient magnetic flux (Ampere-turns) to pull the friction plate across the air gap.
- Slipping, Chirping, or Squealing Under Load: If the clutch engages but produces a high-pitched chirping noise, or if the friction plate visibly shudders and slips against the rotor, the friction surface is likely glazed, or the air gap has exceeded mechanical specifications. This is a definitive mechanical wear indicator rather than an electrical fault.
Clutch Wear Signs and Lifespan Indicators
The lifespan of an AC compressor clutch typically ranges between 100,000 and 150,000 miles, but this is heavily dependent on environmental contaminants, cycling frequency, and front shaft seal integrity. Identifying clutch wear signs before catastrophic failure can save the entire compressor assembly. The AA1Car Automotive Library highlights several critical wear indicators that dictate immediate service:
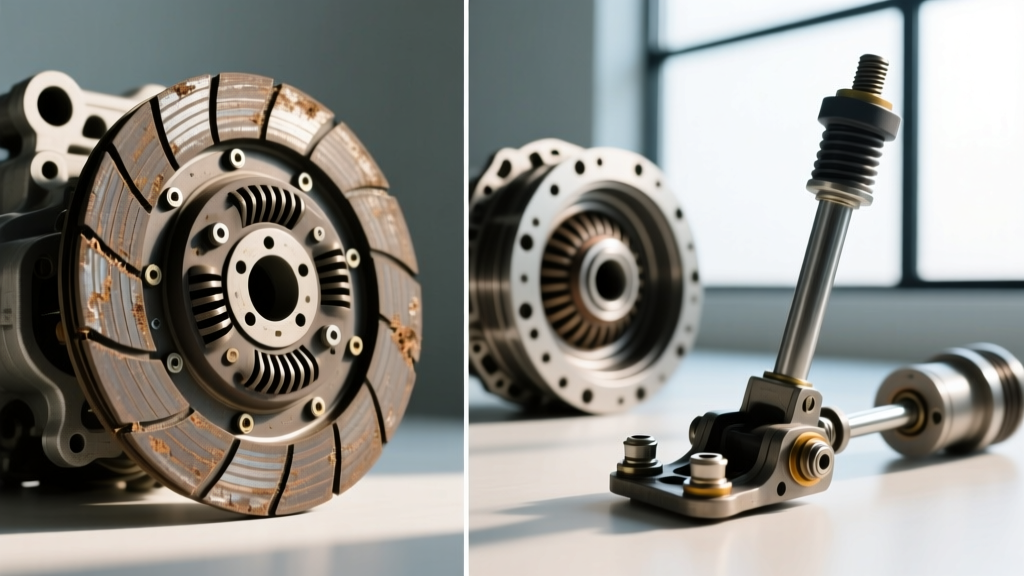
1. Friction Plate Glazing and Contamination: Over time, the friction surfaces can become polished or 'glazed' due to micro-slipping during initial engagement. More critically, if the compressor's front shaft seal begins to weep, it will expel PAG oil (or ND-12 oil in R-1234yf systems) and refrigerant dye onto the clutch assembly. This oil contamination drastically reduces the coefficient of friction, causing the clutch to slip under high head-pressure conditions, generating immense heat that will eventually melt the coil's internal epoxy and short the windings.
2. Pulley Bearing Axial Play and Grease Migration: The clutch pulley is supported by a sealed bearing. If this bearing develops excessive axial play (greater than 0.015 inches) or radial runout, the rotor will wobble at engine RPM. This wobble causes an uneven, tapered wear pattern on the friction plate. Furthermore, a failing bearing seal will allow high-temperature grease to migrate onto the friction surfaces, mimicking the symptoms of a shaft seal leak and guaranteeing clutch slip.
3. Thermal Limiter Degradation: Many Sanden and Denso clutches incorporate a one-time-use thermal protection switch or a melting solder ring designed to disconnect the clutch if the compressor seizes, thereby saving the serpentine belt. If the clutch has experienced repeated high-heat slipping events, this thermal limiter may be on the verge of failure, indicating the end of the clutch's service life.
Precision Diagnostic Specifications
Accurate diagnosis requires moving beyond simple visual inspections and utilizing precision measuring tools. The following table outlines the critical specifications for standard aftermarket and OEM electromagnetic clutches (e.g., Sanden SD7V16, Denso 10-series).
| Diagnostic Parameter | OEM Specification | Failure / Replacement Threshold | Measurement Tool |
|---|---|---|---|
| Air Gap (Rotor to Armature) | 0.020' - 0.030' (0.5 - 0.75mm) | > 0.040' (1.0mm) | Feeler Gauge / Dial Indicator |
| Coil Resistance (at 68°F / 20°C) | 3.0 - 4.5 Ohms | < 2.0 Ω (Short) or > 6.0 Ω (Open) | Digital Multimeter (Ohms) |
| Voltage at Coil Connector | > 11.8V (Engine Running) | < 10.5V (Excessive Voltage Drop) | Digital Multimeter (DC Volts) |
| Pulley Bearing Axial Play | 0.000' - 0.005' | > 0.015' (Noticeable wobble) | Dial Indicator / Manual Feel |
Step-by-Step Air Gap and Coil Verification
When confronted with ac clutch not engaging symptoms, the air gap is the most frequently overlooked mechanical variable. As the friction plate wears from years of engagement cycles, the air gap widens. Because magnetic force decreases exponentially with distance (following the inverse-square law in practical magnetic circuits), an air gap that expands beyond 0.040 inches will result in a failure to engage, particularly when the coil is hot and electrical resistance is at its peak.
To verify the air gap, insert a feeler gauge between the rotor and the friction plate at three equidistant points. If the gap exceeds specifications, the clutch can often be salvaged by removing the center retention bolt (typically an 8mm or 10mm hex; note that some older Harrison/Delphi models utilize left-hand threads). Once the friction plate is pulled using a dedicated clutch puller tool (such as the OTC 4521 or equivalent), remove one or more of the precision steel shims located on the compressor shaft. Reinstall the plate and re-measure until the gap falls squarely within the 0.020 to 0.030-inch specification.
Simultaneously, perform a voltage drop test. Do not merely probe the clutch connector for 12 volts. Measure the voltage at the battery, and then measure it at the clutch connector while the circuit is loaded. A voltage drop of more than 1.0 volt across the wiring harness and relay indicates high resistance in the supply circuit, which starves the coil of the amperage required to pull the clutch in.
Repair Economics: Clutch Pack vs. Complete Compressor Replacement
Deciding whether to replace just the clutch assembly or the entire compressor requires a thorough inspection of the compressor's front shaft seal and internal health. According to Denso Aftermarket engineering guidelines, if the clutch failure was caused by a seized compressor or a heavily leaking shaft seal, replacing the clutch is a futile repair; the new clutch will quickly be destroyed by oil contamination or the mechanical load of a failing swashplate.
A standalone clutch kit (including coil, rotor, friction plate, and shims) from premium manufacturers typically ranges from $120 to $250. Labor to swap a clutch on the vehicle—without recovering and recharging the refrigerant—usually takes 1.5 to 2.0 hours ($150 to $300 in labor). However, if the shaft seal is weeping UV dye, or if the compressor exhibits excessive internal noise and metallic debris in the orifice tube, a complete compressor replacement is mandatory. A complete OEM compressor assembly ranges from $400 to $900, plus the cost of a full system flush, receiver-drier replacement, and refrigerant recharge, pushing the total repair invoice well past $1,200. Accurate diagnosis of the clutch wear signs and electrical parameters is the only way to prevent unnecessary financial waste and ensure long-term HVAC reliability.