The Electromagnetic PTO: Bridging Drivetrain and Accessory Diagnostics
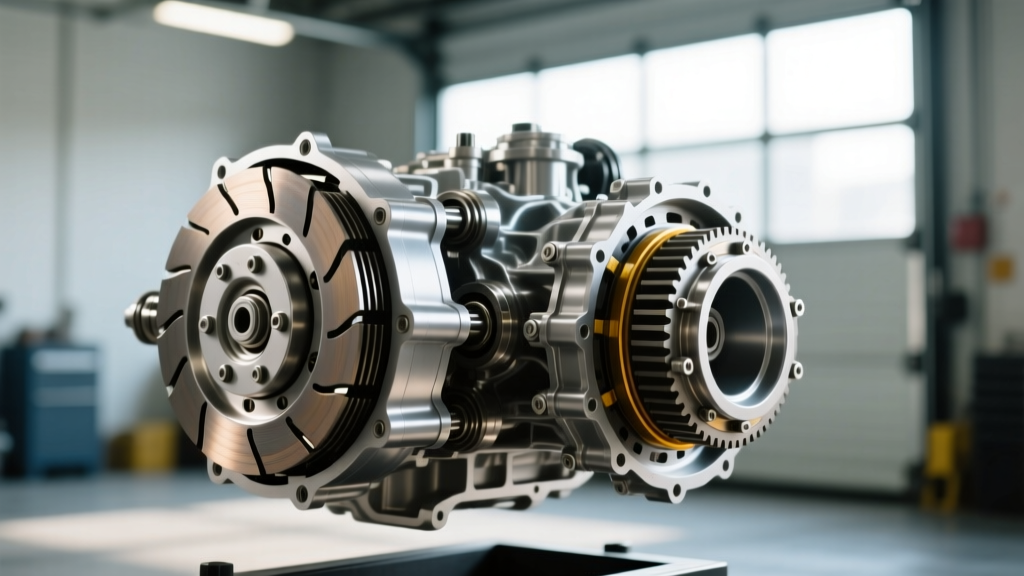
While AutogearNexus primarily focuses on transmission and drivetrain friction clutches, the automotive accessory drive relies heavily on a different type of clutch: the electromagnetic Power Take-Off (PTO) clutch. When drivers report a car ac compressor clutch not engaging, they are experiencing a failure in a precision electromagnetic coupling device. Unlike the hydraulic or cable-actuated dry clutches found in manual transmissions, the AC compressor clutch operates on strict magnetic flux principles, thermal limits, and microscopic air gap tolerances.
Diagnosing why the clutch plate refuses to pull against the pulley requires an understanding of root cause failure modes. Furthermore, deciding whether to replace just the clutch assembly or the entire compressor requires a strategic buyer's approach. This 2026 guide breaks down the exact failure modes, diagnostic measurements, and replacement economics for modern automotive HVAC clutches.
Root Cause Analysis: Why the Clutch Refuses to Engage
When the PCM (Powertrain Control Module) commands the AC relay to close, 12 volts are sent to the electromagnetic coil. If the clutch fails to engage, the failure typically falls into one of three distinct categories: electrical degradation, mechanical air gap expansion, or system pressure safeguards.
1. Electromagnetic Coil Thermal Breakdown
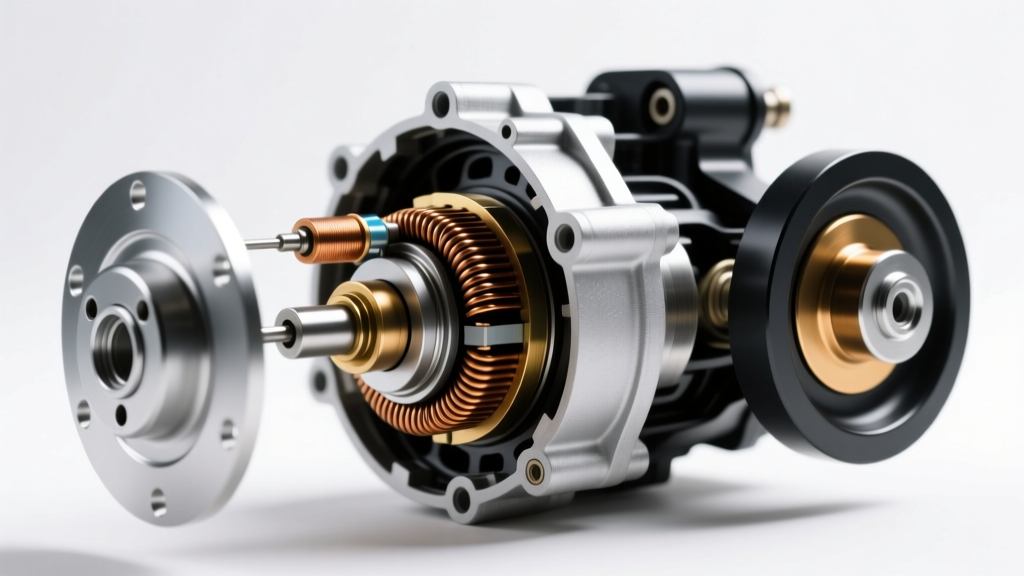
The clutch coil is essentially a tightly wound spool of copper wire encased in an epoxy resin. Over years of exposure to engine bay heat (often exceeding 220°F/104°C near the radiator fans), the epoxy degrades, and the copper windings can develop micro-fractures.
- Normal Resistance: A healthy 12V clutch coil should read between 3.2 and 4.8 ohms at 68°F (20°C).
- Failure Mode: If the multimeter reads 'OL' (Open Loop), the internal wire has snapped. If it reads below 2.0 ohms, the internal insulation has melted, creating a short circuit that will immediately blow the HVAC fuse.
2. Mechanical Air Gap Expansion
The most common mechanical reason for a car ac compressor clutch not engaging—especially when the engine is hot—is an excessive air gap. The magnetic field strength drops exponentially as the distance between the pulley electromagnet and the friction hub increases.
As the friction surfaces wear down over 100,000+ miles, the gap widens. When the coil heats up, its electrical resistance increases, amperage drops, and the weakened magnetic field can no longer bridge a gap that exceeds 0.040 inches (1.0mm). The clutch will engage when the engine is cold, but fail to engage after a 20-minute drive.
3. Refrigerant Pressure Safeguards & Voltage Drop
Before condemning the clutch, drivetrain technicians must verify the PCM isn't intentionally inhibiting engagement. If the system is low on R-1234yf or R-134a refrigerant, the low-pressure transducer will prevent the clutch from engaging to save the compressor from running dry without PAG oil circulation. Additionally, corroded ground wires or failing relays can result in a voltage drop, delivering only 9V to the coil instead of the required 12V-14V.
Diagnostic Protocol: The Multimeter and Feeler Gauge Test
Before purchasing replacement parts, perform this exact sequence to isolate the failure:
- Voltage Drop Test: Back-probe the clutch connector with the engine running and AC set to Max. You must see battery voltage (13.5V - 14.2V). If voltage is present but the clutch doesn't click, the issue is mechanical or internal to the coil.
- Resistance Test: Disconnect the clutch and measure resistance across the coil pins. Compare to the 3.2 - 4.8 ohm specification.
- Air Gap Measurement: Use a metric feeler gauge to measure the gap between the pulley face and the friction hub at three equidistant points. The specification for nearly all Denso, Sanden, and Harrison (Delphi) compressors is 0.50mm to 0.75mm (0.020" - 0.030").
For deeper HVAC system diagnostics and refrigerant handling protocols, technicians frequently consult the Mobile Air Climate Systems Association (MACS) service bulletins, which provide OEM-specific wiring diagrams and pressure thresholds.
2026 Buyer's Guide: Clutch Kit vs. Complete Compressor Assembly
When the root cause is confirmed as a failed coil or worn friction plate, buyers face a critical decision: replace just the clutch components, or swap the entire compressor? While replacing just the clutch is cheaper, it is a mathematical gamble based on the condition of the internal swash plate and shaft seals.
| Replacement Strategy | Estimated Part Cost (2026) | Labor Time | Best Application Scenario |
|---|---|---|---|
| Clutch-Only Kit (Hub, Pulley, Coil) | $55 - $130 | 0.5 - 1.5 hrs | Compressor is quiet, shaft seal is completely dry, and internal pressures are normal. |
| Complete OEM Compressor (e.g., Denso, Sanden) | $280 - $550 | 2.5 - 4.0 hrs | Vehicle has >120k miles, visible PAG oil leak at the shaft seal, or internal bearing noise. |
| Remanufactured Compressor | $160 - $250 | 2.5 - 4.0 hrs | Budget-conscious repairs. Warning: Always verify the air gap on reman units before installation, as they are notorious for out-of-spec gaps. |
Sourcing OEM vs. Aftermarket
If you opt for a clutch-only repair, sourcing an OEM manufacturer (like Denso or Sanden) is vastly superior to white-box aftermarket kits. Aftermarket coils often use lower-grade copper windings and inferior epoxy that degrades within 18 months. If the original compressor is a Denso 447200 series, buy the genuine Denso clutch assembly. For complete replacements, adherence to EPA Section 609 regulations requires proper refrigerant recovery before unbolting the compressor lines, making the labor cost high enough that installing a cheap, unreliable aftermarket compressor is a false economy.
Installation Torque Specs & Air Gap Calibration
Installing a new electromagnetic clutch requires precision. If the air gap is too tight, the clutch will drag when disengaged, causing parasitic engine load and burning out the pulley bearing. If it is too wide, it will slip and glaze the friction surfaces.
Critical Torque Specifications
- Center Hub Bolt (Friction Plate to Compressor Shaft): Typically M8 or M10 thread. Torque to 11 Nm - 15 Nm (8 - 11 lb-ft). Use a strap wrench or clutch holding tool to prevent the internal reed valves from absorbing the rotational force, which can destroy the compressor's internal valving.
- Coil Retaining Plate/Snap Ring: Ensure the snap ring is fully seated in the groove. If bolted, torque to 5 Nm (44 lb-in).
- Compressor Mounting Bolts: Usually M10 bolts torqued to 25 Nm (18 lb-ft) to ensure proper alignment with the serpentine belt tensioner.
Shimming the Air Gap
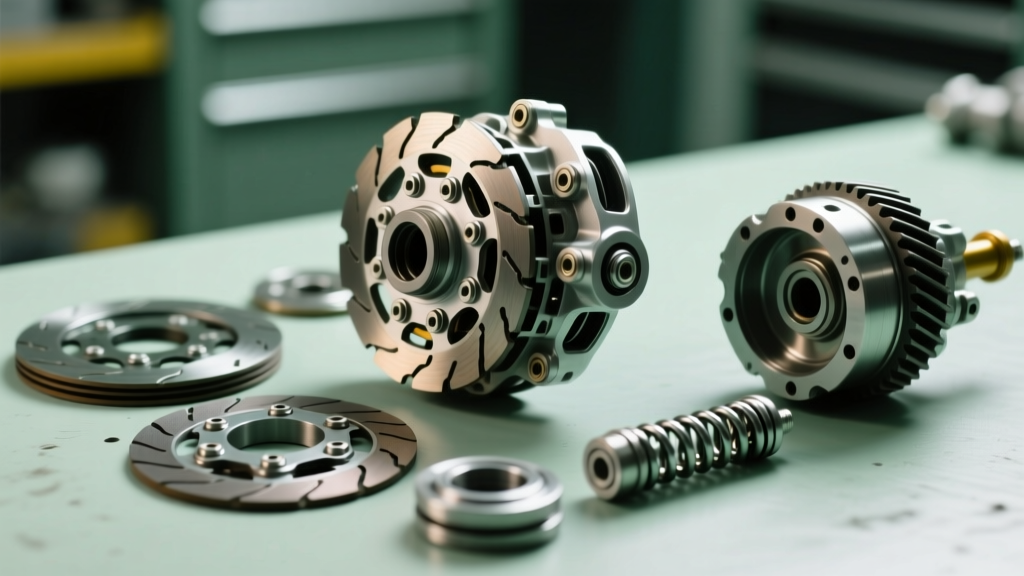
Most new clutch kits include a set of precision steel shims (spacers) that sit on the compressor shaft beneath the friction hub. After installing the hub loosely, measure the gap. If the gap is 0.80mm, remove the hub and install a 0.25mm shim to bring the final gap into the optimal 0.55mm range. Always spin the pulley by hand after final assembly to ensure zero parasitic drag when the clutch is disengaged.
Summary: A Methodical Approach to Accessory Clutches
Resolving a car ac compressor clutch not engaging issue is rarely as simple as swapping a relay. It requires a systematic evaluation of electrical resistance, magnetic air gaps, and mechanical wear. By utilizing precise feeler gauge measurements, adhering to strict torque specifications, and making informed buyer decisions between clutch-only kits and complete OEM assemblies, you can restore accessory drive functionality and cabin comfort for another 100,000 miles.