The Anatomy of an AC Compressor Clutch Coil
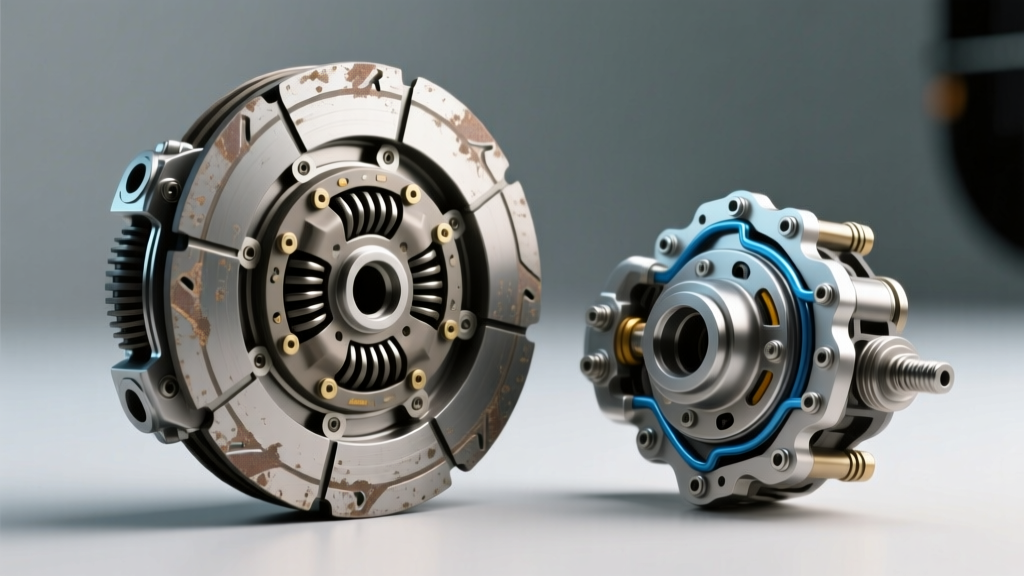
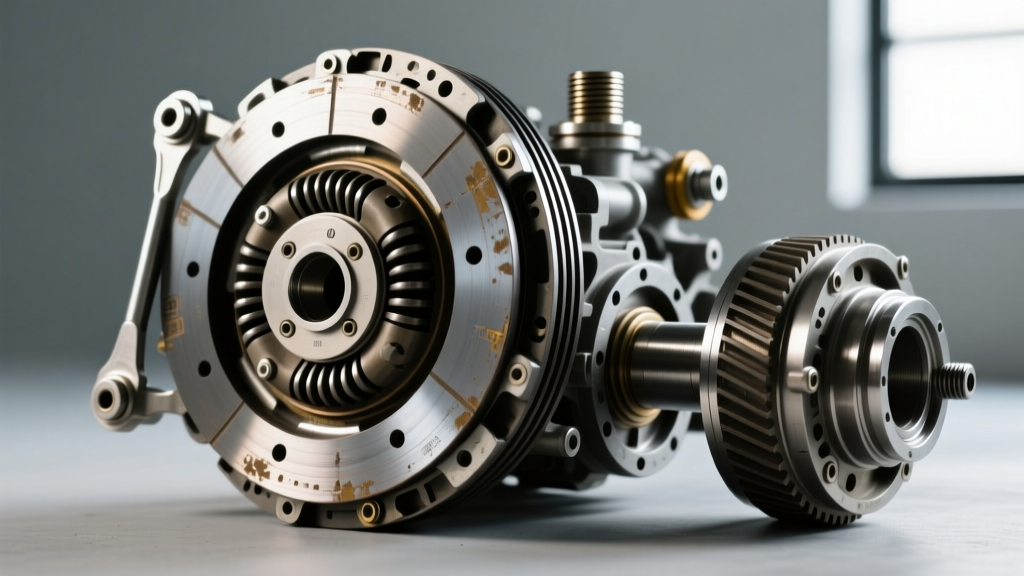
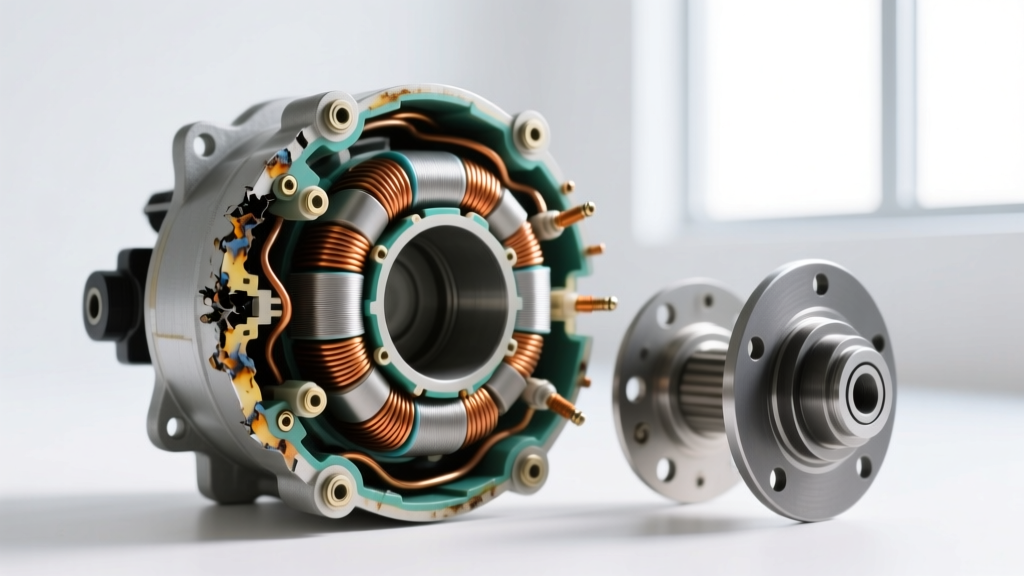
The electromagnetic clutch is the critical gateway between your engine's rotational force and the refrigerant compression cycle. At the heart of this assembly is the ac compressor clutch coil, a tightly wound copper spool encased in thermal epoxy. When the HVAC control module grounds the clutch relay, 12 volts energize the coil, generating a magnetic flux that pulls the clutch hub against the rotor pulley.
Modern coils are not just simple electromagnets; they are integrated thermal management systems. Most OEM coils (such as those found on Denso 10S17C and Sanden SD7V16 compressors) feature an internal thermal protector fuse embedded directly in the winding. This fuse is typically calibrated to sever the circuit at 135°C (275°F) to prevent the epoxy from catching fire or melting the pulley bearing grease. Understanding this architecture is the first step in accurate clutch system diagnostics.
Diagnostic Matrix: 4 Primary Coil Failure Modes
When a clutch fails to engage, technicians often immediately condemn the coil. However, root cause analysis requires isolating the exact electrical or mechanical failure mode. Below is the definitive diagnostic matrix for electromagnetic clutch failures.
| Failure Mode | Multimeter Reading (12V Sys) | Primary Symptom | Root Cause Analysis |
|---|---|---|---|
| Open Circuit (Thermal Trip) | OL (Infinite) | Clutch never engages, no click | Internal thermal fuse blew due to prolonged slipping or excessive ambient heat. |
| Short to Ground | 0.0 to 0.5 Ohms | HVAC fuse blows immediately upon engagement | Insulation meltdown; copper windings contacting the steel coil housing. |
| Weak Magnetic Field | > 6.0 Ohms | Clutch engages at idle but slips at 2500+ RPM | Partial internal short or heat degradation increasing copper resistance. |
| Intermittent Connection | Fluctuating (3.0 to 15 Ohms) | Clutch drops out over bumps or when hot | Micro-fracture in the coil winding or degraded solder joint at the pigtail. |
Root Cause Deep-Dive: Why Coils Burn Out Prematurely
Replacing a coil without addressing the underlying catalyst guarantees a repeat failure. According to technical bulletins from the Mobile Air Climate Systems Association (MACS), over 60% of premature clutch coil failures are secondary to mechanical or systemic HVAC issues.
The Air Gap Multiplier Effect
The air gap is the physical distance between the rotor pulley and the clutch hub friction plate. As the friction material wears over time, this gap widens. The factory specification for most Denso and Harrison/Delphi compressors is between 0.3mm and 0.6mm (0.012 to 0.024 inches).
When the gap exceeds 0.8mm, the magnetic flux density drops exponentially. The coil must work harder to pull the hub across the gap, resulting in micro-slipping. This slipping generates immense friction heat, which transfers directly into the coil housing, eventually tripping the 135°C thermal fuse. If you replace a blown coil but fail to shim the air gap back to 0.4mm, the new coil will burn out within weeks.
High-Side Pressure Spikes & Parasitic Drag
A restricted condenser, failing cooling fan, or overcharged system can cause high-side pressures to exceed 350 PSI. This creates massive parasitic drag on the compressor shaft. The clutch coil is only designed to transmit a specific amount of torque (typically 25 to 45 Nm depending on the compressor displacement). When system pressures spike, the compressor requires more torque than the magnetic bond can hold. The clutch slips, generating the exact thermal overload conditions that destroy coil windings.
2026 Buyer’s Guide: OEM vs. Aftermarket Clutch Coils
Sourcing the correct replacement requires balancing cost, epoxy quality, and thermal fuse calibration. Cheap aftermarket coils often use inferior potting compounds that crack under hood temperatures, allowing moisture ingress and subsequent short circuits. Here is how the top tier of replacement coils compares for the 2026 service year.
| Brand / Tier | Typical Part Series | Price Range (USD) | Warranty | E-E-A-T Verdict |
|---|---|---|---|---|
| Denso (OEM) | 471-XXXX / 447200-XXXX | $85 - $130 | 12 Months | Best Overall. Exact factory resistance specs and premium thermal epoxy. Mandatory for late-model variable-displacement compressors. |
| Sanden (OEM) | SD-XXX-XX Series | $90 - $140 | 12 Months | Best for European/Heavy Duty. Superior thermal fuse calibration for high-ambient heat applications. |
| Four Seasons (Premium Aftermarket) | 36XXX Series | $45 - $70 | Limited Lifetime | Best Value. Excellent fitment and reliable internal fuses. Ideal for older fixed-displacement systems (e.g., GM HT6, Ford FS10). |
| GPD / UAC (Economy) | 65XXXXX / CO XXXXX | $25 - $40 | 12 Months | Budget Option. Acceptable for low-mileage trade-ins, but epoxy potting is prone to cracking in extreme heat cycles. |
Expert Insight: When replacing a coil on a modern variable-displacement compressor (like the Denso 10S17C or Sanden PXE16), never reuse the old clutch hub or rotor bearing. The bearing is often heat-damaged from the previous coil failure, and a dragging bearing will warp the new rotor, destroying the air gap.
Step-by-Step Bench & Vehicle Testing Protocol
Before unbolting a single component, perform this non-invasive diagnostic sequence to confirm the coil is the actual point of failure.
- Voltage Drop Test (Under Load): Back-probe the clutch coil connector with the engine running and HVAC set to Max Cool. You must read within 0.2V of battery voltage (e.g., 13.8V battery = 13.6V minimum at the coil). A reading of 10.5V indicates a bad relay or corroded ground, not a bad coil.
- Resistance Test (Bench): Disconnect the coil and measure across the terminals. A healthy 12V coil should read between 3.0 and 4.5 Ohms at 20°C (68°F). Remember that copper resistance increases with heat; a hot coil may read 0.5 Ohms higher than a cold one.
- Amperage Draw Test: Using an inductive amp clamp on the clutch feed wire, verify the draw. Most OEM coils draw between 2.5 and 3.5 Amps. A draw exceeding 5.0 Amps indicates an internal short; a draw under 1.5 Amps indicates high resistance or a failing connection.
- Air Gap Verification: Use a metric feeler gauge to measure the gap at three equidistant points around the clutch hub. If the variance between the three points exceeds 0.15mm, the clutch hub is warped or the compressor shaft bearing is failing.
Decision Framework: Replace the Coil or the Compressor?
While replacing just the ac compressor clutch coil is cost-effective, it is not always the correct repair. According to engineering data from Denso Auto Parts, if the coil failed due to a seized compressor shaft, the entire assembly must be replaced.
Replace ONLY the Coil/Clutch Assembly if:
- The compressor shaft spins freely by hand with the clutch disengaged.
- Refrigerant pressures are within normal operating ranges (e.g., 35-45 PSI low side, 150-220 PSI high side at 70°F ambient).
- The compressor body shows no signs of front-shaft seal leakage (no green/yellow UV dye or oily residue on the clutch face).
- The coil reads OL (Open) but the air gap was verified to be out of spec, confirming a thermal fuse trip due to slipping.
Replace the ENTIRE Compressor Assembly if:
- There is visible oil contamination on the friction surfaces of the rotor and hub.
- The compressor exhibits excessive axial or radial play when the clutch hub is wiggled by hand.
- The system has suffered a catastrophic internal failure (indicated by metallic flakes in the orifice tube or receiver-drier), which guarantees the new clutch will slip due to internal mechanical binding.
By treating the ac compressor clutch coil not just as a wearable electrical component, but as a symptom indicator for the broader HVAC system, technicians can eliminate repeat comebacks and ensure long-term climate control reliability. Always torque the clutch hub center bolt to the manufacturer's exact specification—typically 15 to 20 Nm (11 to 15 lb-ft) for most modern Sanden and Denso units—to prevent hub walk and subsequent air gap variations.