The Diagnostic Dilemma: Under-Hood Clutch Confusion
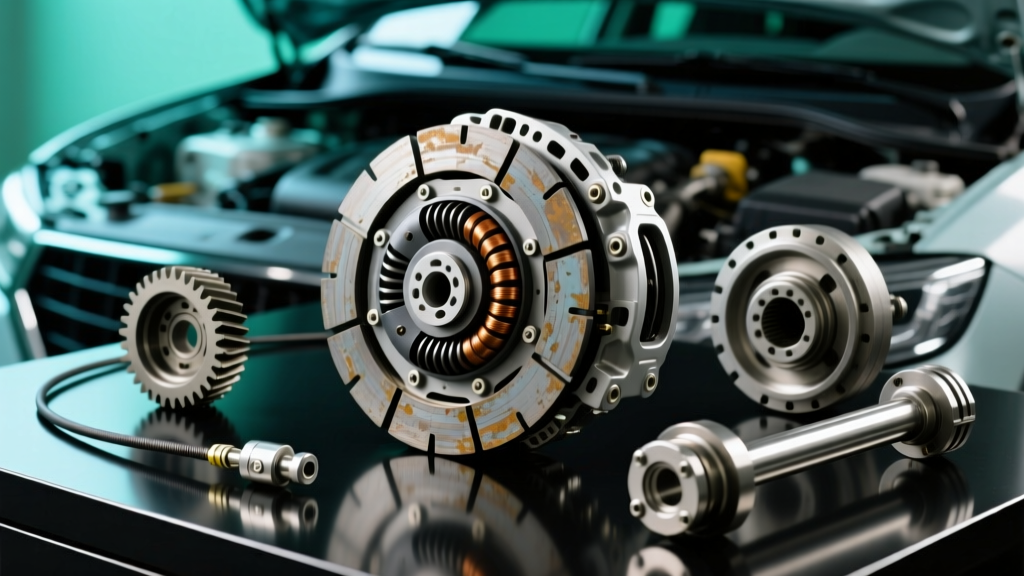
If you spend enough time on automotive forums, you will inevitably encounter a highly specific search anomaly: drivers desperately searching for an auto ac clutch not engaging while simultaneously complaining about stiff pedals, gear grinding, and mechanical clunks under the hood. As automotive technicians, we see this misdiagnosis constantly in 2026. The modern engine bay is a dense labyrinth of components, and the electromagnetic clutch on your AC compressor sits in close proximity to the manual transmission’s mechanical clutch cable routing on many legacy and specialty vehicles.
When an under-hood clicking or slapping noise occurs, novice DIYers often conflate the two systems. Is your auto AC clutch not engaging because of a failed compressor coil, or are you actually experiencing severe clutch cable problems and adjustment issues that are causing the throw-out bearing to rattle against the pressure plate? Misdiagnosing these two entirely different "clutches" can lead to hundreds of dollars in wasted parts. This comprehensive cost analysis and diagnostic guide will break down the exact symptoms, testing procedures, and 2026 repair costs for both systems, with a deep dive into manual clutch cable adjustment.
Scenario A: Auto AC Clutch Not Engaging (Electromagnetic Diagnostics)
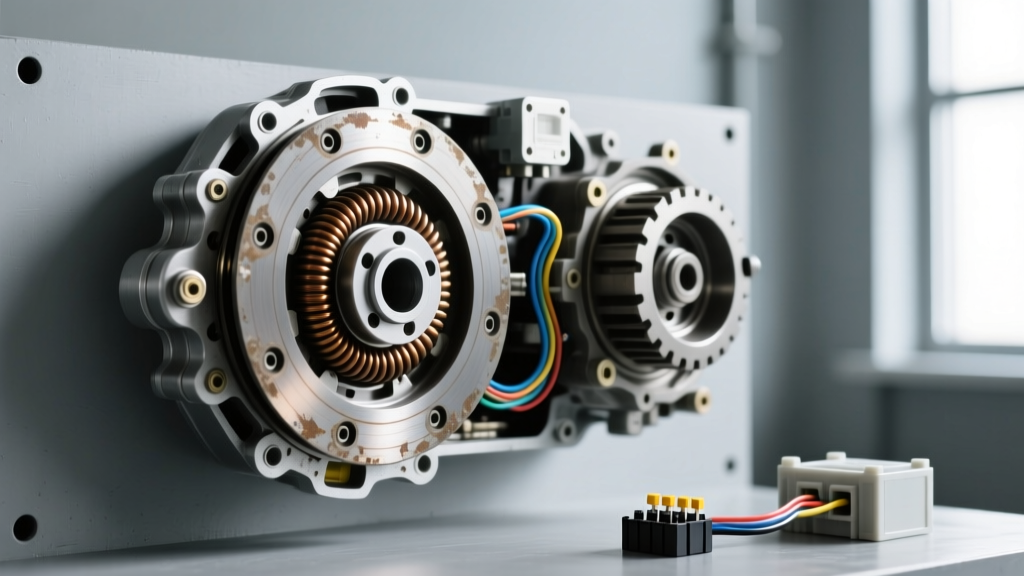
The AC compressor clutch is an electromagnetic device. When the HVAC system demands cooling, a relay sends 12V to the coil, creating a magnetic field that pulls the clutch plate against the spinning pulley. If your auto AC clutch is not engaging, the cabin blows warm air, and you may hear a rapid clicking from the relay or the compressor itself.
Diagnostic Steps & Specifications
- Visual Air Gap Test: The clearance between the clutch plate and the pulley must be between 0.020 and 0.030 inches (0.5mm - 0.75mm). If the gap is too wide due to wear, the magnet cannot pull the plate in.
- Coil Resistance Test: Disconnect the coil connector and use a multimeter set to Ohms. A healthy coil reads between 3.5 and 5.0 ohms. An "OL" (Open Line) reading means the internal windings are broken.
- Voltage Drop Test: Probe the harness side with the engine running and AC on max. You should see a minimum of 11.5V. Anything less indicates a wiring fault or a failing HVAC control module.
2026 Cost Breakdown: AC Clutch Repair
According to diagnostic databases like AA1Car, replacing just the coil or clutch assembly is vastly cheaper than replacing the entire compressor.
- AC Clutch Relay: $15 - $35 (Part only, 5-minute DIY)
- Clutch Coil Assembly: $65 - $140 (Part only, requires AC evacuation/recharge if compressor is removed, adding $150-$250 in shop labor)
- Full Compressor Replacement: $450 - $950 (Parts and labor, necessary if the internal shaft seal is leaking or bearings are seized)
Scenario B: Clutch Cable Problems and Adjustment (Mechanical Linkage)
If your vehicle utilizes a manual transmission with a cable-actuated linkage (common in vehicles like the Jeep Wrangler TJ, older Honda Civics, and classic Ford Mustangs), a fraying, stretched, or maladjusted cable will mimic under-hood clunking noises. Furthermore, a poorly adjusted cable keeps constant pressure on the throw-out bearing, causing premature wear and a rattling sound that drivers mistakenly attribute to engine accessories like the AC compressor.
Identifying Clutch Cable Failure Modes
Clutch cables fail in three primary ways:
- Inner Wire Fraying: The steel strands snap one by one inside the Teflon-lined housing, leading to a progressively stiffer pedal and eventual catastrophic snapping.
- Housing Stretching/Compression: The outer rubber and steel casing degrades, altering the geometry between the firewall and the bellhousing.
- Adjuster Mechanism Failure: The plastic or metal nuts at the firewall strip, or the self-adjusting quadrant gear (notorious in 1982-2004 Ford Mustangs) breaks its teeth.
The True Cost of Clutch Cable Replacement vs. Adjustment
Before ordering parts from RockAuto or your local dealer, you must determine if the cable simply needs adjustment. A professional adjustment takes roughly 0.3 hours of labor, whereas a full cable replacement on a transverse-engine Honda or a longitudinally-mounted Jeep can take 1.5 to 2.5 hours due to firewall access and bellhousing reach.
| Service Type | Typical Part Cost (OEM/Premium) | Shop Labor (2026 Rates) | Total Estimated Cost |
|---|---|---|---|
| Clutch Cable Adjustment | $0 | $45 - $75 (0.3 hrs) | $45 - $75 |
| Standard Cable Replacement (e.g., Jeep TJ Mopar 52020433) | $65 - $110 | $150 - $250 (1.5 hrs) | $215 - $360 |
| Complex Cable Replacement (e.g., Honda Civic 54310-S5A-A01) | $45 - $85 | $180 - $280 (2.0 hrs) | $225 - $365 |
| Aftermarket Heavy-Duty Cable (e.g., Maximum Motorsports MMCL-11) | $160 - $220 | $150 - $200 | $310 - $420 |
Step-by-Step Clutch Cable Adjustment Guide
Adjusting a manual clutch cable is a critical maintenance task that ensures full disengagement (preventing gear grind) and full engagement (preventing clutch slip). As outlined by experts at YourMechanic, proper freeplay is non-negotiable.
Tools Required
- Metric or SAE open-end wrenches (typically 10mm, 12mm, or 1/2-inch)
- Tape measure or digital calipers
- Penetrating oil (PB Blaster or WD-40 Specialist)
- Torque wrench (inch-pounds)
The Adjustment Procedure (Firewall Adjuster Type)
- Locate the Adjuster: Follow the clutch cable from the pedal assembly through the firewall to the bellhousing. You will find a threaded rod with two nuts (a locknut and an adjuster nut) resting against a rubber grommet or metal bracket.
- Measure Pedal Freeplay: Sit in the driver's seat and press the clutch pedal with your finger. Measure the distance the pedal moves before you feel the heavy resistance of the clutch diaphragm spring. Target specification is usually 0.59 to 0.79 inches (15-20mm) for Japanese applications, or roughly 1.0 inch for American applications.
- Loosen the Locknut: Spray the threads with penetrating oil. Hold the adjuster nut steady and loosen the locknut.
- Adjust the Tension: Turn the adjuster nut toward the bellhousing to increase cable tension (reducing pedal freeplay), or toward the firewall to decrease tension.
- Verify Bellhousing Fork Play: Crawl under the vehicle. At the point where the cable hooks to the clutch fork, you should have exactly 1/8 to 1/4 inch (3-6mm) of freeplay. If there is zero freeplay, the throw-out bearing is under constant load and will fail prematurely.
- Secure and Torque: Hold the adjuster nut in place and tighten the locknut against it. Torque the locknut to 10-12 Nm (89-106 lb-in). Do not overtighten, as you can strip the threads on the cable rod.
The Ford Mustang Quadrant Exception
If you are adjusting a 1982-2004 Ford Mustang, the factory self-adjusting "quadrant" gear under the dash is notorious for breaking teeth and causing severe clutch cable problems. The firewall adjuster alone cannot fix a broken quadrant. The ultimate fix is installing an aftermarket adjustable firewall adjuster and a heavy-duty clutch cable (like the aforementioned Maximum Motorsports kit), bypassing the fragile plastic factory quadrant entirely.
When to Abandon Adjustment and Replace the Cable
While adjustment saves money, it cannot fix physical degradation. You must replace the cable assembly if you observe any of the following:
- Visible Fraying: Inspect the cable ends at the pedal hook and the bellhousing fork. If even two strands of the steel wire are broken, the entire cable is compromised and will snap under heavy load.
- Binding in the Housing: Have a helper press the clutch while you watch the bellhousing fork. If the fork moves in a jerky, stuttering motion rather than a smooth arc, the inner cable is binding inside a degraded outer housing.
- Corrozed End Fittings: If the metal barrel that seats into the clutch fork is rusted or deformed, it will pop out of its socket during rapid shifts, resulting in an immediate loss of clutch control.
Final Diagnostic Verdict
When diagnosing under-hood noises and engagement issues, separate the electromagnetic from the mechanical. If the cabin is warm and you hear a high-pitched click near the serpentine belt, you are dealing with an auto AC clutch not engaging—check your air gap and coil resistance. However, if the noise is a metallic rattle tied to the RPM of the engine that changes when you press the left-most pedal, you are squarely in the territory of clutch cable problems and adjustment. By understanding the distinct torque specs, freeplay measurements, and 2026 cost structures of both systems, you can avoid the trap of misdiagnosis and keep your vehicle shifting smoothly and cooling efficiently.