Understanding AC Compressor Clutch Drag and Release Failures
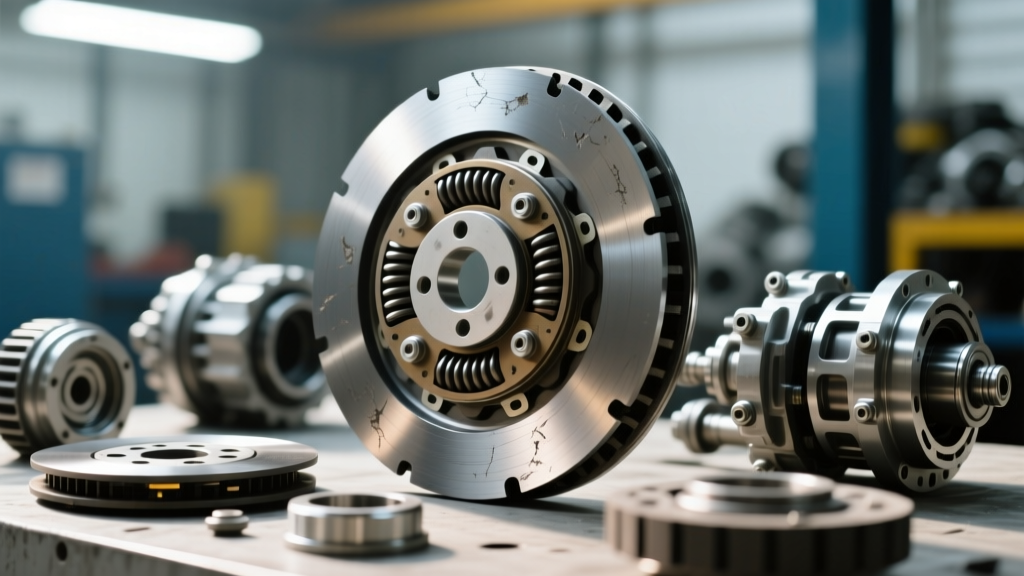
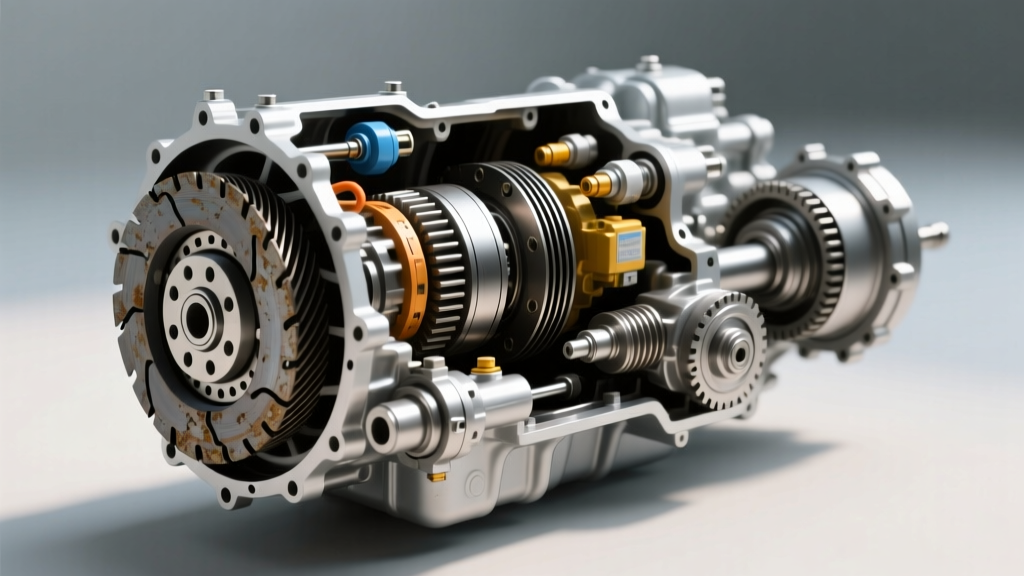
When automotive technicians and DIYers hear the term "clutch drag," they typically think of manual transmission hydraulics, warped friction discs, or failing release bearings. However, the vehicle's air conditioning compressor utilizes a high-torque electromagnetic friction clutch. When this specific component experiences clutch drag and release problems, it fails to fully disengage from the compressor pulley. This creates massive parasitic drag on the engine's serpentine belt system, robbing horsepower, decreasing fuel economy, and in modern 2026 vehicles equipped with 48V mild-hybrid Belt-Starter Generators (BSG), potentially causing catastrophic belt slip or CAN-bus load calculation errors.
Diagnosing this issue requires a systematic approach that bridges electrical circuit analysis with precise mechanical measurement. The diagnostic journey almost always begins at the power distribution center with the ac clutch fuse and its associated relay circuit.
Why the AC Clutch Fuse is Your First Diagnostic Stop
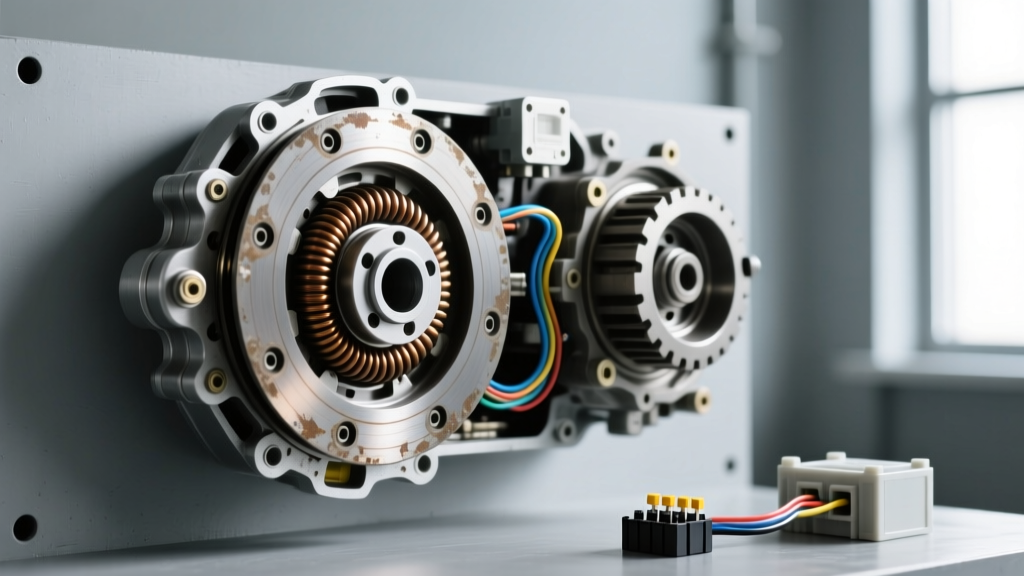
The electromagnetic coil that engages the AC clutch requires a steady 12V supply, usually routed through a dedicated 10A or 15A mini-fuse (ATM/ATC profile) and a PCM-controlled relay. If the clutch refuses to release when the AC is turned off, or if it drags intermittently, the electrical circuit is the primary suspect. A fused circuit that has been improperly upgraded (e.g., replacing a blown 10A fuse with a 20A fuse to "stop it from blowing") can mask a shorted coil, allowing voltage to bleed through a failing relay or damaged wiring harness, keeping the clutch partially or fully engaged.
Step-by-Step Guide: Diagnosing Electrical vs. Mechanical Drag
To accurately pinpoint whether your clutch drag is an electrical release failure or a mechanical binding issue, follow this exact diagnostic sequence.
Step 1: Verify the AC Clutch Fuse and Relay Circuit
- Locate the Fuse: Consult the service manual to find the exact location of the ac clutch fuse in the under-hood power distribution center. Pull the fuse and inspect the element. Look for signs of heat melting on the plastic casing, which indicates high resistance or a previous overload.
- Test for Parasitic Voltage: With the ignition OFF and the HVAC controls set to OFF, use a digital multimeter (DMM) set to DC Volts. Probe the load side of the fuse socket or the clutch connector itself. You should read 0.00V. Any reading above 0.50V indicates a stuck relay, a shorted PCM driver transistor, or chafed wiring bleeding voltage into the coil, preventing release.
- Swap the Relay: Relays can suffer from carbon tracking across the internal contacts, causing them to stick closed even when the coil is de-energized. Swap the AC clutch relay with an identical, non-critical relay (like the horn relay) and retest for drag.
Step 2: Measure Coil Resistance and Ground Integrity
If the fuse and relay are confirmed functional and voltage drops to zero when the system is commanded off, the drag may be caused by residual magnetism or a failing coil winding. Disconnect the clutch connector and measure the coil resistance using your DMM set to Ohms.
- Normal Range: Most modern Denso and Sanden compressor clutches should read between 3.5 and 4.5 Ohms at room temperature (68°F/20°C).
- Shorted Coil: A reading below 2.0 Ohms indicates internal winding degradation. This draws excessive amperage, overheating the coil and potentially warping the friction plate, leading to physical drag even after power is cut.
- Open Coil: An "OL" (Out of Limits) reading means the coil is broken. While this prevents engagement, a melted coil housing can physically bind against the rotor, mimicking clutch drag.
Step 3: Inspect the Mechanical Air Gap (The Root of Physical Drag)
If the electrical side is flawless (0V at the connector when off, correct resistance), the clutch drag and release problem is purely mechanical. The electromagnetic clutch relies on a precise air gap between the rotor/pulley assembly and the front friction plate (hub). If this gap is too tight due to worn shims, thermal expansion, or debris, the residual magnetism in the rotor will be strong enough to keep the clutch plate dragging against the pulley even without electrical power.
Compressor Clutch Air Gap & Torque Specifications
Use a non-magnetic brass feeler gauge to measure the air gap at three equidistant points around the clutch perimeter. Refer to the table below for exact OEM specifications.
| Compressor Model | Common Applications | Nominal Air Gap | Hub Bolt Torque | Coil Resistance |
|---|---|---|---|---|
| Sanden SD7H15 | Heavy Duty, GM Trucks, Freightliner | 0.30 - 0.60 mm (0.012" - 0.024") | 11 - 15 Nm (8 - 11 lb-ft) | 3.5 - 4.5 Ohms |
| Denso 10S17C / 10PA17C | Toyota, Lexus, Honda, Subaru | 0.30 - 0.50 mm (0.012" - 0.020") | 10 - 12 Nm (7 - 9 lb-ft) | 3.8 - 4.2 Ohms |
| Harrison HT6 / V5 | Older GM Passengers, Cadillac | 0.40 - 0.80 mm (0.016" - 0.031") | 14 - 18 Nm (10 - 13 lb-ft) | 3.0 - 3.6 Ohms |
Note: Always verify specific air gap tolerances with the OEM service manual, as aftermarket replacement clutches may require different shim thicknesses.
Resolving Physical Clutch Release Problems
When the air gap measures below specification, the clutch will drag. To fix this, you must adjust the shimming behind the front hub.
- Remove the center hub retaining bolt (typically an 8mm or 10mm hex head).
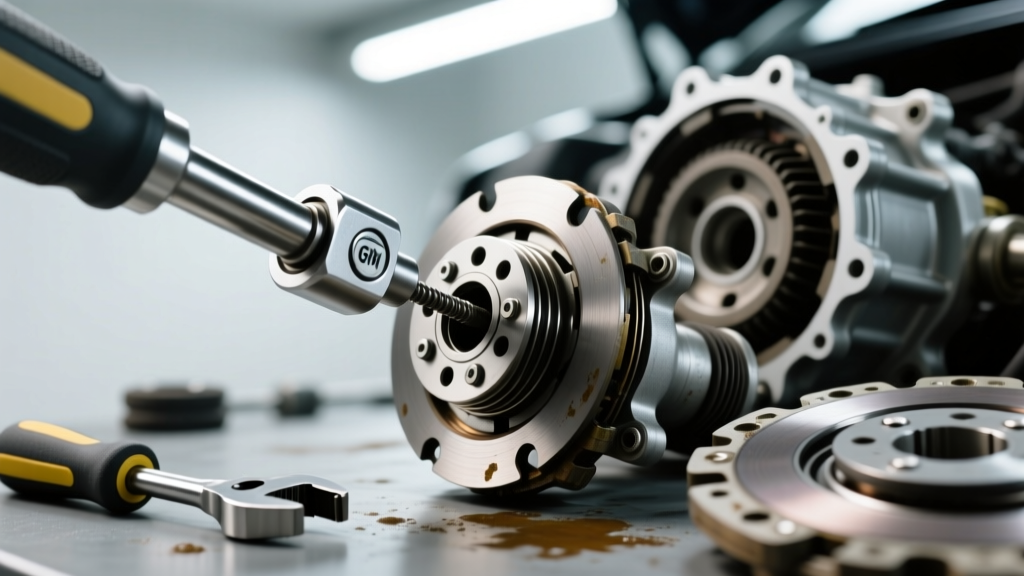
- Use a specialized clutch puller tool to remove the friction plate. Never pry the plate off with a screwdriver, as this will score the rotor face and permanently ruin the mating surface.
- Remove the existing spacer/shim located on the compressor shaft behind the hub.
- Add a 0.10mm or 0.20mm shim to increase the air gap. Reinstall the hub and torque the center bolt to the specifications listed in the table above.
- Re-measure the air gap with your feeler gauge. Rotate the hub by hand to ensure it spins freely without any metallic scraping sounds.
Expert Diagnostic Tip: In regions that use heavy road salt, corrosion between the clutch pulley bearing and the compressor front head can cause the pulley to bind. If the air gap is correct but you still feel rotational drag when spinning the pulley by hand (with the clutch disengaged), the pulley bearing is failing. This requires a bearing puller and a press to replace the sealed double-row angular contact bearing (commonly a 35x52x20mm or 35x55x23mm size depending on the compressor).
Differentiating Clutch Drag from Internal Compressor Seizure
Sometimes, what appears to be a clutch release problem is actually an internal mechanical failure of the compressor itself. If the swash plate, pistons, or reed valves inside the compressor seize due to a lack of PAG/POE oil lubrication, the rotational resistance will overcome the clutch's friction material. The clutch will slip, glaze, and eventually burn out, but the root cause is internal drag.
To differentiate the two:
- Clutch Drag (Electrical/Mechanical): The clutch plate is physically rubbing against the spinning pulley. You will smell burning friction material, and the center hub will be hot to the touch. The compressor internals may still be free-spinning when tested with a spanner wrench on the center bolt.
- Internal Seizure: The clutch engages, but the engine bogs down severely. The belt may squeal or smoke. If you unbolt the clutch hub from the compressor shaft and the pulley still refuses to spin freely by hand, the compressor's internal bearings or swash plate have locked up.
Cost Breakdown: Repair vs. Replace (2026 Estimates)
Addressing clutch drag promptly prevents collateral damage to the serpentine belt, tensioner, and alternator. Here is what you can expect to pay for parts and labor if you take the vehicle to a professional HVAC specialist:
- AC Clutch Fuse & Relay Replacement: $5 - $25 (Parts only, DIY).
- Clutch Coil & Hub Assembly Replacement: $120 - $280 (Parts) + $150 - $250 (Labor). Requires refrigerant recovery and system evacuation if the compressor front seal is disturbed, though many clutches can be replaced on-car without opening the refrigerant system.
- Full Compressor Replacement (Internal Seizure): $350 - $800 (OEM Parts like Denso or Sanden) + $300 - $500 (Labor, including system flush, receiver-drier replacement, and recharge).
Final Thoughts on System Diagnostics
Clutch drag and release problems on an AC compressor are rarely isolated events. A dragging clutch generates immense heat, which degrades the electromagnetic coil insulation and accelerates pulley bearing wear. By starting your diagnosis at the ac clutch fuse and methodically working through the relay circuit, voltage drops, and mechanical air gap tolerances, you can accurately isolate the failure point. For deeper electrical schematics and compressor-specific teardown procedures, consult resources like the AA1Car AC Clutch Diagnostic Library or review OEM technical bulletins via the Denso Global Compressor Portal. Proper diagnosis saves you from replacing a $600 compressor when a $12 relay or a missing 0.2mm shim was the true culprit.