The Hidden Cost of Ignoring Toyota 4Runner Rear Differential Fluid Leaks
As we navigate through 2026, the legendary 5th-generation (2010-2024) Toyota 4Runner fleet is aging gracefully, with many examples surpassing the 150,000-mile mark. While the naturally aspirated 4.0L V6 and 5-speed automatic are nearly bulletproof, the 8-inch rear differential requires meticulous attention. Often, what begins as a routine Toyota 4Runner rear differential fluid change reveals a more sinister issue: compromised seals or failing bearings.
Ignoring a minor weep at the pinion flange or a slight dampness behind the brake backing plate can rapidly escalate into catastrophic gear failure. When gear oil drops below the fill plug threshold, the ring and pinion run starved, generating extreme heat that destroys the case and bearings. This expert guide details the diagnostic matrix, precision tooling, and exact torque specifications required to rebuild the sealing surfaces and bearings on the Toyota 8-inch rear axle.
Diagnostics: Seal Failure vs. Bearing Wear
Before ordering parts, you must accurately diagnose the root cause. A leaking seal is frequently a symptom of a worn bearing. If you replace a pinion seal without addressing excessive pinion bearing play, the new seal will fail within 5,000 miles due to harmonic vibration.
| Symptom / Observation | Likely Culprit | Expert Verification Method |
|---|---|---|
| Wetness directly behind the pinion yoke/flange | Pinion Seal (90311-47013) | Clean area, drive 20 miles. Check for radial flinging of oil. |
| Whirring noise that changes with load (decel vs. accel) | Pinion or Carrier Bearings | Stethoscope on diff housing at 40 mph. Check pinion rotational play. |
| Oil on the inside of the rear brake rotors | Axle Shaft Seal (90310-50004) | Pull wheel and drum/rotor. Inspect seal lip and axle shaft scoring. |
| Low-speed clunk or binding during tight turns | Carrier Bearings / LSD Clutch Pack | Drain Toyota 4Runner rear differential fluid and inspect for brass glitter. |
Essential Parts and Tooling for the 8-Inch Axle
Sourcing high-quality components is non-negotiable. While OEM Toyota parts are excellent, aftermarket specialists like Timken and Yukon Gear & Axle offer heavy-duty alternatives that often exceed factory tolerances, especially for overland builds running 33-inch tires.
OEM and Aftermarket Part Matrix
| Component | OEM Part Number | Premium Aftermarket Equivalent | Est. 2026 Price |
|---|---|---|---|
| Pinion Seal | 90311-47013 | Timken 710118 | $18 - $25 |
| Axle Shaft Seal | 90310-50004 | National 711036 | $14 - $22 |
| Pinion Nut (Prevailing) | 90179-22011 | Yukon YSPNN-007 | $12 - $18 |
| Crush Sleeve Eliminator Kit | N/A (Use OEM Sleeve) | Yukon SK CS-T8 | $45 - $60 |
Expert Procedure: Pinion Seal and Bearing Service
Replacing the pinion seal on a Toyota 8-inch differential is a precise operation. The factory uses a crush sleeve to set pinion bearing preload. If you overtighten the pinion nut to pull the yoke back on, you will over-crush the sleeve, requiring a complete differential teardown to fix.
Step 1: Measuring Baseline Rotational Torque
Do not skip this step. With the rear wheels off the ground and the differential in neutral, use an inch-pound torque beam wrench on the pinion nut. Rotate the pinion several times to seat the bearings, then record the rotational torque. For a used bearing assembly with a drained differential, expect a reading between 12 to 18 in-lbs. Write this number down.
Step 2: Yoke Removal and Seal Extraction
Mark the pinion yoke and the nut with paint pen to ensure exact alignment upon reassembly. Use a heavy-duty impact wrench or a yoke holder tool to remove the pinion nut. Slide the yoke off using a 3-jaw puller—never hammer it off, as this will chip the ring gear teeth. Use a seal puller to remove the old pinion seal. Coat the lip of the new Timken seal with fresh 75W-90 gear oil and tap it in flush using a seal driver.
Step 3: The Solid Spacer Upgrade (Pro-Tip)
Instead of risking a new OEM crush sleeve, expert builders in 2026 universally recommend installing a Solid Spacer Kit with shims. This eliminates the guesswork of crushing a sleeve and allows for infinite preload adjustments. Install the solid spacer, add the thickest shim that allows the nut to thread on, and tighten until you achieve your baseline rotational torque plus 3 to 5 in-lbs to account for the friction of the new seal lip.
Axle Shaft Seals and Wheel Bearings
If your Toyota 4Runner rear differential fluid is migrating past the axle seals, you must pull the axle shafts. On the 5th-generation 8-inch axle, the wheel bearing and seal are pressed onto the shaft behind a heavy steel retainer plate.
- Drain the differential completely.
- Remove the four 17mm nuts on the back of the axle flange.
- Use a slide hammer with an axle-pulling adapter to extract the shaft. Do not pry between the backing plate and the axle housing, or you will warp the housing flange.
- Take the shaft to a machine shop with a hydraulic press. The old bearing retainer must be cut off with an angle grinder (carefully, to avoid scoring the shaft), and the new Timken bearing and seal must be pressed on with 20+ tons of force.
Expert Warning: When reinstalling the axle shaft, be incredibly careful not to drag the new seal lip across the splines of the side gears inside the differential carrier. Wrap the splines in electrical tape or use a thin plastic sleeve to protect the seal during insertion.
Selecting and Filling Your Toyota 4Runner Rear Differential Fluid
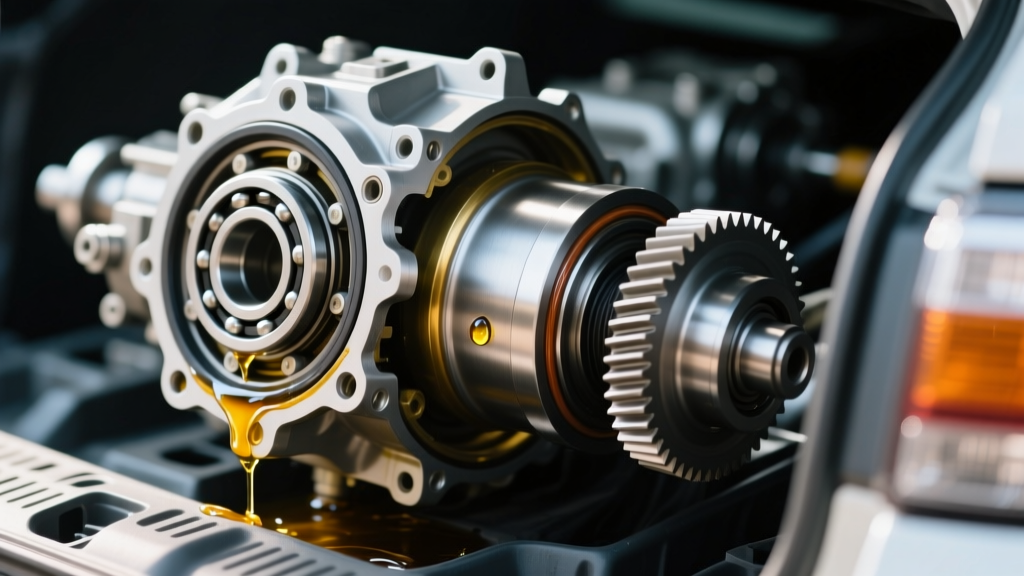
Once all seals and bearings are verified, it is time to refill. The factory specification for the 8-inch rear differential is Toyota Genuine Hypoid Gear Oil 75W-85 GL-5 (Part #08885-02606). The total capacity is approximately 3.0 quarts (2.8 Liters).
However, for heavily modified 4Runners towing trailers or running larger tires, upgrading to a high-quality synthetic 75W-90 GL-5 (such as Red Line 75W90 or Amsoil Severe Gear) provides a thicker protective film at high operating temperatures. If your 4Runner is equipped with the factory electronic locking rear differential (e-Locker), you must not use gear oils containing friction modifiers meant for clutch-type Limited Slip Differentials (LSD), as this can cause the e-Locker actuator to slip or bind.
The Vacuum Fill Method
Because the fill hole on the 8-inch axle is located slightly below the true centerline of the ring gear, simply filling until fluid weeps out of the hole leaves the differential slightly underfilled. Use a vacuum fluid evacuator/filler to pump exactly 3.0 quarts into the housing. This ensures the pinion bearing receives adequate splash lubrication on steep inclines.
Final Torque Specs and Break-In Protocol
Before putting the vehicle back on the ground, verify all critical fasteners. Reference Toyota TIS for the most up-to-date factory service manuals, but standard 8-inch axle specs dictate:
- Pinion Nut (if using new crush sleeve): Tighten to 134 lb-ft minimum, checking rotational torque every 1/8th turn. Stop exactly at Baseline + 5 in-lbs.
- Axle Flange Nuts (17mm): 59 lb-ft.
- Drain and Fill Plugs: 29 lb-ft (Always use new aluminum crush washers to prevent stripping the soft aluminum housing threads).
- Wheels/Lug Nuts: 76 lb-ft.
After reassembly, drive the vehicle for 20-30 miles at highway speeds to bring the new gear oil and bearings up to operating temperature. Park on a level surface and re-check the fill plug for any weeping. By combining meticulous diagnostic practices with premium components, your 4Runner's rear axle will easily handle the next 150,000 miles of overland abuse.