Locating the 4L80E Transmission Temp Sensor: A Deep Dive
The GM 4L80E is legendary in the automotive world. From heavy-duty 2500/3500 series trucks to the C4 and C5 Corvettes, this longitudinal 4-speed automatic transmission is a workhorse. However, like all electronically controlled drivetrains, it relies heavily on sensor data to dictate shift points, torque converter clutch (TCC) lockup, and line pressure. Among the most critical of these is the transmission fluid temperature (TFT) sensor. If you are dealing with erratic shifting, torque converter slip, or a check engine light, understanding the 4L80E transmission temp sensor location and the associated repair costs is vital.
In this comprehensive 2026 guide, we will break down exactly where this sensor lives, the real-world costs of replacing it, and the diagnostic steps required to ensure you aren't throwing parts at a wiring issue.
Where Exactly is the 4L80E Transmission Temp Sensor Located?
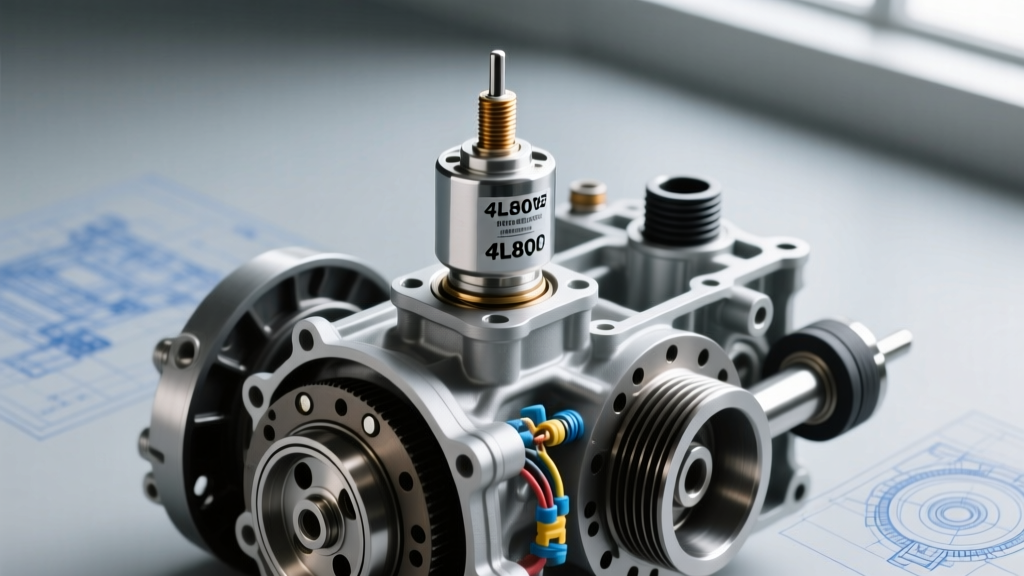
To access the 4L80E transmission temp sensor, you must look inside the transmission pan. Unlike external sensors found on some modern transaxles, the TFT sensor on the 4L80E is an internal component. Specifically, it is threaded directly into the aluminum valve body casting, submerged in transmission fluid.
Depending on the exact model year of your 4L80E (produced from 1991 through 2013), the sensor configuration varies slightly:
- Early Models (1991-1996): The sensor is typically a standalone, two-pin thermistor threaded into the valve body, plugging directly into the internal transmission wiring harness.
- Late Models (1997-2013): While still threaded into the valve body, the internal wiring harness routing was updated. The sensor connects to a harness that is notorious for developing brittle Teflon insulation, leading to short circuits that mimic a failed sensor.
Because it is mounted on the valve body, there is no shortcut to accessing it. You cannot reach it from the outside of the case. You must safely raise the vehicle, drain the fluid, and drop the transmission pan.
2026 Cost Breakdown: Parts, Labor, and Hidden Fees
When budgeting for a 4L80E transmission temp sensor replacement, the part itself is surprisingly inexpensive. The bulk of the expense comes from labor, fluid replacement, and potential collateral damage to the internal wiring harness. Below is a realistic 2026 cost analysis based on current national averages for independent shops and dealerships.
| Repair Route | Parts Cost | Labor Cost | Fluid & Filter | Total Estimated Cost |
|---|---|---|---|---|
| DIY (At-Home) | $25 - $65 | $0 | $75 - $110 | $100 - $175 |
| Independent Shop | $45 - $90 | $180 - $250 | $90 - $130 | $315 - $470 |
| GM Dealership | $60 - $110 | $280 - $380 | $120 - $160 | $460 - $650 |
The Internal Wiring Harness Caveat
Here is a crucial piece of insider knowledge: if your diagnostic scan tool shows a P0711 (TFT Sensor Circuit Range/Performance) or P0712 code, the sensor itself is only the culprit about 40% of the time. The remaining 60% of failures are caused by the internal wiring harness. The heat and chemical exposure inside the 4L80E cause the harness insulation to crack, allowing the sensor signal wire to short against the valve body or shift solenoid wires.
If the harness is compromised, you must replace the entire internal harness assembly (ACDelco Part # 214-1892 or GM OEM # 24209822). This pushes the DIY parts cost up to roughly $90-$130, and shop labor will increase by about 0.5 hours to carefully route and zip-tie the new harness.
Step-by-Step Location and Access Guide
If you are tackling this repair in your own garage, precision and cleanliness are paramount. The 4L80E is highly sensitive to debris entering the valve body.
- Preparation and Safety: Raise the vehicle on jack stands or a lift. Ensure the vehicle is perfectly level to get an accurate fluid drain.
- Drain the Fluid: The 4L80E pan holds approximately 6 quarts of fluid (total system capacity is up to 13.5 quarts with the torque converter). Place a large catch pan underneath. Unbolt the pan using a 10mm socket.
- Remove the Filter: Once the pan is off, locate the transmission filter. It is held in place by a single bolt or a friction fit depending on the year. Remove it and discard the old O-ring.
- Locate the Sensor: Look up at the valve body. The temp sensor is a small, cylindrical component with a two-pin electrical connector, usually located near the rear or side edge of the valve body casting.
- Disconnect and Extract: Unplug the sensor from the internal harness. Use a deep well socket or a specialized sensor wrench to carefully unscrew the thermistor from the valve body.
- Installation and Torque: Apply a small amount of fresh Dexron VI to the new sensor's O-ring. Thread it in by hand to prevent cross-threading the soft aluminum valve body. Tighten to 10 ft-lbs (12 Nm). Do not overtighten, or you will crack the valve body casting.
- Reassembly: Install a new filter with a new O-ring. Clean the pan and the transmission mating surface with brake cleaner. Install the new pan gasket (cork or rubber) and torque the pan bolts in a crisscross pattern to 106 in-lbs (12 Nm).
- Fluid Refill: Add 6 quarts of ACDelco Dexron VI through the dipstick tube. Start the engine, cycle through the gears, and check the fluid level while the transmission is at operating temperature.
Diagnostic Data: Thermistor Resistance Curve
Before spending money on parts, use a digital multimeter to test the removed sensor. The 4L80E TFT sensor is a Negative Temperature Coefficient (NTC) thermistor. This means its electrical resistance drops as the transmission fluid gets hotter. By measuring the resistance across the two pins and comparing it to the ambient temperature, you can definitively prove if the sensor is dead.
| Fluid Temperature (°F / °C) | Expected Resistance (Ohms) | Voltage Signal to TCM (Approx.) |
|---|---|---|
| 32°F (0°C) | 58,000 - 62,000 Ω | 4.50V - 4.80V |
| 68°F (20°C) | 24,000 - 27,000 Ω | 3.80V - 4.10V |
| 104°F (40°C) | 11,000 - 13,000 Ω | 2.90V - 3.20V |
| 140°F (60°C) | 4,200 - 4,800 Ω | 1.80V - 2.10V |
| 176°F (80°C) | 2,100 - 2,400 Ω | 1.10V - 1.30V |
| 212°F (100°C) | 1,100 - 1,300 Ω | 0.60V - 0.80V |
If your multimeter reads infinite resistance (open circuit) or zero resistance (short circuit) at room temperature, the sensor is definitively failed. However, if the resistance matches the chart but the Transmission Control Module (TCM) is still throwing a P0712 or P0713 code, your issue is almost certainly a chafed wire in the internal harness or a corroded pin at the external case connector.
Expert Tips for a Budget-Friendly Repair
As a senior drivetrain technician, I always advise owners to bundle maintenance tasks when the pan is already dropped. Since you are already paying for 6 quarts of Dexron VI and a filter kit, ensure you are using high-quality filtration. Cheap, aftermarket filters with plastic mesh screens can restrict fluid flow to the valve body, causing delayed shifts that you might mistakenly blame on the temp sensor.
Furthermore, inspect the external case connector (the 13-way or 14-way pass-through connector on the side of the transmission case). Fluid wicking is a common issue on the 4L80E, where ATF travels down the copper wires inside the harness via capillary action, eventually reaching the TCM and frying the circuit board. If you see oil inside the external plug, clean it immediately with electrical contact cleaner and consider installing an inline pigtail harness to stop the wicking before it destroys your TCM.
Final Thoughts on 4L80E Sensor Economics
The 4L80E transmission temp sensor is a remarkably affordable component that holds immense sway over your vehicle's drivability. By understanding its internal valve body location, recognizing the symptoms of harness degradation, and utilizing the resistance chart to verify failure, you can avoid the 'shotgun approach' of parts replacement. Whether you are turning the wrenches yourself for under $150 or negotiating a fair price with an independent shop, this 2026 cost analysis ensures you are equipped with the data needed to keep your heavy-duty GM rig shifting flawlessly.