Introduction: Automotive vs. UTV Drivetrain Rebuilds
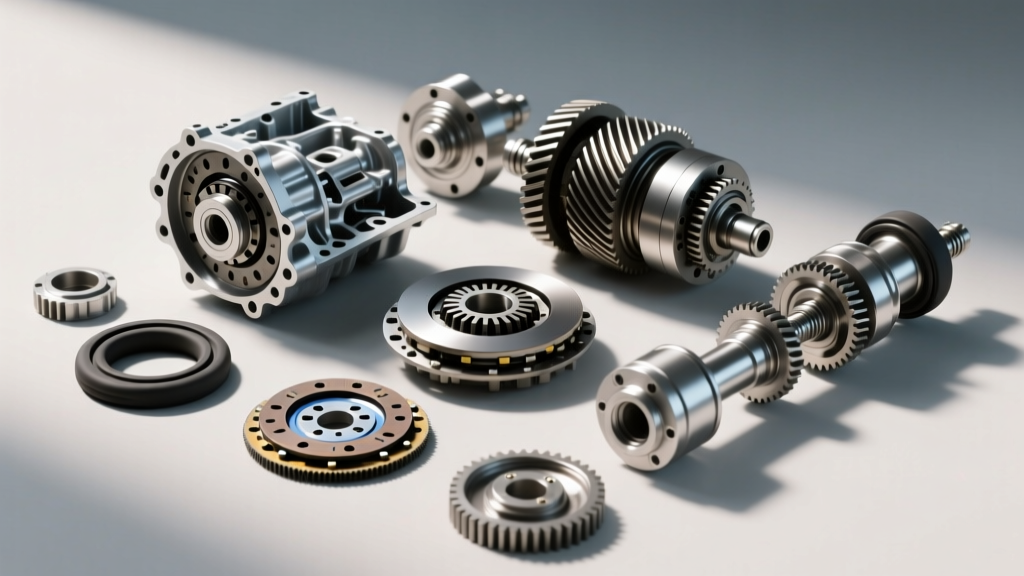
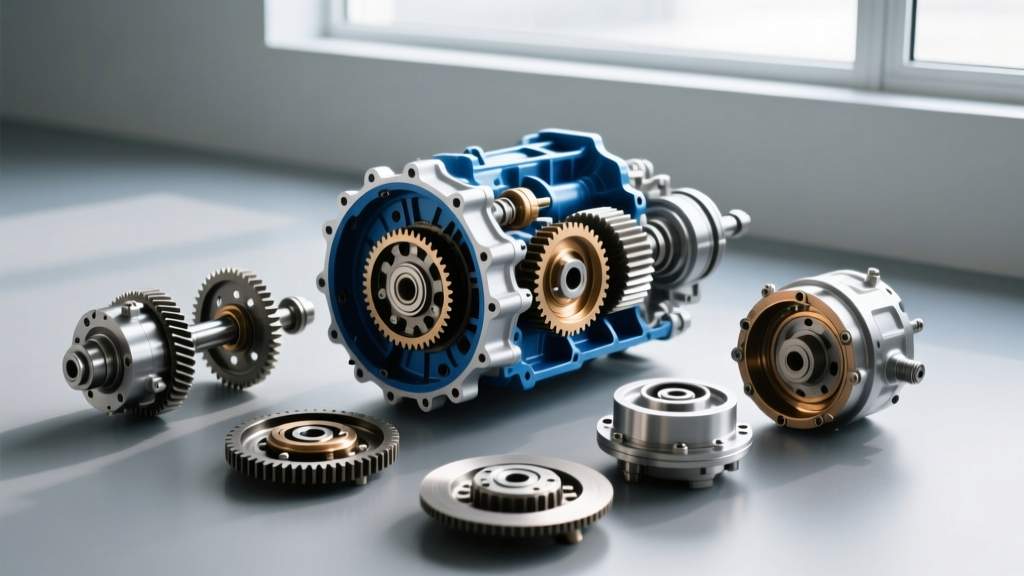
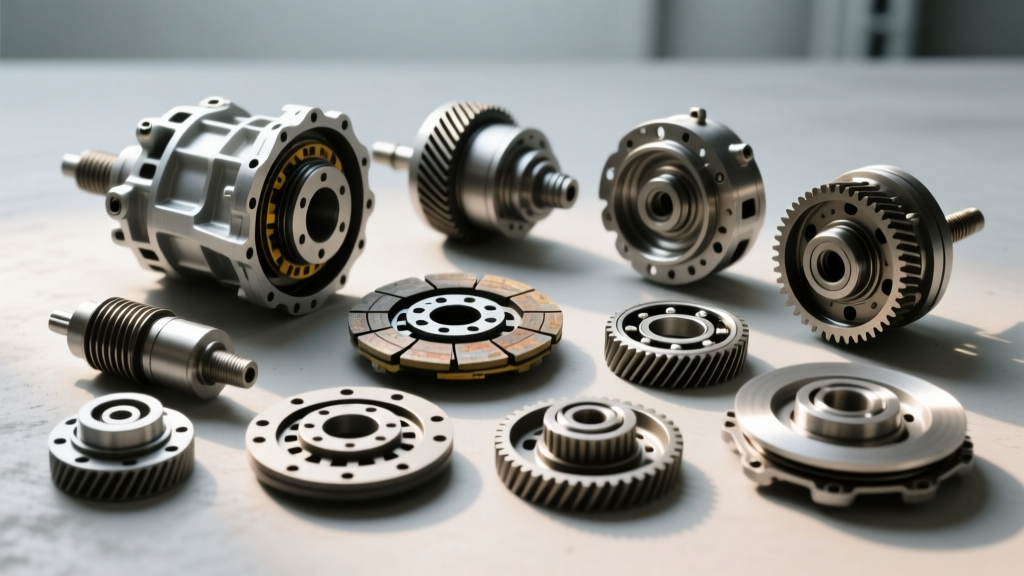
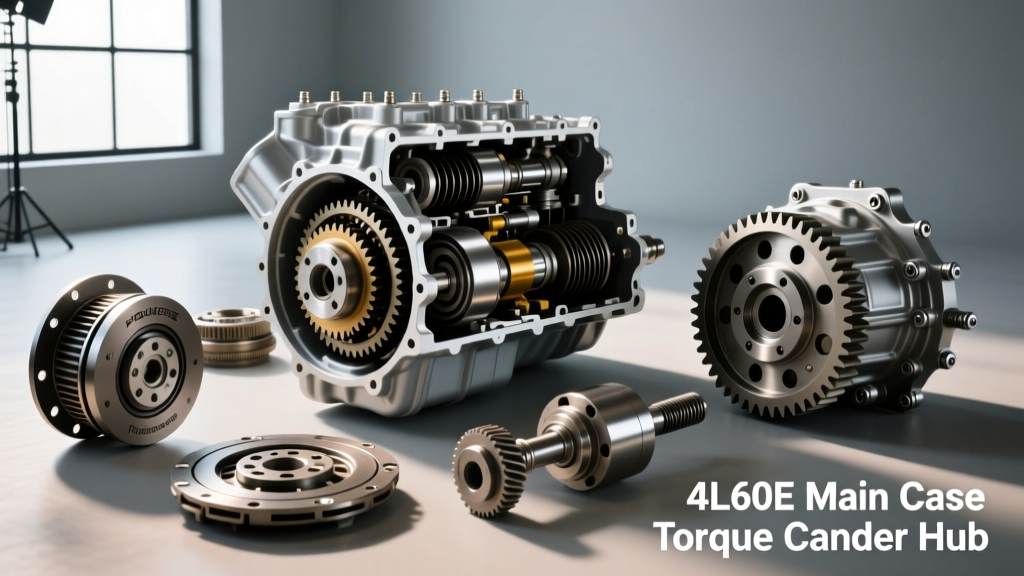
The GM 4L60E (RPO M30) remains one of the most prolific automatic transmissions ever produced, powering millions of Chevrolet, GMC, and Cadillac trucks and SUVs from 1993 through 2013. For the home mechanic or independent transmission shop, the 4L60E represents the gold standard of rear-wheel-drive drivetrain rebuilding. However, the modern gearhead often maintains a diverse fleet that includes off-road utility vehicles. This brings us to an interesting mechanical crossroads: the intricate hydraulic and planetary complexity of a 4-speed automotive automatic versus the rugged, hypoid gear-driven simplicity of a UTV axle. In this comprehensive 2026 guide, we will break down the exact procedures, costs, and specifications for a 4L60E transmission rebuild, while also drawing technical comparisons to the increasingly popular polaris ranger rear differential rebuild kit market to help you master both ends of the drivetrain spectrum.
4L60E Architecture & Common Failure Points
Before tearing into the bell housing, it is critical to understand why the 4L60E fails. Despite its robust exterior, the internal hydraulics and specific hard parts are prone to predictable wear patterns. Identifying these during your teardown will dictate your hard parts budget.
- The Reaction Sun Shell: The OEM sun shell is notorious for stripping its splines, resulting in a sudden loss of 2nd, 4th, and Reverse gears. Upgrading to a hardened, aftermarket sun shell (such as the Sonnax Smart-Tech or Beast shell) is mandatory for any 2026 rebuild.
- 3-4 Clutch Pack Burnout: The 3-4 clutch pack handles the most thermal load. Failure is usually traced to a leaking 3-4 accumulator piston or inadequate apply oil volume. Installing a TransGo shift kit or a Sonnax Zip Kit to firm up shift timing is highly recommended to save the frictions.
- TCC Shudder & Valve Body Wear: The torque converter clutch (TCC) regulator valve and boost valve bores wear out in the aluminum valve body casting, causing converter shudder and delayed engagements. Reaming the bore and installing a sleeved valve upgrade is a standard fix.
- Front Pump Failure: The pump halves can wear, and the stator support tube bushings often degrade, leading to low line pressure and clutch slippage.
2026 4L60E Rebuild Cost Breakdown
Pricing for transmission components has fluctuated with global supply chains, but the aftermarket support for the 4L60E remains incredibly strong. Below is a realistic cost breakdown for a DIY or independent shop rebuild using high-quality components from suppliers like Transtar Industries and Allomatic.
| Component Category | Specific Parts Included | Estimated 2026 Cost |
|---|---|---|
| Master Rebuild Kit | BorgWarner High-Energy Frictions, Kolene Steels, Gaskets, Seals, O-Rings, Bonded Pistons | $160 - $240 |
| Hard Parts & Upgrades | Hardened Sun Shell, Front Pump Stator Bushings, Corvette Servo, Heavy-Duty 3-4 Clutch Drum | $220 - $380 |
| Valve Body & Shift Kits | Sonnax Zip Kit (4L60E-ZIP), TCC Regulator Valve Sleeves | $130 - $190 |
| Torque Converter | Remanufactured Street/Towing Converter (Stall matched to rear gears) | $180 - $280 |
| Fluids & Consumables | 12 Quarts Dexron VI, Assembly Lube, Threadlocker | $60 - $85 |
| Total DIY Parts Cost | Excluding specialized machining or line-boring | $750 - $1,175 |
Note: Professional shop labor for a 4L60E R&R (Remove and Replace) and bench rebuild typically adds $1,200 to $1,800 to the final invoice, bringing the total out-the-door price to roughly $2,000 - $2,900.
Step-by-Step 4L60E Rebuild Procedure
Teardown and Inspection
Begin by draining the fluid and removing the torque converter, flexplate, and tailhousing. Extract the valve body and separator plate, keeping all check-balls organized in a diagrammed tray. Pull the pump and carefully extract the input shaft, reaction carrier, and sun shell. Inspect the case for wear at the rear stator support and the 3-4 clutch drum lugs. Clean all hard parts in a solvent tank and blow dry with compressed air—never use shop towels that leave lint in the hydraulic galleries.
Sub-Assembly and Clutch Packing
When assembling the clutch drums, always soak the new BorgWarner High-Energy frictions in clean Dexron VI for at least two hours prior to installation. Use a feeler gauge to verify pack clearances. The forward clutch pack should measure between 0.030' and 0.050', while the critical 3-4 clutch pack requires 0.040' to 0.060'. If clearances are tight, swap the selective pressure plate for a thinner OEM variant; if loose, add an extra steel or friction depending on drum capacity.
Final Case Assembly
Install the new rear stator support bushing and the hardened sun shell. Carefully lower the assembled input shaft and drum assembly into the case, ensuring the sun shell splines engage the reaction carrier. Torque the front pump to the case using a star pattern. Install the newly rebuilt or upgraded valve body, being exceptionally careful with the torque specifications to prevent casting distortion.
Critical Torque Specifications & Clearances
Precision is what separates a transmission that lasts 200,000 miles from one that fails on the test drive. Adhere strictly to these GM factory specifications:
| Component | Specification / Torque | Expert Notes |
|---|---|---|
| Front Pump to Case Bolts | 13 ft-lbs (18 Nm) | Use blue threadlocker. Overtightening cracks the pump casting. |
| Valve Body to Spacer Plate | 8 ft-lbs (11 Nm) | Critical: Exceeding 8 ft-lbs will warp the aluminum valve body, causing cross-leaks and TCC shudder. |
| Tailhousing to Case | 22 ft-lbs (30 Nm) | |
| Torque Converter to Flexplate | 35 ft-lbs (47 Nm) | Ensure converter is fully seated (3 distinct clicks) before bolting to flexplate to avoid pump destruction. |
| Pan to Case | 11 ft-lbs (15 Nm) | Use a stamped steel pan gasket or high-quality rubber cork; avoid cheap cork that crushes unevenly. |
| Input Shaft Endplay | 0.010' - 0.025' | Measured with a dial indicator; adjusted via selective thrust washer behind the pump. |
UTV Drivetrain Contrast: Polaris Ranger Rear Differential Rebuild Kit
While the 4L60E requires a deep understanding of hydraulic circuits, check-ball locations, and planetary gearsets, off-road enthusiasts and fleet mechanics often tackle UTV drivetrains in the same weekend garage. Sourcing and installing a polaris ranger rear differential rebuild kit presents a completely different, yet equally demanding, mechanical challenge. According to drivetrain specialists at All Balls Racing, UTV differentials fail primarily due to water intrusion, lack of lubrication during heavy mudding, and the immense shock loads of rock crawling.
Unlike the 4L60E's planetary gearsets, the Polaris Ranger rear differential utilizes a traditional hypoid ring and pinion setup, similar to a solid-axle truck but on a micro scale. A standard Polaris rear diff rebuild kit typically includes:
- Pinion head and tail bearings
- Carrier bearings
- Pinion seal and crush sleeve (or solid spacer)
- Ring gear bolts and locking compound
The Technical Contrast: Where the 4L60E relies on hydraulic pressure to apply clutch packs, the Polaris diff relies entirely on mechanical gear mesh and bearing preload. Setting the pinion depth and ring gear backlash on a Polaris Ranger requires a dial indicator and magnetic base. Target backlash is usually between 0.006' and 0.010'. If the pattern on the ring gear teeth shows heel-toe bias, shims must be adjusted. Furthermore, while a 4L60E rebuild might cost $800 in parts and take 14 hours, a Polaris Ranger rear differential rebuild kit costs between $120 and $220, and the labor is roughly 3 to 5 hours. However, the margin for error in gear patterning is microscopic; a poorly shimmed UTV differential will whine and grenade its bearings within 50 trail miles.
Sourcing Parts: OEM vs. Aftermarket
For the 4L60E, the aftermarket has largely superseded OEM GM parts due to engineering improvements. Companies like Sonnax have reverse-engineered the failure points and created superior solutions. For example, the OEM 3-4 clutch drum is prone to cracking at the lugs; aftermarket billet or reinforced drums are now the standard. Similarly, for the Polaris Ranger, while OEM Polaris ring and pinion sets are available, aftermarket bearing and seal kits from brands like All Balls or Quantum Racing offer equivalent or superior durability at a fraction of the dealership cost, making them the go-to choice for independent UTV repair shops.
Final Assembly, Fluid, and Break-In Protocol
Once the 4L60E is bolted back into the vehicle, fill it with 11 to 12 quarts of full-synthetic Dexron VI. GM officially discontinued Dexron III in favor of Dexron VI, which offers superior shear stability and friction modifiers essential for the TCC apply. Start the engine, cycle through the gears while on a lift to fill the clutch volumes, and check the dipstick with the fluid at operating temperature (180°F - 200°F).
The Break-In: The first 500 miles are critical. The new BorgWarner frictions and steels must mate perfectly. Avoid heavy towing, drag racing, or sustained highway speeds in overdrive during this period. Drive with varied throttle inputs to allow the clutches to seat evenly. Just as you would carefully bed-in new brake pads or break-in a freshly rebuilt Polaris rear axle by avoiding wide-open-throttle shock loads, treating your freshly rebuilt 4L60E with mechanical sympathy will ensure it delivers reliable service for the next decade of driving.