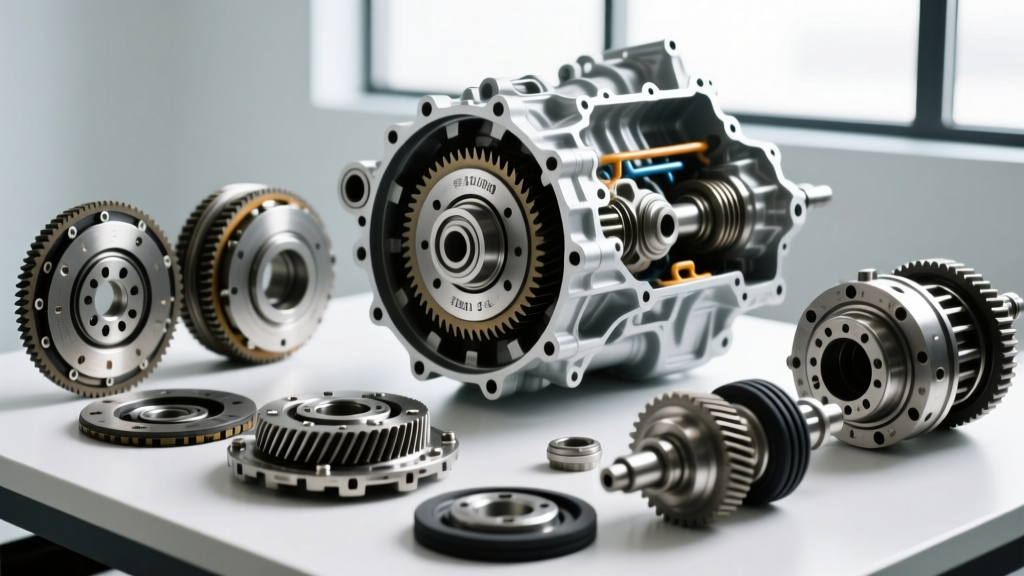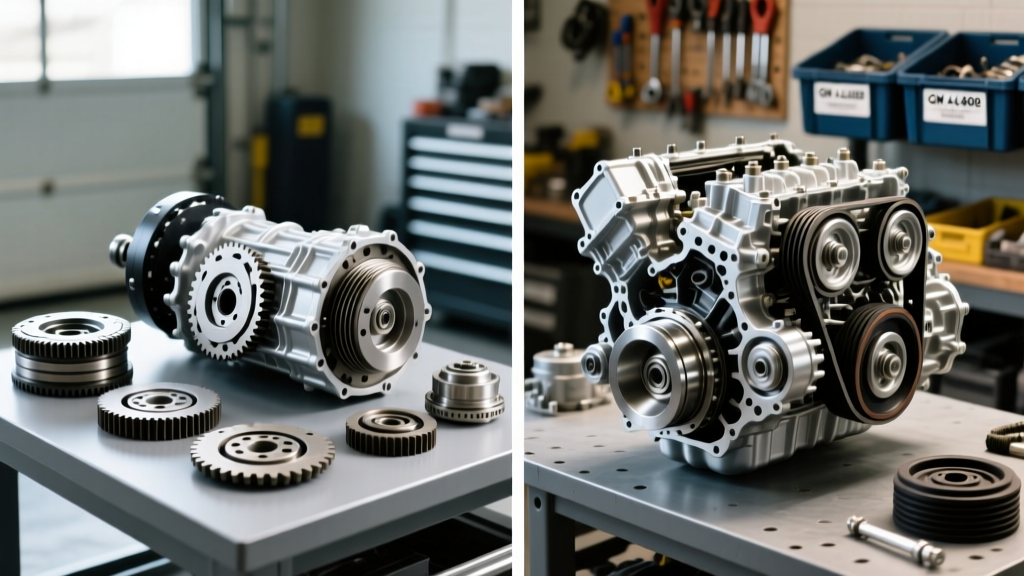
Planetary vs. CVT: Understanding the Core Differences
At first glance, comparing a Kawasaki Mule transmission rebuild to a GM 4L60E automatic transmission overhaul seems like comparing apples to oranges. One is a belt-driven Continuously Variable Transmission (CVT) designed for low-speed, high-torque off-road utility, while the other is a four-speed planetary gearset automatic that has powered millions of GM trucks, SUVs, and muscle cars. However, from a rebuild-cost and DIY-mechanic perspective, analyzing both side-by-side provides incredible insight into where your time, tooling budget, and hard-earned cash should go in 2026.
Whether you are pulling the drivetrain out of a Chevy Silverado or tearing down the CVT on a Mule 4010, the fundamental principles of transmission repair remain the same: cleanliness, precise measurement, and adherence to torque specifications. In this comprehensive model-specific repair guide, we will break down the exact steps, common failure points, and real-world costs of rebuilding the legendary 4L60E, while contrasting it against the unique challenges of a Kawasaki Mule CVT overhaul.
The 4L60E Transmission Rebuild Guide: Teardown & Failures
The GM 4L60E is one of the most widely produced automatic transmissions in history. While robust in stock form behind mild V8s, it has well-documented weak points when subjected to heavy towing, performance tuning, or high mileage. According to technical bulletins from the Automatic Transmission Rebuilders Association (ATRA), the vast majority of 4L60E failures can be traced back to three specific areas: the reaction sun shell, the 3-4 clutch pack, and the 2-4 band.
1. The Reaction Sun Shell Failure
If your 4L60E has lost 2nd, 4th, and Reverse gears simultaneously, the factory sun shell has likely stripped its splines. The OEM shell is stamped from relatively thin steel and is prone to shearing at the splines where it mates to the input shaft. During your teardown, this is the first component to inspect.
The Fix: Discard the OEM shell and install a hardened aftermarket unit, such as the Sonnax "The Beast" sun shell. This upgrade features a thicker spline profile and is virtually indestructible in street and light-towing applications.
2. The 3-4 Clutch Pack Burnout
The 3-4 clutch pack is responsible for both 3rd gear and 4th gear (Overdrive). Because it is engaged so frequently and relies on a relatively small apply area, it generates immense heat. When the fluid degrades or the piston seals harden, the clutches slip, glaze, and eventually burn to a crisp.
The Fix & Measurement: When rebuilding the 3-4 drum, you must use high-energy friction plates and a heavy-duty return spring. The most critical step is measuring your clutch pack clearance using a dial indicator. The target clearance for the 3-4 clutch pack is 0.040" to 0.060". If the clearance is too tight, the clutches will drag and burn up within 500 miles. If it is too loose, you will experience delayed, flaring shifts between 3rd and 4th gear. Selective thickness backing plates are available to dial in this measurement perfectly.
3. Valve Body and Accumulator Wear
The 4L60E valve body is cast aluminum, and the accumulator bores are prone to wear from the constant cycling of the piston pins. This wear causes cross-leaking, resulting in soft shifts and burnt clutches. Furthermore, the factory separator plate flexes under high line pressure, blowing out the gaskets.
The Fix: Install a shift kit (such as the TransGo SK-4L60E) which includes a reinforced steel separator plate, new accumulator springs, and reaming tools to install sleeved accumulator pistons. This single modification extends the life of a rebuilt 4L60E by tens of thousands of miles.
4L60E Critical Torque Specifications & Assembly Data
Proper torque is non-negotiable during a planetary gearset rebuild. Over-torquing the valve body can warp the intricate fluid passages, while under-torquing the bellhousing can lead to catastrophic pump failure. Below are the essential 2026 specs for the 4L60E:
- Valve Body to Case: 97 in-lbs (8 ft-lbs) - Do not exceed this, or you will bind the valves.
- Transmission Pan to Case: 97 in-lbs (8 ft-lbs)
- Bellhousing to Engine Block: 35 ft-lbs
- Torque Converter to Flexplate: 35 ft-lbs (Use Loctite on threads)
- Output Shaft Nut: 110 ft-lbs
- Fluid Capacity: 11.2 Quarts (Dexron VI) total system; approx. 5-6 quarts for pan drop.
Kawasaki Mule Transmission Rebuild: CVT Overhaul
Switching gears to the off-road sector, a Kawasaki Mule transmission rebuild focuses entirely on the CVT system. Unlike the 4L60E, which uses hydraulic pressure to engage clutch packs, the Mule's CVT relies on centrifugal force, mechanical springs, and a drive belt to transfer power from the engine to the transaxle.
Primary Clutch (Drive Clutch) Service
The primary clutch is mounted directly to the engine crankshaft. Over time, the internal weights wear out, the grease dries up, and the sheave faces develop grooves from the belt. To remove the primary clutch, you must use the correct puller. For most Kawasaki Mule models (like the 4010 and Pro-FXT), this requires an M22 x 1.0mm or M27 x 1.0mm thread puller, depending on the exact year. Using a standard jaw puller will destroy the crankshaft threads, turning a $600 CVT rebuild into a $3,000 engine replacement.
Once removed, the clutch must be disassembled using a specialized clutch holding tool and a spanner wrench. Inspect the plastic sliders (buttons) on the movable sheave. If they are grooved or cracked, the sheave will bind, causing the belt to slip and melt.
Secondary Clutch (Driven Clutch) & One-Way Bearing
The secondary clutch is mounted on the transmission input shaft. It uses a heavy torsion spring to maintain belt tension. During a rebuild, the spring should be replaced if the Mule is exhibiting belt slip at low RPMs or struggling to backshift when slowing down.
A highly common failure point on the Kawasaki Mule is the one-way bearing (also known as a sprag clutch). If your Mule rolls backward when placed in 4WD, or if you have completely lost engine braking on steep descents, the one-way bearing has failed. Replacing this requires splitting the transmission case or using a specialized blind-hole puller, depending on the specific Mule generation. OEM replacement parts can be sourced via Kawasaki Motors Corp dealerships or verified OEM catalog sites like Partzilla.
2026 Cost Breakdown: 4L60E vs. Kawasaki Mule CVT
How do the costs compare when rebuilding a full-size automotive automatic versus a heavy-duty UTV CVT? The table below outlines the average 2026 pricing for parts, hard upgrades, and professional labor.
| Component / Service | GM 4L60E (Planetary Auto) | Kawasaki Mule (CVT) |
|---|---|---|
| Master Rebuild Kit | $250 - $450 (Frictions, steels, gaskets, bands) | $350 - $550 (OEM Belt, Sheave bearings, seals) |
| Hard Parts / Upgrades | $300 - $600 (Beast Sun shell, Corvette Servo, Converter) | $150 - $300 (Torsion spring, weights, one-way bearing) |
| Specialty Tools Required | $150 - $250 (Clutch compressors, dial indicators, alignment pins) | $80 - $150 (Threaded pullers, spanner wrenches, holding tools) |
| Professional Labor (Est.) | $1,200 - $1,800 (10-15 hours R&R and bench time) | $400 - $700 (3-6 hours R&R and clutch service) |
| Total Pro Rebuild Cost | $1,800 - $2,800 | $800 - $1,400 |
Final Verdict: DIY Viability and Tooling
When evaluating the DIY viability of these two platforms, the Kawasaki Mule transmission rebuild is vastly more approachable for the weekend mechanic. You do not need a clean-room environment, and the CVT components are largely external to the sealed transaxle case. As long as you invest in the correct threaded pullers and follow the service manual's torque specs for the clutch retaining nuts, a Mule CVT rebuild can be completed on a standard workbench in an afternoon.
The 4L60E rebuild, conversely, demands a high level of precision, specialized clutch compressors, and an immaculately clean workspace. A single piece of lint or a misplaced check-ball in the valve body will result in immediate failure upon startup. However, the 4L60E benefits from massive aftermarket support. Upgrading to a hardened sun shell and a Corvette servo transforms this transmission from a fragile liability into a tire-shredding asset. Whether you are turning wrenches on a trail-rig or a street-truck, respecting the engineering tolerances of your specific drivetrain is the ultimate key to longevity.