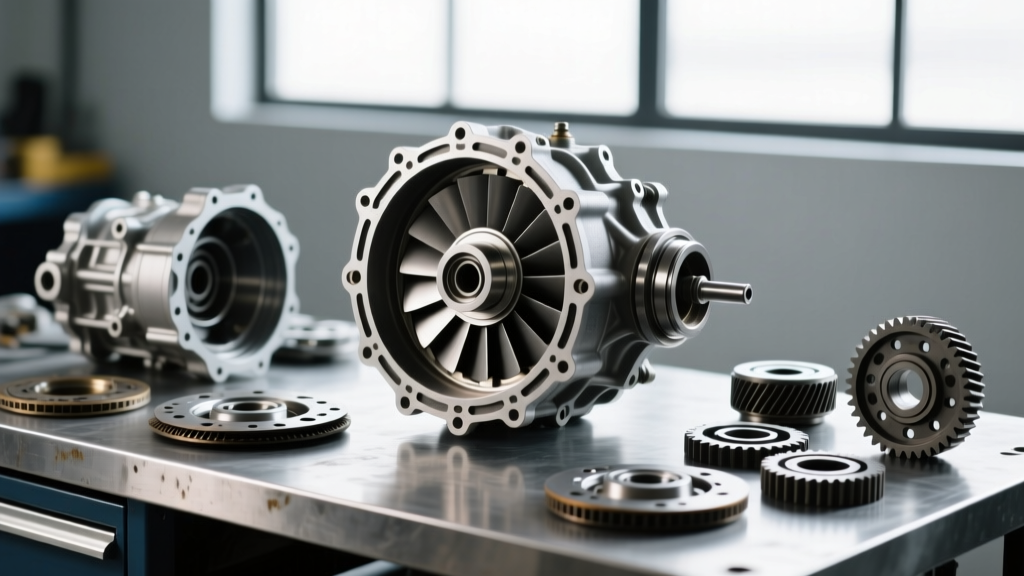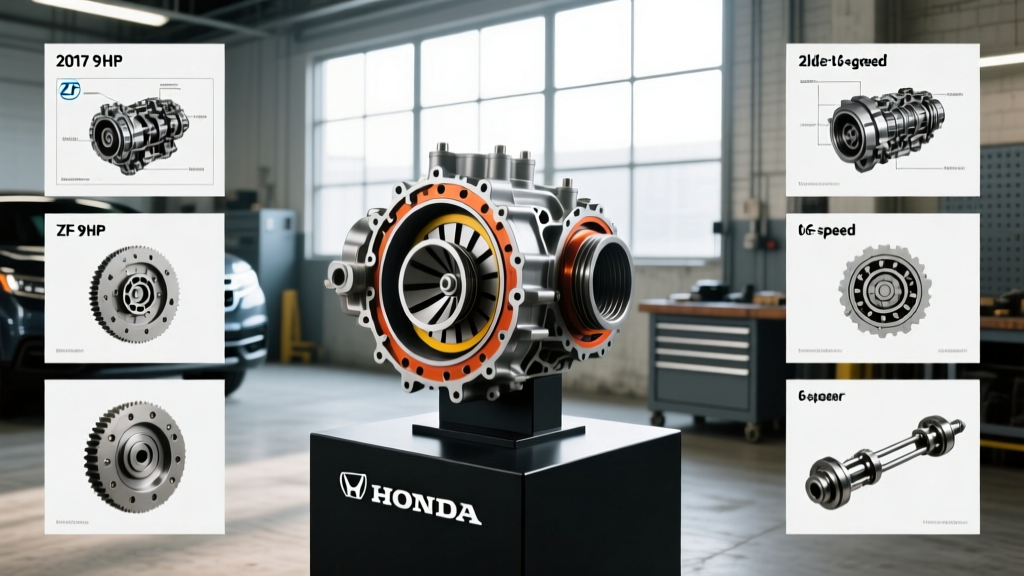
When owners and technicians search for the 2017 Honda Pilot torque converter recall, they are typically chasing down the infamous 30-50 mph driveline shudder, harsh lockup engagements, or unexpected stalling at idle. While the National Highway Traffic Safety Administration (NHTSA) and Honda have addressed these issues primarily through Technical Service Bulletins (TSBs like 19-058 and 20-005) and extended warranty class-action settlements rather than a blanket federal safety recall, the mechanical remedy remains identical: replacing the degraded torque converter lockup clutch (TCC) assembly. As of 2026, with most 2017 Pilots surpassing the 100,000-mile threshold, understanding the exact torque converter replacement procedures for both the Honda 6-speed and ZF 9-speed platforms is essential for a lasting repair.
Decoding the 2017 Honda Pilot Torque Converter Recall
The root cause of the shudder and stall complaints lies in the torque converter's internal friction material. Over time, the TCC lining degrades, shedding microscopic debris into the transmission fluid. This debris clogs the delicate solenoid screens and valve body circuits, preventing the TCC from applying smoothly. The result is a violent shuttering sensation that mimics a severe engine misfire, often triggering the Check Engine Light with codes like P0741 (Torque Converter Clutch Circuit Performance) or P0780 (Shift Error). According to the NHTSA Recall Database, while early software updates and fluid flushes were attempted as band-aids, severe mechanical degradation mandates a complete torque converter replacement and transmission flush.
Identifying Your Transmission: 6-Speed vs. ZF 9HP
Before ordering parts or lifting the vehicle, you must identify which transmission is bolted to your Pilot's 3.5L J35Y6 V6 engine. Honda utilized two distinct automatic transmissions for the 2017 model year, and their torque converter replacement procedures differ significantly:
- Honda 6-Speed Automatic (Hondamatic): Found in LX, EX, and EX-L trims. Features a traditional Honda-designed torque converter and a separate external transmission fluid filter.
- ZF 9-Speed (9HP48/50): Found in Touring and Elite trims. Features a complex ZF-designed torque converter with an integrated centrifugal pendulum absorber, requiring specialized alignment tools and specific ZF fluid.
OEM Part Numbers and Fluid Specifications
Using the incorrect fluid or torque converter will result in immediate TCC failure or pump destruction. Reference the chart below for 2026 OEM specifications:
| Transmission | OEM Torque Converter Part # | Required Fluid | Dry Fill Capacity |
|---|---|---|---|
| Honda 6-Speed | 22000-5M4-A01 (Verify via VIN) | Honda ATF DW-1 | ~8.5 Quarts |
| ZF 9-Speed (9HP) | 22000-5L9-E01 (ZF 1087.500.033) | Honda ATF Type 3.1 | ~9.2 Quarts |
Pre-Repair Diagnostics and AWD PTU Considerations
Before dropping the transmission, connect the Honda i-HDS (Diagnostic System) to log the VCM (Vibration Control Module) and TCC slip data. A healthy TCC should show slip RPMs dropping to near zero when locked in 4th gear or above at steady cruise. If slip RPMs fluctuate wildly (e.g., +/- 150 RPM) while the TCC solenoid duty cycle is maxed out, mechanical failure is confirmed.
For AWD models, the Power Transfer Unit (PTU) is bolted directly to the side of the transmission case. The PTU must be drained and unbolted before the transmission can be lowered. Pro Tip: The PTU output shaft splines and the transmission input seal are notorious for leaking on the 2017 Pilot. Replace the PTU-to-transmission seal (Part #91206-RDK-A01) during this procedure to prevent future fluid cross-contamination.
Step-by-Step Torque Converter Replacement Procedure
1. Drivetrain Disassembly and Engine Support
Remove the front wheels, splash shields, and both front half-shafts. Disconnect the driveshaft from the rear differential and the transfer case. You must install an engine support bar across the engine bay to hold the 3.5L V6 in place, as the passenger-side engine mount must be completely removed to clear the bellhousing. Lower the vehicle on the lift and support the transmission with a specialized transmission jack equipped with a Honda/ZF adapter plate.
2. Transmission Extraction and TC Removal
Disconnect all wiring harnesses, shift cables, and cooler lines. Remove the inspection cover at the bottom of the bellhousing. Using a long extension and a 14mm or 12mm swivel socket (depending on the specific flexplate revision), unbolt the four torque converter-to-flexplate nuts. Rotate the crankshaft clockwise via the harmonic balancer bolt to access each nut. Once all bellhousing bolts and the structural collar are removed, carefully slide the transmission straight back. Do not let the transmission tilt downward, or the torque converter will slide forward off the input shaft, damaging the front pump seal.
Once on the bench, unbolt the torque converter from the transmission input shaft hub and extract it. Inspect the flexplate for radial cracks around the crankshaft bolt pattern—a known fatigue point on high-mileage J35 engines.
3. The 'Three-Drop' Seating Test and Pump Seal Protection
This is where most independent shops fail when working on the ZF 9HP and Honda 6-speed units. Before installing the new torque converter, you must replace the front pump seal using a dedicated seal installer tool to avoid cocking the seal in the bore. For the ZF 9-speed, a plastic seal protector sleeve is mandatory to prevent the TCC hub from slicing the new seal during installation.
Slide the new torque converter onto the input shaft. You must feel three distinct drops as the TC seats:
- The first drop as it engages the turbine splines.
- The second drop as it engages the stator support.
- The third and final drop as it seats fully into the transmission oil pump drive gear.
Critical Measurement: Place a straight edge across the bellhousing mating surface. The torque converter mounting pads must sit at least 12mm to 15mm below the straight edge. If the TC is protruding or flush, it is not fully seated. Bolting the transmission to the engine block in this state will instantly crack the transmission front pump housing, resulting in a catastrophic $4,000+ mistake.
4. Reinstallation and Critical Torque Specifications
Jack the transmission into place, ensuring the alignment dowels slide smoothly into the engine block. Do not use the bellhousing bolts to 'pull' the transmission to the engine. Once seated, install the hardware using the following factory torque specifications:
- Bellhousing to Engine Block Bolts: 47 lb-ft (64 Nm)
- Structural Collar Bolts: 28 lb-ft (38 Nm)
- Torque Converter to Flexplate Nuts: 26 lb-ft (36 Nm) - Apply blue Loctite and ensure the flexplate is not distorted.
- Engine Mount to Bracket Bolts: 76 lb-ft (103 Nm)
- Front Half-Shaft Spindle Nuts: 134 lb-ft (182 Nm) - Use new staked nuts.
Mandatory PCM Calibration and TCC Adaptation
Physical installation is only half the battle. According to the Honda Technical Information System (iN), replacing the torque converter requires a mandatory PCM reflash and TCC adaptation reset. The new torque converter has different friction characteristics and hydraulic volume requirements. If you do not reset the 'TC Adaptation Values' via the i-HDS or an advanced bi-directional scanner, the PCM will apply the old, worn-out clutch pressure profiles to the new converter, resulting in immediate slip, shudder, and premature wear. After the reset, perform the factory-mandated 20-minute learning drive cycle, varying throttle positions between 30 and 50 mph to allow the PCM to map the new TCC apply rates.
2026 Repair Cost Breakdown
As vehicles age, owners must weigh dealer repairs against independent transmission specialists. Here is the realistic 2026 pricing landscape for a 2017 Honda Pilot torque converter replacement:
| Cost Factor | Honda Dealership | Independent Transmission Shop |
|---|---|---|
| OEM Torque Converter | $850 - $1,100 | $700 - $900 (OEM/Reman) |
| Fluid, Seals, and Hardware | $250 - $350 | $150 - $250 |
| Labor (8.5 - 11.5 Hours) | $1,500 - $2,100 | $1,000 - $1,400 |
| Total Estimated Cost | $2,600 - $3,550 | $1,850 - $2,550 |
Note: If your Pilot is equipped with the ZF 9-speed and exhibits severe internal clutch pack damage from TCC debris, a full transmission rebuild or replacement may be necessary, pushing costs upward of $5,500. Always perform a fluid pan drop and magnetic plug inspection before authorizing a TC-only replacement.
Final Thoughts for Technicians and Owners
The 2017 Honda Pilot torque converter recall and associated TSBs highlight the critical importance of proper fluid maintenance and precise installation procedures. Whether you are dealing with the Honda 6-speed or the complex ZF 9HP, taking shortcuts on the seating depth check, using incorrect ATF, or skipping the PCM adaptation will guarantee a comeback. For further technical specifications on ZF 9-speed internal clearances and pump tolerances, technicians should consult the ZF Aftermarket portal. By adhering strictly to OEM torque specs and software calibration protocols, you can permanently eliminate the shudder and restore the Pilot's drivetrain to factory-smooth operation.