Understanding the 2016 Ford F-150 Transmission Range Sensor
The 2016 Ford F-150 is predominantly equipped with the robust 6R80 six-speed automatic transmission, a derivative of the ZF 6HP26. When owners experience a blank PRNDL display on the instrument cluster, a failure to crank in Park or Neutral, or erratic shift behaviors accompanied by a Check Engine Light, the culprit is frequently the Transmission Range Sensor (TRS). In Ford's technical nomenclature, this external component is officially designated as the Manual Lever Position (MLP) sensor.
Unlike some modern transmissions that rely solely on internal mechatronic sensors, the 6R80 utilizes this external MLP sensor to act as the primary neutral safety switch and to communicate the driver's physical gear selection to the Powertrain Control Module (PCM). When this sensor fails, the PCM defaults to a fail-safe limp mode to prevent catastrophic driveline binding. This guide provides expert-level instructions on pinpointing the 2016 Ford F150 transmission range sensor location and executing a flawless transmission position sensor replacement.
Pinpointing the 2016 Ford F150 Transmission Range Sensor Location
Before ordering parts or breaking out the wrenches, it is critical to understand exactly where this sensor resides and how it interfaces with the transmission. The external MLP sensor is located on the driver's side of the transmission case. It is mounted directly over the manual shaft—the exact point where the shift cable from the steering column shifter connects to the transmission.
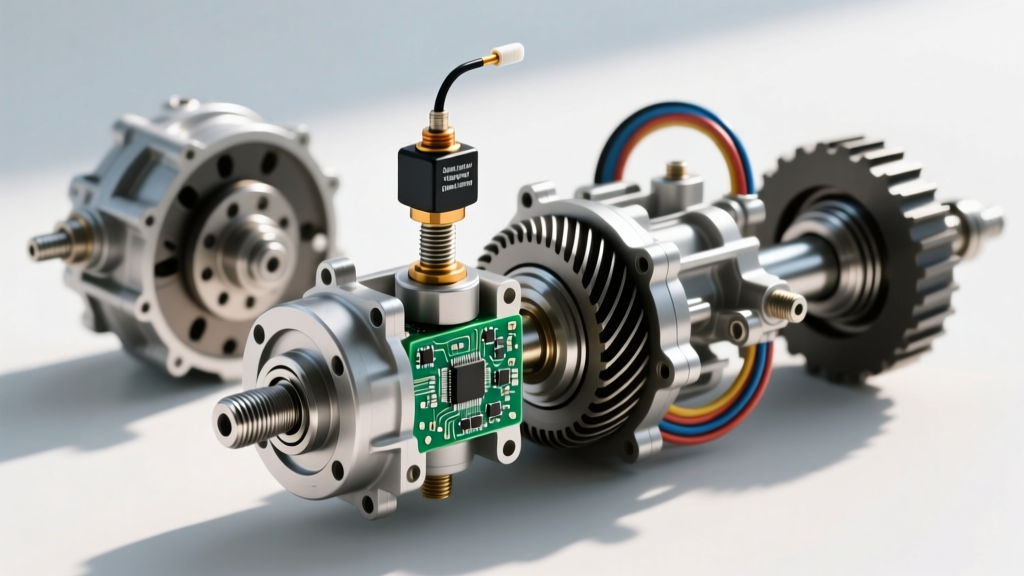
To access it, you will need to safely elevate the vehicle and work from the driver's side wheel well or underneath the truck. On 4x4 models, you may need to remove the driver-side skid plate and carefully peel back the metal heat shield that protects the sensor from the adjacent exhaust crossover pipe. The sensor itself is a semi-circular, black plastic module with a single multi-pin electrical harness connector and two 8mm mounting bolts.
Internal vs. External Range Sensors: A Common Point of Confusion
Many DIY mechanics read about ZF 6HP26 transmissions and assume the range sensor is buried inside the transmission pan as part of the mechatronic solenoid body. While the ZF unit does have internal position switches, Ford's 6R80 adaptation relies on the external MLP sensor for the PRNDL display and starter interrupt relay. You do not need to drop the transmission pan or drain the Mercon LV fluid to replace this specific external sensor.
Diagnostic Matrix: Is Your TRS Actually Failing?
Before replacing the sensor, verify the failure with an OBD-II scanner capable of reading manufacturer-specific transmission codes. Below is the diagnostic matrix for common TRS/MLP failure codes:
| OBD-II Code | Definition | Primary Symptom | Probable Cause |
|---|---|---|---|
| P0705 | Transmission Range Sensor Circuit Malfunction | No crank, blank PRNDL, limp mode | Internal sensor track wear, misalignment |
| P0707 | Transmission Range Sensor Circuit Low Input | Vehicle thinks it is always in Park/Neutral | Short to ground in harness, corroded pigtail |
| P0708 | Transmission Range Sensor Circuit High Input | Harsh shifts, TCM limits gear selection | Open circuit, broken wire near connector |
| P0850 | Park/Neutral Switch Input Circuit | Starter relay fails to engage | Failed neutral safety contacts inside MLP |
Expert Insight: Before condemning the $85 sensor, inspect the wiring harness pigtail. The connector on the 6R80 is notorious for moisture intrusion. If you see green or white crust on the terminals, you must replace the pigtail (Motorcraft part #WPT-1246) alongside the sensor, or the new unit will fail within weeks.
Required Tools and OEM Part Sourcing
Using aftermarket sensors for the 6R80 MLP is a gamble; the internal resistive tracks on cheap units often wear out or provide inaccurate voltage drops, leading to persistent P0705 codes. Always source OEM components.
- OEM Part Number: Motorcraft SW-7171 (or FoMoCo BL3Z-7F247-A)
- Estimated Part Cost: $75 - $110 via the Ford Parts Center or authorized dealers.
- Tools Required: 8mm, 10mm, and 13mm sockets; 3/8" drive torque wrench (inch-pounds and foot-pounds); flathead screwdriver; trim panel removal tool; penetrating oil; safety glasses.
- Consumables: Electrical contact cleaner, dielectric grease, new shift cable cotter pin (recommended).
Step-by-Step Transmission Position Sensor Replacement
Phase 1: Teardown and Access
- Safety First: Disconnect the negative battery terminal to prevent accidental shorting of the starter relay circuit. Chock the rear wheels securely.
- Shift to Neutral: If the truck still shifts, place the transmission in Neutral. If the shifter is locked or the transmission is stuck in Park, locate the shift cable on the manual lever and pop the cable end off the ball stud using a trim tool. Manually rotate the transmission's manual lever clockwise until it bottoms out (Park), then click it back two detents to Neutral.
- Remove the Manual Lever: Spray the manual lever nut with penetrating oil. Use a 13mm or 15mm socket (depending on your specific build date) to remove the nut securing the manual lever to the shaft. Use a puller or gently pry with two screwdrivers to remove the lever. Do not hammer the shaft, as this can damage the internal detent spring.
- Disconnect Electrical Harness: Press the release tab on the MLP sensor connector and pull it straight off. Inspect for corrosion.
- Remove the Sensor: Remove the two 8mm mounting bolts securing the sensor to the transmission case. Slide the old sensor off the manual shaft.
Phase 2: Sensor Alignment and Installation
This is the most critical step. If the new sensor is not perfectly aligned to the Neutral position, the PCM will receive conflicting data regarding the manual shaft's physical position versus the sensor's internal wiper position.
- Verify Shaft Position: Ensure the transmission manual shaft is still in the Neutral detent (two clicks back from the full clockwise Park position).
- Align the New Sensor: Look closely at the new Motorcraft MLP sensor. You will see alignment marks (usually a series of lines or dots) on the inner rotating ring and the outer stationary housing. Rotate the sensor's inner ring until the marks align perfectly. Some replacement units include a temporary plastic alignment pin to hold this position; leave it in place.
- Mount the Sensor: Slide the sensor onto the manual shaft. The shaft has a flat spot that will dictate the sensor's orientation. Hand-thread the two 8mm mounting bolts.
- Torque Specs: Tighten the 8mm mounting bolts to 89 lb-in (10 Nm). Do not overtighten, as the sensor housing is made of brittle composite plastic and will crack.
- Remove Alignment Pin: If your new sensor came with a plastic alignment pin, break it off or pull it out now that the sensor is secured.
Phase 3: Shift Linkage Reconnection
- Reinstall the manual lever onto the shaft, ensuring the splines are clean and free of rust. Torque the manual lever nut to 18 lb-ft (24 Nm).
- Snap the shift cable back onto the ball stud. Ensure the retaining clip is fully seated.
- Reconnect the electrical harness until you hear a definitive click. Apply a small dab of dielectric grease to the weather seal before mating.
- Reconnect the negative battery terminal.
Post-Installation Calibration and TCM Reset
Unlike the electronic throttle body, the 6R80 MLP sensor does not require a complex bi-directional scanner recalibration, but a specific physical and electronic reset sequence is required to clear the adaptive memory and verify the neutral safety switch.
- Turn the ignition to the ON position (engine off).
- Press the brake pedal firmly.
- Slowly move the gear shifter through every position: P, R, N, D, M, and back up to P. Pause for two seconds in each detent. This allows the PCM to map the voltage drop across the new resistive track.
- Verify that the PRNDL indicator on the dash illuminates the correct gear for each shifter position.
- Attempt to start the truck in Park, then in Neutral. It should crank in both. It should not crank in Reverse or Drive.
- Use an OBD-II scanner to clear any stored P0705 or P0707 historical codes.
Expert Troubleshooting: What If the Code Returns?
If you complete the replacement and the P0705 code immediately returns, or the dash still displays a wrench icon, consider the following edge cases:
- Shift Cable Stretch: High-mileage 2016 F-150s (150,000+ miles) often suffer from shift cable stretch. If the cable is stretched, the shifter in the cab might say 'Park', but the manual lever on the transmission is slightly off-center, causing the MLP sensor to read a 'between-gears' voltage. Adjust the cable tension at the bracket near the transmission pan.
- Internal Detent Wear: If the manual shaft feels 'sloppy' and lacks a distinct click when rotated by hand, the internal manual detent lever and spring assembly inside the transmission case may be worn. This mechanical slop prevents the external sensor from holding a steady voltage.
- PCM Connector Corrosion: Trace the harness from the MLP sensor up to the PCM (located in the engine bay, passenger side). Inspect the main PCM connectors for water intrusion, a known issue on 2015-2016 F-150s where the cowl drain gets clogged, flooding the PCM cavity.
By following these precise torque specifications, alignment procedures, and diagnostic protocols, you ensure a permanent repair to your 2016 F-150's transmission range circuit, restoring full functionality and protecting the 6R80 transmission from fail-safe limp-mode damage.