Why Proper Sizing is Critical for the 6L80 and 6L90
The 2014 Chevy Silverado 1500 is a formidable workhorse, but its factory transmission cooling setup—a simple heat exchanger nested inside the radiator end-tank—often falls short when towing heavy loads or navigating steep grades. For the ubiquitous 6L80-E 6-speed automatic transmission, sustained temperatures above 210°F rapidly degrade Dexron VI fluid, leading to clutch glazing and torque converter shudder. If you are planning a 2014 Silverado transmission cooler upgrade, simply buying the largest cooler on the shelf is a recipe for disaster. Overcooling can prevent the transmission from reaching its optimal operating temperature, causing delayed shifts and excessive wear. This step-by-step guide will walk you through the exact methodology for selecting the right cooler size, core type, and plumbing specifications for your specific Silverado configuration.
Step 1: Determine Your Gross Combined Weight Rating (GCWR) Needs
Transmission cooler manufacturers rate their units by Gross Vehicle Weight Rating (GVWR). This is not the weight of your truck, but the maximum weight the cooler is engineered to support in a combined vehicle-and-trailer scenario. To size your cooler correctly, you must calculate your actual towing demands.
- Base 2014 Silverado 1500 GVWR: Approximately 7,000 to 7,200 lbs (depending on cab configuration).
- Typical Towing Load: A 6,000 lb travel trailer plus 500 lbs of cargo pushes your GCWR near 13,500 lbs.
- The Sizing Rule: Always select an auxiliary cooler rated for at least 1.5 times your expected GCWR to account for extreme ambient temperatures and low-airflow scenarios (like idling in traffic on a 4% grade).
If your combined weight approaches 14,000 lbs, you need a cooler rated for a minimum of 20,000 to 24,000 lbs GVWR. For 2500HD/3500HD models equipped with the Allison 1000 or 6L90, you should be looking at 30,000+ GVWR rated coolers due to the higher baseline heat rejection of the diesel and heavy-duty gasoline powertrains.
Step 2: Measure Physical Bumper Clearance
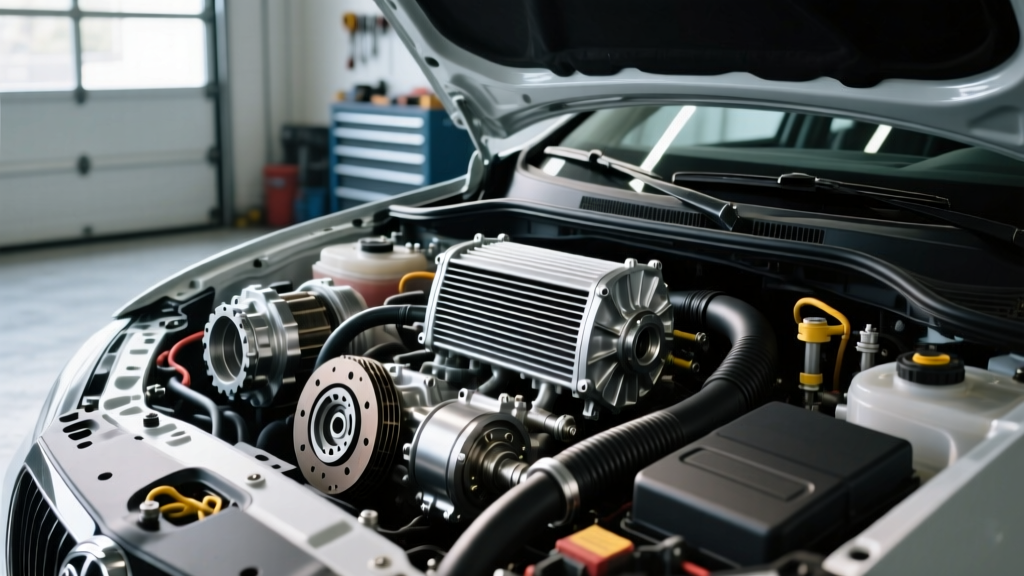
The 2014 Silverado (K2XX platform) features a front bumper cover and A/C condenser arrangement that limits the physical footprint of an auxiliary cooler. Before purchasing, you must verify physical clearance.
How to Measure the K2XX Front Fascia Gap
1. Pop the hood and locate the space between the rear of the front bumper cover and the face of the A/C condenser.
2. Using a tape measure, check the horizontal gap. On most 2014 1500 models, this gap is between 1.5 inches and 2.25 inches.
3. Measure the vertical and horizontal unobstructed area. Typically, a maximum footprint of 9.75 inches tall by 11.25 inches wide will fit without requiring you to cut the plastic bumper support or relocate the factory horn.
4. If you own a 2500HD/3500HD, the front fascia is taller, allowing for larger 11.5 x 12-inch stacked-plate units.
Step 3: Select the Right Core Architecture
Not all coolers dissipate heat equally. The internal architecture dictates both thermal efficiency and fluid pressure drop. According to Tru-Cool's engineering documentation, low-pressure-drop designs are vital for modern electronically controlled transmissions like the 6L80.
- Tube-and-Fin: The cheapest option ($35-$60). Features a single serpentine tube wrapped in aluminum fins. High restriction, poor heat transfer. Not recommended for the 6L80.
- Plate-and-Fin: A mid-tier option ($70-$110). Uses internal turbulators to agitate the fluid. Good cooling, but can cause a 5-10 PSI pressure drop.
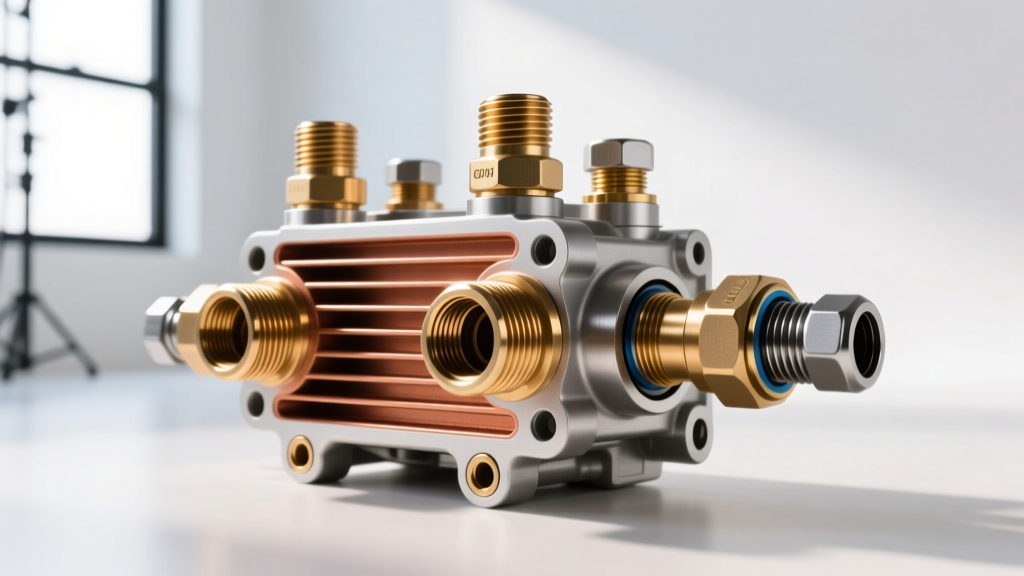
- Stacked-Plate: The gold standard ($130-$220). Consists of multiple aluminum plates brazed together. Fluid flows through wide, flat channels, resulting in maximum surface area and virtually zero pressure drop. Brands like Derale (Hyper-Cool series) and Tru-Cool (4544 model) dominate this space.
2014 Silverado Cooler Sizing Matrix
| Silverado Model | Transmission | Max Towing Target | Required Cooler GVWR | Max Dimensions (H x W) | Recommended Part Example |
|---|---|---|---|---|---|
| 1500 (Half-Ton) | 6L80-E | 7,500 lbs | 16,000 - 20,000 | 9.75' x 11.25' | Hayden 678 Rapid-Cool |
| 1500 (Heavy Tow Pkg) | 6L80-E | 10,500 lbs | 20,000 - 24,000 | 9.75' x 11.25' | Derale 13511 Stacked-Plate |
| 2500HD (Gas) | 6L90-E | 14,500 lbs | 24,000 - 30,000 | 11.5' x 12.0' | Tru-Cool 4544 LPD |
| 3500HD (Duramax) | Allison 1000 | 18,000+ lbs | 30,000+ | Custom Bumper Delete | Derale 13740 Hyper-Cool |
Step 4: Line Sizing and Quick-Connect Adapter Selection
A frequent point of failure during a 2014 Silverado transmission cooler upgrade is improper plumbing. The 6L80 transmission relies on precise line pressure to actuate the clutch packs via the Transmission Electro-Hydraulic Control Module (TEHCM).
The 3/8-Inch Rule
The factory cooler lines on the 2014 Silverado 1500 are 3/8-inch inner diameter (ID). Do not be tempted to step up to 1/2-inch hose and adapters under the false assumption that 'bigger is better.' Increasing the line diameter to 1/2-inch will decrease fluid velocity, delay the time it takes for pressurized fluid to reach the auxiliary cooler, and can cause erratic shift adaptations in the TEHCM. Stick strictly to 3/8-inch ID high-pressure fuel injection hose (rated for 100+ PSI and 300°F).
Adapter Fittings
The 2014 radiator uses 3/8-inch push-lock quick-disconnect fittings. To splice in your auxiliary cooler, you will need a 3/8-inch barb-to-quick-connect adapter (such as Hayden part #398 or Derale #13018, typically costing $12-$18). These allow you to retain the factory hard lines while securely routing rubber hose to the new auxiliary unit.
Step 5: Routing Strategy and The Internal Thermostat
One of the most critical E-E-A-T insights for the 6L80 transmission is understanding its internal thermal bypass valve. The 6L80 features an internal thermostat that restricts flow to the cooler until the fluid reaches approximately 185°F.
Never bypass the factory radiator cooler entirely. If you delete the factory radiator cooler and plumb the transmission directly to a massive auxiliary cooler, the transmission will overcool in winter months. Running a 6L80 below 160°F prevents the torque converter clutch (TCC) from locking up efficiently and causes sluggish shift times.
The Correct Supplemental Routing Sequence:
- Hot Line Out: Transmission to Factory Radiator Cooler (In).
- Radiator Cooler (Out): Routes to the Input of the new Auxiliary Stacked-Plate Cooler.
- Auxiliary Cooler (Out): Routes back to the Return line entering the Transmission.
This series-routing ensures the transmission fluid gets a baseline warm-up from the engine coolant in the radiator during cold starts, and receives maximum ambient air cooling from the auxiliary unit under heavy towing loads.
Mounting and Torque Specifications
Proper mounting ensures your cooler survives highway debris and vibration. While many kits include plastic zip-ties, the GM Trucks Forum drivetrain community universally recommends fabricating or buying a bolt-on bracket system for any truck that sees gravel roads or towing duty.
- Bracket Bolts: Use M8 x 1.25 flange bolts into the factory radiator support. Torque to 15 lb-ft (20 Nm).
- Hose Clamps: Use constant-tension fuel injection clamps rather than standard worm-gear clamps. Torque to 25-35 in-lbs. Worm-gear clamps tend to cut into the 3/8-inch rubber hose over time, leading to catastrophic fluid leaks on the highway.
- Quick-Connects: Push the factory hard line into the adapter until you hear a distinct 'click'. Perform a pull-test with moderate force to ensure the internal retaining clip has engaged.
Fluid Capacity and Post-Install Fill Procedure
Adding an auxiliary cooler and 4 to 6 feet of additional 3/8-inch hose will increase your total system fluid capacity. The 6L80-E holds approximately 11.2 quarts (10.6 liters) for a complete dry fill, but a standard pan drop and cooler install will require an additional 1.5 to 2.5 quarts of Dexron VI ATF.
After installation, start the truck with the parking brake engaged. Cycle the gear selector through P-R-N-D, pausing for 3 seconds in each gear to bleed air from the new cooler and lines. With the engine idling and the transmission at operating temperature (verify via an OBD2 scanner reading the TFT PID), check the dipstick. Add Dexron VI in half-quart increments until the level sits precisely in the cross-hatched 'HOT' zone. For a comprehensive look at compatible synthetic blends, refer to the Hayden Automotive Transmission Cooler Guide for fluid compatibility charts.
Summary: Protecting Your Drivetrain Investment
Executing a successful 2014 Silverado transmission cooler upgrade is about precision, not just throwing money at the biggest part number. By calculating your true GCWR, respecting the 3/8-inch line diameter requirements of the 6L80 TEHCM, and utilizing a stacked-plate core in a supplemental routing configuration, you will effectively cap your transmission temperatures below 200°F—even when pulling a 7,000 lb trailer up the Grapevine in the middle of July. Measure twice, plumb correctly, and your 6-speed will easily surpass the 200,000-mile mark.