Understanding the 2014 Dodge Journey Rear Drive Module (RDM)
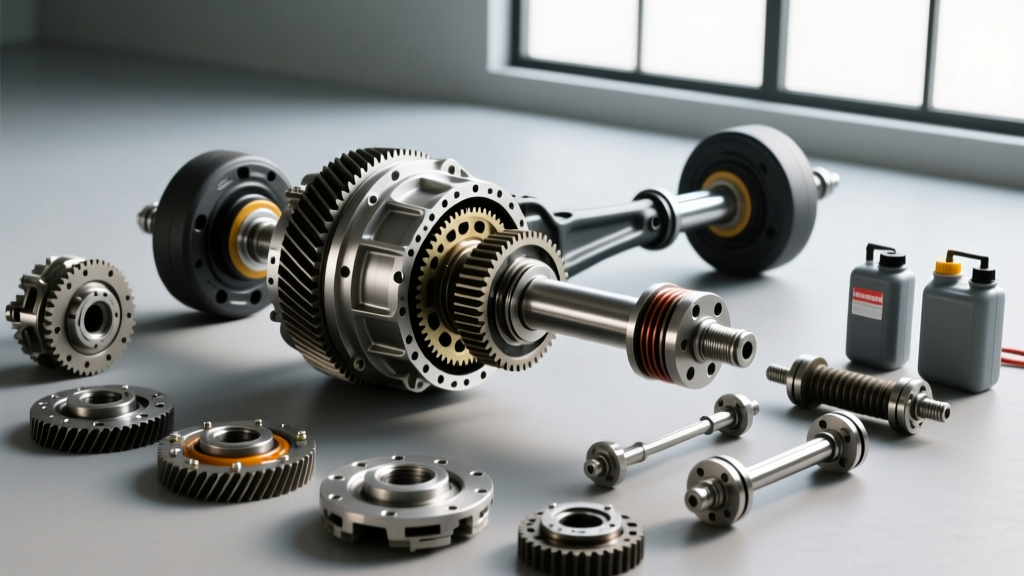
When diagnosing a drivetrain leak on the AWD JC-platform vehicles, it is critical to understand that the 2014 Dodge Journey rear differential is not a traditional solid-axle housing. Instead, it utilizes an independent rear suspension paired with a Rear Drive Module (RDM). This compact, chain-driven or gear-driven transfer case bolts directly to the rear subframe and distributes power to the rear wheels via CV half-shafts. As of 2026, these vehicles are crossing the 12-year mark, meaning the factory rubber seals and synthetic gear oil have endured over a decade of thermal cycling, road debris, and moisture intrusion.
Ignoring a seeping RDM will rapidly lead to hypoid gear whine, bearing failure, and ultimately a seized rear driveline. This model-specific repair guide covers the exact diagnostic procedures, Mopar part numbers, and torque specifications required to restore your Journey's AWD system to factory condition.
Anatomy of a Journey Rear Diff Leak: Where to Look
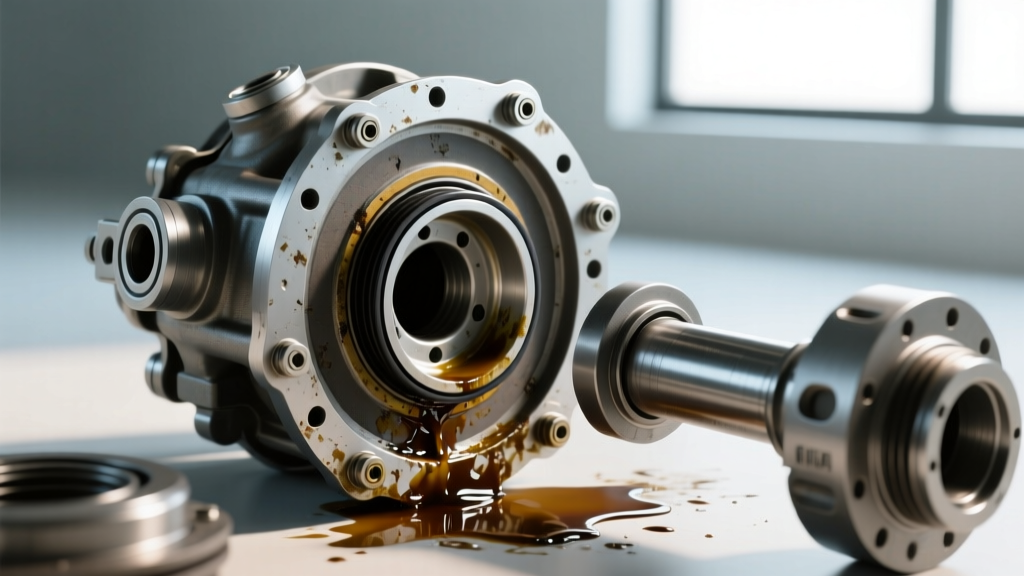
Unlike older solid-axle trucks that feature a removable pumpkin cover, the 2014 Journey RDM is a sealed, split-case aluminum unit. Leaks typically manifest in three distinct zones. Identifying the exact origin of the gear oil is the most important step before ordering parts from suppliers like RockAuto's 2014 Journey Axle Catalog.
1. The Pinion Flange Seal
Located at the front of the RDM where the rear driveshaft yoke connects. This seal endures the highest rotational speed and is the most common failure point due to micro-vibrations from the two-piece driveshaft.
2. The Axle Shaft (CV) Seals
Located on the left and right sides of the RDM. These seals interface directly with the polished inner CV joint housings. If a CV boot tears and contaminates the seal lip, or if the axle shaft develops a microscopic wear groove, fluid will bypass the seal and coat the inner suspension components.
3. Case Split Line and Vent Tube
The RDM halves are sealed at the factory with high-temp RTV silicone. Additionally, a small breather tube on the top of the unit allows for pressure equalization. If this tube clogs with mud or ice, internal pressure will blow out the path of least resistance—usually the pinion or axle seals.
Diagnostic Matrix: Identifying Your Leak Source
| Leak Location | Visual Indicator | Primary Culprit | Est. DIY Repair Time |
|---|---|---|---|
| Pinion Flange | Wetness at driveshaft yoke; fluid slung forward | Clogged vent / worn seal lip | 1.5 - 2.0 Hours |
| CV Axle Entry | Fluid on inner CV joint boot; dripping near lower control arm | Pitted axle surface / hardened rubber | 2.0 Hours (per side) |
| RDM Case Split | Seepage along the horizontal case halves | Degraded RTV / physical impact damage | 5.0+ Hours (RDM removal) |
Essential Tools and Mopar Part Numbers
Before lifting the vehicle, ensure you have the correct fluids and seals. The 2014 Journey 3.6L AWD RDM requires specific synthetic lubricants. Do not use standard 80W-90 mineral oil, as it lacks the friction modifiers required for the internal clutch packs or chain drives found in FCA RDMs.
- Gear Oil: Mopar 75W-90 Synthetic Gear Oil (Part # 05166226AB or 68218655AA). Capacity: Approximately 1.15 Quarts (1.1 Liters).
- Pinion Seal: Mopar Part # 05189468AA (or Timken equivalent # 710985).
- Axle Shaft Seals: SKF / National # 710659 (Left/Right specific depending on exact build date).
- Tools Required: 12mm 12-point socket (driveshaft bolts), 32mm or 34mm deep socket (pinion nut), seal puller, inch-pound torque beam, and a manual fluid transfer pump.
Step-by-Step Repair Procedures
Phase 1: Pinion Seal Replacement and Drag Torque
Replacing the pinion seal on the Journey RDM does not require draining the fluid if the vehicle is on level ground, as the pinion sits above the fluid line. However, you must mark the driveline for reassembly.
- Driveshaft Removal: Support the vehicle on jack stands. Use a 12mm 12-point socket to remove the four bolts securing the driveshaft to the RDM pinion flange. Support the driveshaft to prevent stress on the front transfer case / PTU.
- Flange Marking: Use a paint pen to mark the pinion flange relative to the pinion shaft threads. This ensures you return the nut to the exact same depth.
- Nut Removal: The pinion nut is a prevailing torque nut (not a crush sleeve). Use a 32mm or 34mm socket and a heavy-duty breaker bar to remove it. Expect high resistance.
- Seal Extraction: Pull the flange using a standard gear puller. Pry out the old seal using a dedicated seal puller to avoid scoring the aluminum RDM bore.
- Installation: Lubricate the lip of the new seal with fresh 75W-90. Drive it in evenly using a seal installer tool until it seats flush.
- Reassembly & Torque: Reinstall the flange. Tighten the pinion nut to your paint marks, then check the rotational drag using an inch-pound torque beam. The target rotational drag for a used bearing set is typically 15 to 25 in-lbs. If drag is too low, tighten the nut in 5 ft-lb increments until the correct drag is achieved. Never exceed 250 ft-lbs on the nut.
Phase 2: Axle Shaft Seal Extraction
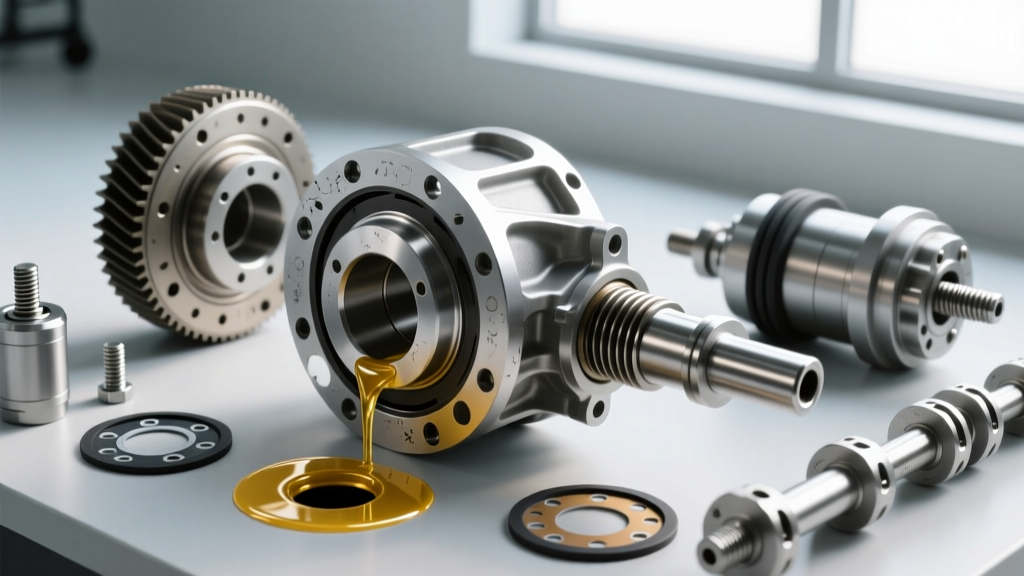
If your leak is originating from the CV axle entry points, the half-shaft must be removed. This requires unbolting the lower ball joint and strut fork to swing the knuckle outward, allowing the inner CV joint to pop out of the RDM. Use a specialized blind-hole seal puller to extract the old axle seal. When installing the new seal, pack the inner lip with grease and drive it square into the bore. Reinsert the CV axle until the internal C-clip snaps securely into place.
The 'Vent Tube' Trap: A Crucial Preventative Step
Expert Warning: Over 60% of 'failed' seals on FCA Rear Drive Modules are actually caused by a clogged breather tube. If you replace a seal without clearing the vent, the new seal will blow out within 500 miles.
Locate the small rubber breather tube on the top or upper-rear quadrant of the RDM. Trace it to its cap. Remove the cap and spray compressed air or carburetor cleaner through the line to ensure it flows freely into the differential housing. Replace the rubber cap with a new Mopar vent cap if it appears swollen or cracked.
Fluid Refill: Capacities and the 'No Fill Plug' Quirk
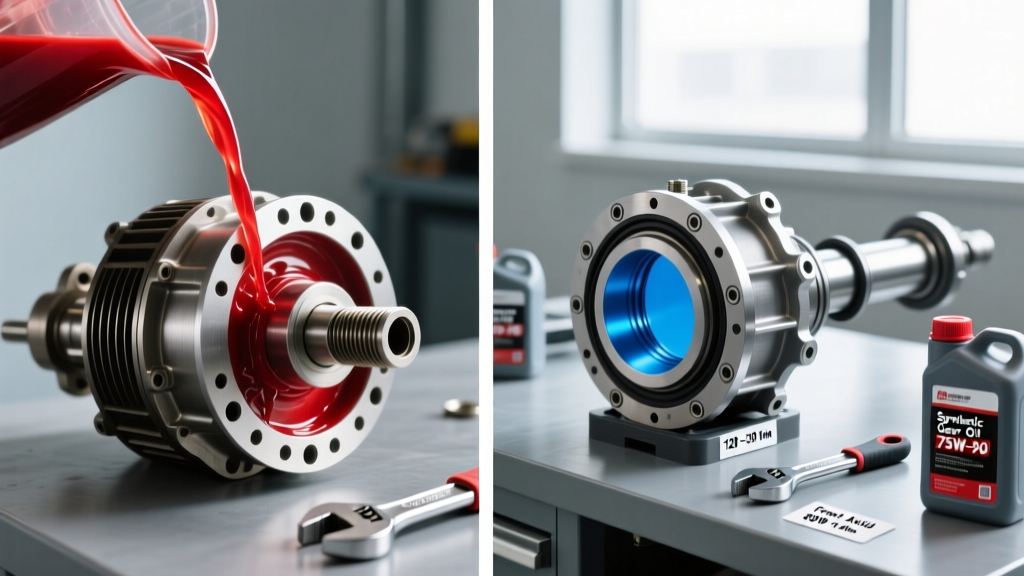
Depending on the exact supplier batch of your 2014 Journey's RDM, you may find a dedicated fill plug on the side of the housing, or you may only find a drain plug on the bottom. If your unit lacks a side fill plug, you must use a manual fluid transfer pump with a flexible hose fed directly into the drain hole. Pump exactly 1.15 quarts (1.1 Liters) of Mopar 75W-90 Synthetic until it reaches the bottom edge of the drain threads. Reinstall the drain plug and torque to 20 ft-lbs, using a new crush washer if equipped.
2026 Cost Breakdown: DIY vs. Dealership
As these vehicles age, dealership repair costs often exceed the vehicle's blue book value. Here is what you can expect to pay in the current market:
- Dealership RDM Pinion Seal Job: $650 - $850 (Includes 1.5 hours labor, shop supplies, and OEM fluid).
- Dealership Axle Seal Job: $700 - $950 per side (Requires axle shaft removal and alignment checks).
- DIY Pinion Seal Repair: $60 - $90 (Cost of seal, Mopar fluid, and RTV).
By sourcing your own OEM components via the Mopar Official Parts Store or reputable aftermarket equivalents, you can easily complete this repair in an afternoon, saving hundreds of dollars while extending the life of your AWD drivetrain.
Final Inspection Protocol
After completing the repair, drive the vehicle for 15 miles to bring the RDM up to operating temperature. Park over a clean piece of cardboard and inspect for micro-drips. Verify that the driveshaft bolts are torqued to 60 ft-lbs and that no gear whine is present during deceleration. Proper seal seating and precise drag-torque measurement are the hallmarks of a professional-grade differential repair.