Cleaning an automatic clutch system usually means removing contaminated fluid, replacing the filter, clearing screens, and inspecting clutch pack surfaces rather than washing the whole transmission. Automatic transmissions use clutch packs, bands, torque converters, and valve-body passages that can clog with varnish, metal dust, and heat-degraded fluid. If shifting feels soft, delayed, or slipping, start with a fluid service before assuming the clutch is destroyed. This article explains symptoms, safe cleaning steps, fluid specifications, measurements, and when to replace parts instead of cleaning them. Always verify the factory service manual, use correct ATF, and avoid solvent residue that can damage rubber seals.
What You Are Really Cleaning in an Automatic Clutch System
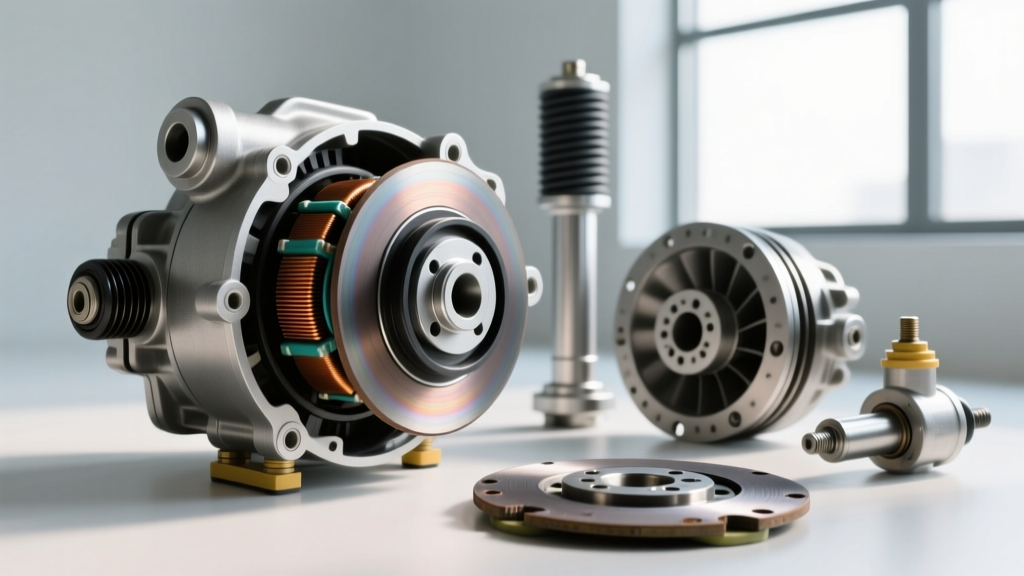
When a customer asks how to clean automatic clutch hardware, the first job is to define what is being cleaned. In a car with an automatic transmission, the clutch is not a single exposed disc like a manual clutch. It is a set of friction plates, steel plates, apply pistons, springs, drums, valve-body passages, filters, and a torque converter. These parts transfer power through hydraulic pressure. Contamination changes pressure, causes stuck valves, and can burn clutch friction material.
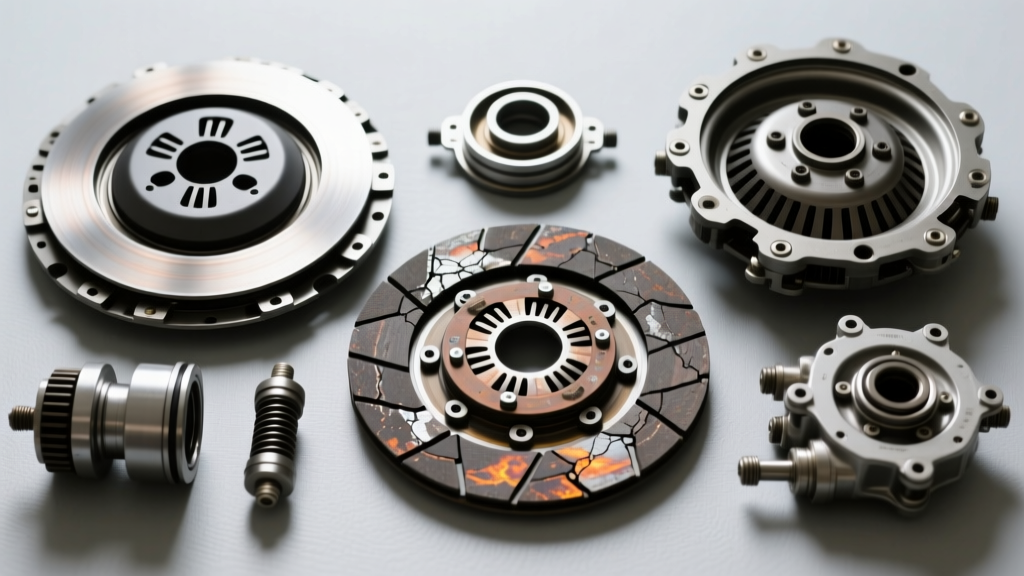
In some motorcycles, ATVs, small cars, or industrial machines, an automatic clutch may mean a centrifugal clutch, CVT, torque converter, or a wet multi-plate clutch that shifts without a pedal. The cleaning method still follows the same rule: remove old fluid, filter, sludge, and debris before disassembling the clutch pack. If friction material has delaminated, glazing, burnt plates, or scored steel plates, cleaning cannot restore proper torque capacity.
A good rule is this: clean the fluid system first, inspect the hardware second, and replace parts only if measurements and symptoms justify it. Many soft shifts, flare-ups, or delayed engagements are caused by a clogged filter, degraded ATF, or varnished valve body rather than a failed clutch pack.
Symptoms That Point to Dirty Fluid or Sticking Clutch Hardware
Automatic clutch symptoms often appear gradually. Start with road testing and note whether the problem happens cold, hot, or only during a certain shift. A transmission that shifts normally for the first few miles and then slips when hot usually has fluid breakdown or a torque converter clutch issue. A unit that has harsh shifts from cold may have a sticking valve, clogged screen, or low fluid level.
Common signs include delayed engagement after 1 to 3 seconds in Drive or Reverse, slipping during 1-2 or 2-3 shifts, a soft or spongy clutch feel, flare-up before a shift, shudder at 35 to 55 mph, and a burnt odor. A torque converter shudder often feels like driving over rumble strips. It can be caused by contaminated fluid, worn clutch plates, or a failing torque converter clutch lockup circuit.
Other symptoms are less obvious: a check engine light with pressure sensor or solenoid codes, a transmission that hunts between gears, or a clutch pack that does not fully release. In automatic clutch systems, partial release can cause drag, overheating, and premature burnout. Metal particles in the drain plug magnet or filter indicate internal wear, but not always catastrophic failure if caught early.
Before cleaning, scan for trouble codes. Generic codes such as P0700, P0730, P0741, P0776, and P0845 can point to transmission control, pressure, or torque converter clutch problems. Manufacturer-specific codes vary. On some vehicles, a stuck pressure regulator valve can create slip that looks like clutch wear.
Tools, Fluids, and Solvents for an Automatic Clutch Job
Use correct fluids. Automatic transmission fluid is not a generic liquid. Popular specifications include Dexron VI, Mercon LV, Mercon V, ATF+4, Honda DW-1, Toyota Type T-IV, CVT fluid, and ZF Lifeguard Fluid 8. Mobil 1 ATF, Valvoline MaxLife ATF, and Lucas Heavy Duty ATF are common aftermarket brands, but only use them if they meet the exact specification for your transmission.
- Use a drain pan that holds at least 8 quarts, a 10 to 15 quart capacity is safer for large transmissions.
- Use a torque wrench for pan bolts; many 8 mm or 10 mm pan bolts require 10 to 18 ft-lb, and valve-body bolts often require 36 to 72 in-lb.
- Use brake cleaner or electronic contact cleaner in short bursts, then compressed air at 80 to 90 psi to dry passages.
- Use lint-free shop towels, a plastic brush, and a non-metallic pick; avoid loose fibers that block solenoids and screens.
- Use a fluid level gauge, funnel with long tube, scan tool or OBD reader, and the factory service manual.
Do not use gasoline, kerosene, or aggressive paint thinner inside an automatic transmission. These can swell rubber seals, leave residue, and damage friction material. If you clean a valve body, use a solvent that evaporates cleanly and is compatible with rubber and plastic. After cleaning, blow dry passages completely before assembly.
Fluids and Additives
Fluid condition tells a lot about the clutch. Fresh ATF is usually clear red, brown, or amber depending on brand. Dark brown fluid may be oxidized but still usable if not burnt. Black fluid with metal flakes means contamination and possible wear. A burnt smell often means clutch plates have overheated, and cleaning alone will not fix the friction surface.
Additives should be used cautiously. Products such as Berryman B-12 Transmission Flush, Liqui Moly Automatic Transmission Flush, Prestone Transmission Flush, and Lucas Transmission Fix exist, but flush chemicals are not a substitute for a proper filter and fluid service. On high-mileage units, aggressive flushing can dislodge varnish and cause a valve to stick. A conservative drain-and-fill twice is often safer than one high-pressure flush.
Tools and Safety
Automatic clutch cleaning involves hot fluid, hydraulic pressure, and electrical connectors. Wear gloves and eye protection. Raise the vehicle on jack stands, not just a jack. Allow the transmission to reach the manufacturer specified checking temperature, often between 105 and 115 degrees Fahrenheit, before checking fluid level. Some modern units are sealed and require special service ports or scan tool level procedures.
Keep track of valve body bolt lengths. Many transmissions use bolts of different lengths; a long bolt threaded into a shallow hole can crack the valve body or hit internal parts. Photograph the valve body before removing parts. Label connectors and use a clean tray for springs, balls, and check valves.
Step-by-Step: How to Clean an Automatic Clutch Assembly
Start with a road test to reproduce the symptom. Note the temperature, gear, speed, throttle position, and whether the slip is constant or intermittent. This prevents cleaning the wrong unit. If the fluid is low, check for leaks before adding fluid. If the filter is clogged, adding fluid alone may not restore pressure.
- Warm the transmission to the specified temperature, then safely drain the fluid.
- Remove the pan carefully. Some pans are bolted, others are welded or sealed with a special plug.
- Remove the filter and inspect it for metal dust, clutch material, or varnish.
- Clean the pan and magnet. Most automatic transmissions have at least one magnet and sometimes multiple.
- If the valve body is accessible, remove it and clean screens, passages, and solenoid bodies.
- Inspect clutch pack surfaces only if the unit is already disassembled. Do not wash clutch friction material with solvent unless you understand the coating and will replace suspect plates.
- Reinstall with new filter, new gasket, and the exact fluid specification.
- Refill, cycle through gears, check level, and road test.
For a torque converter cleaning, there is no practical way to clean the inside without removing it from the vehicle and disassembling it. If the converter has loose debris, a failed stator one-way clutch, or burnt lockup plates, replacement is usually better. A new or remanufactured torque converter from brands such as ZF, Sachs, Luk, or a reputable converter specialist may cost less than repeated fluid services.
For internal clutch packs, cleaning is limited. Friction plates are bonded or molded with specific torque capacity. Steel plates can be cleaned and inspected for warping or bluing. If a steel plate shows blue discoloration, measure thickness and flatness. Many rebuilders replace steels that are over 0.005 inch thick variation or have visible scoring. Apply pistons and rings should be replaced when doing a clutch pack job because old rings can leak pressure.
Drain and Inspect
When draining, watch the flow. A slow stream may mean a clogged cooler line or pan restriction. Metal particles are not all bad; small grey dust can be normal break-in or mild wear. Large flakes, chunks, or shiny particles indicate serious damage. A magnet can hold enough steel dust to make the filter look worse than it is, so clean the magnet and compare to the filter media.
Check the filter media color. A filter coated in brown varnish can still work, but if the media is clogged solid, pressure drop can cause slipping. On many transmissions, a clogged filter creates a noisy pump cavitation or delayed engagement. Replace the filter if it is more than 5 years old or if it has been exposed to overheating.
Clean Valve Body and Screens
The valve body is the control center. It contains solenoids, pressure regulator valves, servo valves, and tiny passages. Varnish from degraded ATF can cause valves to stick. Use a plastic brush and compatible solvent to clean visible surfaces. Blow compressed air through passages, then inspect screens. Replace torn or deformed screens. Do not use wire brushes on aluminum valve bodies because they can scratch sealing surfaces.
Check solenoid resistance if you have a multimeter. Many shift solenoids read between 2 and 20 ohms, while pressure control solenoids may vary widely. Always use the service manual values. A solenoid that looks clean but fails resistance or stick test should be replaced. On units with integrated valve bodies, solenoid replacement may require a new valve body assembly.
Reassemble and Test
After cleaning, reassemble with new gaskets and O-rings. Pan gaskets are usually inexpensive and should not be reused if flattened. Torque pan bolts in a star pattern. Many 6 or 8 bolt pans require about 10 to 18 ft-lb, but never exceed the manual. After refill, start the engine and shift through Park, Reverse, Neutral, and Drive with pauses. Check for leaks at the pan, cooler lines, and filter housing.
Perform a road test under moderate load. Accelerate at 30 percent throttle to check shift timing, then 50 percent to check for slip. If the transmission shifts normally but still shudders, the torque converter clutch lockup may need a different diagnostic path. If slip persists after a clean fluid service, suspect clutch pack wear, pressure loss, or a failed pump.
Cleaning the Fluid Filter, Pan, and Cooler Lines
Filter and pan cleaning is the most common automatic clutch service. The pan collects metal debris, clutch dust, and seal fragments. The filter protects valve body passages. A clogged filter can reduce line pressure, making clutch packs engage slowly. On some vehicles, a restricted cooler line can overheat the fluid and accelerate clutch wear. Check cooler lines for kinks, crushed fittings, and internal collapse.
If you remove the cooler lines, measure flow into a container. A healthy transmission may return 1 to 2 quarts in 10 seconds at idle, depending on design. Always verify with the service manual. If flow is poor, the pump, filter, or cooler may be restricted. Do not use high-pressure compressed air through cooler lines because it can damage the heat exchanger or push debris deeper.
Maintenance Intervals and Fluid Specifications
Service intervals depend on driving style. Many manufacturers recommend automatic transmission fluid service every 30,000 to 60,000 miles under normal use. Under severe use, towing, city stop-and-go, or hot climates, 20,000 to 30,000 miles is a safer interval. Some transmissions are marketed as lifetime fill, but lifetime often means up to 100,000 miles under ideal conditions, not the life of the vehicle.
Capacity matters. Small 4-speed automatics may hold 6 to 8 quarts total, while modern 8 to 10 speed units can hold 12 to 17 quarts. A simple drain-and-fill may replace only 40 to 60 percent of the fluid because torque converters and cooler lines retain fluid. Repeating a drain-and-fill after 500 to 1,000 miles can replace most old fluid without the risk of an aggressive machine flush.
| Symptom | Likely Cause | Best First Action | When to Replace |
|---|---|---|---|
| Delayed engagement 2 to 3 seconds | Clogged filter, low fluid, sticking valve | Drain, fill, new filter | Valve body or pump if pressure remains low |
| Slip in 1-2 or 2-3 | Worn clutch pack, pressure loss | Check fluid and codes | Clutch plates if burnt or thickness out of spec |
| Shudder at 35 to 55 mph | Torque converter clutch contamination | Fluid service and scan test | Converter if shudder returns after clean fluid |
| Burnt smell with dark fluid | Overheated clutch material | Inspect filter and magnet | Rebuild if plates are glazed or delaminated |
| Harsh shifts from cold | Sticking valve or wrong fluid | Verify fluid spec | Valve body if cleaning does not help |
Common Mistakes That Cause Re-contamination
The biggest mistake is using the wrong fluid. A fluid that is merely ATF colored red may not have the correct friction modifiers, seal conditioners, or valve body lubricity. For example, Honda transmissions often require DW-1, while many Chrysler units require ATF+4. Using Dexron VI in a unit that requires CVT fluid can damage a belt and pulley system. Always match the exact specification on the dipstick, pan, or service manual.
Another mistake is leaving solvent residue. Brake cleaner can evaporate quickly, but it can also leave oily film on plastic connectors and rubber O-rings. Use short bursts, allow full drying, and verify passages are clear. Never use compressed air while wearing eye protection? Actually use eye protection. Avoid blowing debris back into the valve body by using a clean air source with a moisture trap.
Do not overfill. Too much fluid causes foaming, which reduces hydraulic pressure and creates slip. A level check should follow the manufacturer procedure: engine running, transmission at specified temperature, and often in Park or Neutral. Some sealed units require a scan tool to monitor fluid temperature. If the level is high, drain a small amount and recheck.
When Cleaning Is Enough and When a Rebuild Is Better
Cleaning is enough when the clutch material is intact, the friction plates are not glazed, and the only problem is dirty fluid, a clogged filter, or varnished valves. A good fluid service can fix soft shifts, delayed engagement, and mild torque converter shudder. It can also extend the life of a high-mileage unit if done with the correct fluid and filter.
Cleaning is not enough when you find large metal chunks, a burnt smell with black fluid, delaminated friction material, warped steel plates, or a failed torque converter. In those cases, pressure loss and clutch slippage will continue. A rebuild should include clutch plates, steel plates, seals, rings, gaskets, filter, and possibly a new torque converter. Brands such as Sachs, Luk, Exedy, ZF, and TransGo make upgraded clutch and valve body components for many applications.
A practical test is to do a conservative fluid service first. If the problem improves 50 to 80 percent, you likely addressed contamination. If it improves only briefly, internal wear is probable. If it worsens, stop road testing and diagnose pressure. A pump test can reveal whether line pressure is low at idle or under throttle. Many rebuild shops will not guarantee a clutch pack job unless the valve body, cooler lines, and torque converter are also cleaned or replaced.
One often overlooked step is checking pump pressure before rebuilding. A low-pressure test can reveal a worn pump, leaking apply pistons, or a stuck regulator valve. Many shops test line pressure at idle and during a stall or wide-open throttle. A healthy unit may show pressure within a few pounds of specification at idle, while a worn pump can lose 20 to 40 psi under load. If pressure is low, cleaning the clutch plates alone will not cure slipping.