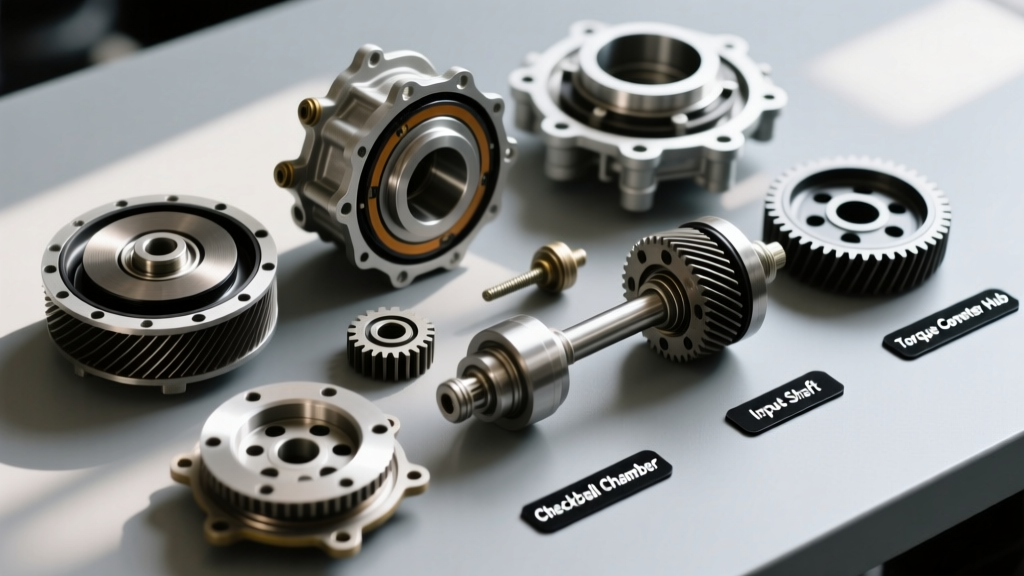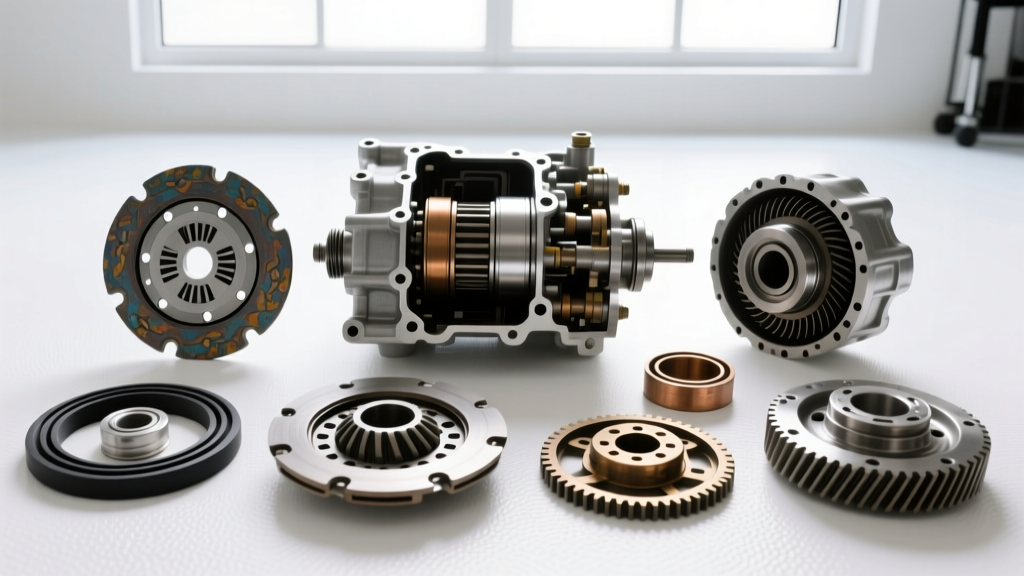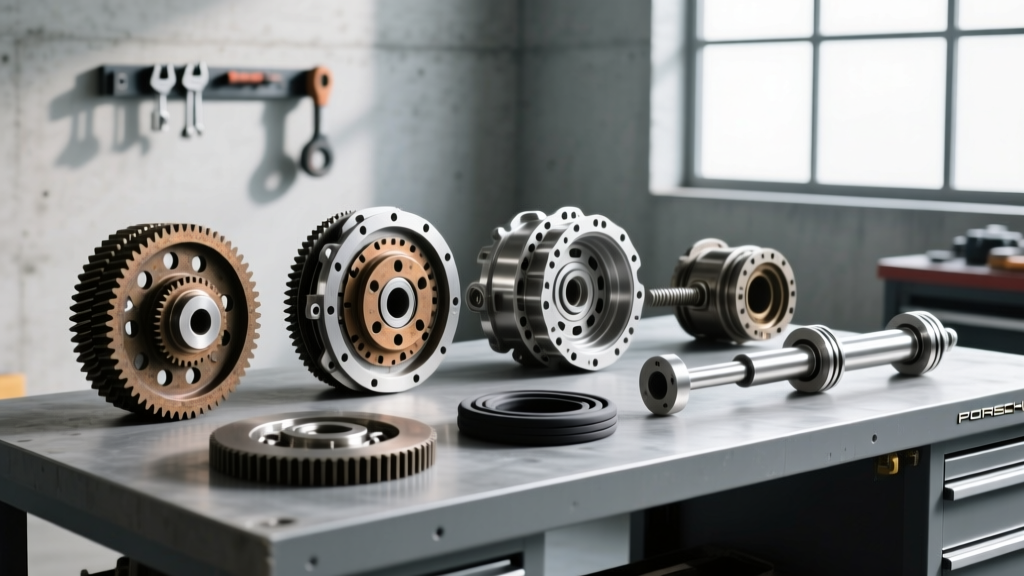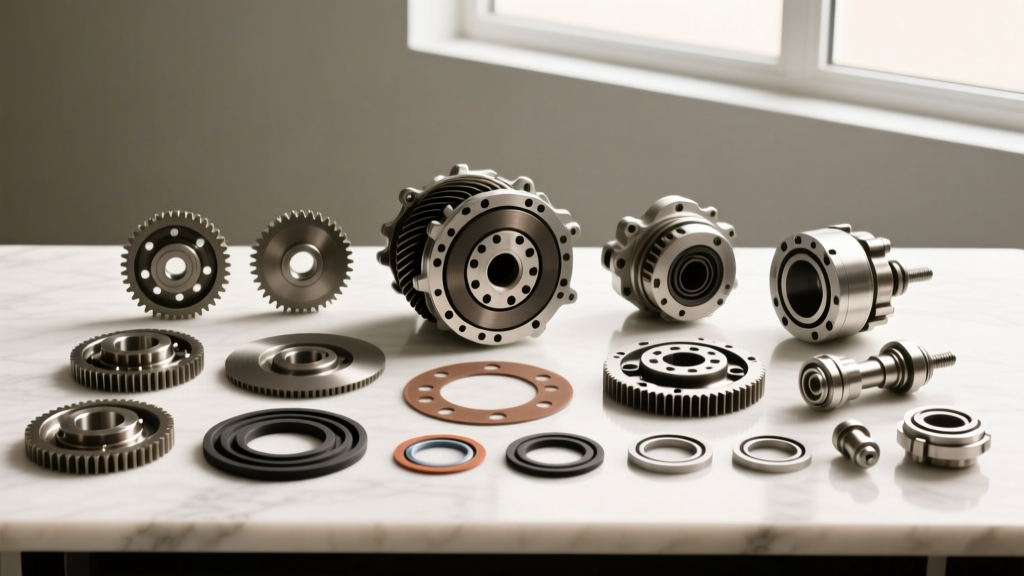
The Hidden Financial Risks of a DIY TH350 Rebuild
The General Motors Turbo Hydramatic 350 (TH350) remains a cornerstone of classic GM performance and restoration projects. Because of its mechanical simplicity and robust design, many enthusiasts view it as the perfect candidate for a home garage rebuild. However, purchasing a comprehensive TH 350 transmission rebuild kit is only the first financial step in the process. While a standard master rebuild kit might cost between $120 and $180 in 2026, a single assembly error can easily cascade into a $1,000+ parts replacement nightmare.
As a model-specific repair guide, this article breaks down the most common, budget-destroying mistakes builders make when assembling a TH350. By understanding the exact tolerances, torque specifications, and assembly techniques required, you can protect your investment and avoid the hidden costs of a botched rebuild.
The Cost Escalation Matrix: Mistakes vs. Replacement Costs
Before diving into the mechanical errors, it is crucial to understand the financial stakes. The table below illustrates how a simple assembly oversight transforms a budget-friendly rebuild kit into a massive financial liability.
| Component / Assembly Area | Rebuild Kit Inclusion | Common Mistake | Replacement Cost (2026) |
|---|---|---|---|
| Direct Clutch Drum | Not Included (Core Part) | Cutting lip seals on sharp splines | $115 - $140 |
| Front Pump Assembly | Not Included (Core Part) | Failing to polish converter hub | $160 - $210 |
| Friction & Steel Pack | Included ($85 value) | Missing valve body checkballs | $85 (Burnt on first drive) |
| Torque Converter | External Purchase ($180+) | Ignoring endplay / thrust wear | $180 - $250 (Contaminated) |
Mistake #1: Mismanaging Endplay and Thrust Washer Selection
Endplay is the total amount of forward and backward movement of the internal gear train and clutch assemblies. In a TH350, proper endplay is absolutely critical to prevent the sun gear thrust washer from wearing through and destroying the sun shell and case.
The Mistake: Many builders blindly reuse the factory selective thrust washer located behind the front pump without measuring the endplay after the transmission is fully assembled. Wear on the thrust surfaces of the clutch drums and the case over decades of use changes the internal stack depth.
The Fix & Cost Avoidance: You must measure the endplay using a dial indicator mounted to the bellhousing, reading off the input shaft. The factory specification for TH350 endplay is 0.010" to 0.025". If your measurement falls outside this range, you must swap the selective thrust washer (available in various thicknesses from 0.084" to 0.154"). Ignoring this $15 part will result in catastrophic gear train failure, requiring a complete core replacement.
Mistake #2: Shredding Lip Seals on the Direct Clutch Drum
The direct clutch applies in third gear. If you lose third gear, your TH350 is essentially a two-speed transmission. The direct clutch piston relies on delicate rubber lip seals to hold hydraulic pressure.
The Mistake: The splines on the inside of the direct clutch drum, and the outer edge of the drum where the seals ride, are often sharp from the factory or from years of wear. Forcing the piston into the drum without protection slices the lip seals instantly. The builder won't realize this until the transmission is installed, the fluid is heated, and third gear slips violently, burning up the friction plates.
The Fix & Cost Avoidance: Always use a dedicated seal installation tool or wrap the drum splines with electrical tape and lubricate the seals generously with Sonnax-approved assembly gel or clean Dexron/Mercon ATF before sliding the piston home. Inspect the drum's outer seal surface with a fingernail; if you feel deep grooves, the drum must be replaced or sleeved.
Mistake #3: Incorrect Intermediate Sprag and Roller Clutch Assembly
The intermediate roller clutch and sprag assembly is responsible for holding the intermediate clutch hub during engine braking in manual first and second gears.
The Mistake: The intermediate roller clutch is directional. Installing it backwards, or failing to properly seat the retaining rings, results in a transmission that shifts perfectly through all forward gears but offers zero engine braking when the shifter is placed in "L" or "2". Furthermore, using a worn outer race from a high-mileage core will cause the sprag to flip and lock up the transmission entirely.
The Fix & Cost Avoidance: Consult ATSG technical manuals for the exact directional orientation of the intermediate sprag. For high-horsepower applications, upgrade to a heavy-duty 34-element sprag kit to prevent sprag failure under hard launches, which can crack the case and total the transmission.
Mistake #4: Checkball Amnesia and Valve Body Cross-Leaks
The TH350 valve body utilizes several small steel checkballs (typically 1/4-inch) that act as hydraulic one-way valves. Their placement is critical for proper clutch application timing.
The Mistake: Disassembling the valve body on a messy workbench often leads to lost checkballs. Worse, dropping a checkball into the main case cavity and forgetting about it, or placing a checkball in the wrong circuit during reassembly, causes severe hydraulic cross-leaks. This results in delayed shifts, flare-ups between gears, and instant clutch pack burnout.
The Fix & Cost Avoidance: Use a sticky assembly lube like TransJel to hold the checkballs in their respective seats on the valve body separator plate during installation. Always verify the checkball count against a reliable TH350 valve body diagram for your specific model year, as GM made subtle changes to the valve body castings and checkball locations between 1969 and 1984.
Mistake #5: Ignoring the Stator Support and Converter Hub
The torque converter hub rides inside the front pump bushing, which is supported by the stator support tube.
The Mistake: Builders often install a brand-new torque converter onto a scored or grooved converter hub surface, or they fail to replace the front pump bushing. Within the first 50 miles, the rough surface acts like a lathe, destroying the new bushing. This leads to a massive front seal leak, low line pressure, and eventual pump failure.
The Fix & Cost Avoidance: Polish the torque converter hub with 400-grit emery cloth until it is perfectly smooth. The clearance between the converter hub and the front pump bushing should be between 0.0015" and 0.003". If you can feel any perceptible play, the bushing must be driven out and replaced.
Essential TH350 Torque Specifications
Over-torquing or under-torquing fasteners is a common mistake that leads to warped valve bodies, cracked cases, and fluid leaks. Always use a calibrated inch-pound and foot-pound torque wrench. Reference Summit Racing's TH350 rebuild kits for OEM-replacement hardware if your original bolts are stretched or corroded.
- Front Pump to Case Bolts: 10 - 13 ft-lbs (Over-torquing will warp the pump casting and bind the gears).
- Valve Body to Case Bolts: 8 - 10 ft-lbs (Use inch-pound settings carefully; snapping a valve body bolt inside the case requires drilling and tapping).
- Extension Housing to Case Bolts: 20 - 25 ft-lbs.
- Bellhousing to Engine Block: 35 ft-lbs.
- Transmission Pan Bolts: 10 - 13 ft-lbs (Use a cork or high-quality rubber composite gasket; avoid over-torquing which distorts the pan rail).
Conclusion: Protecting Your Rebuild Investment
Rebuilding a TH350 is a highly rewarding project that can save you thousands of dollars compared to buying a remanufactured unit. However, the financial benefits only materialize if the assembly is executed with precision. By respecting endplay clearances, protecting delicate lip seals, verifying checkball placement, and adhering strictly to torque specifications, you ensure that your TH 350 transmission rebuild kit translates into miles of reliable, leak-free performance rather than a costly lesson in hydraulic failure.