The Physics of Wet Multi-Plate Slipping
The Suzuki GSX-R series, from the legendary K5 GSX-R1000 to the modern 2026 iterations, relies on a wet multi-plate clutch system bathed in engine oil. This design provides exceptional thermal management and longevity under high-stress track conditions. However, when the friction coefficient between the steel and friction plates degrades, or when cable tension is improperly calibrated, the system experiences hydrodynamic slip. Clutch slipping symptoms typically manifest as a sudden surge in RPMs without a proportional increase in road speed, particularly under heavy load in third or fourth gear. Left undiagnosed, this slipping generates excessive localized heat, glazing the friction material and rapidly degrading the engine oil's viscosity.
When searching for a clutch adjustment suzuki gsxr guide, most riders only look at the handlebar lever. True preventive maintenance requires a holistic diagnosis that bridges the gap between the mechanical actuation system, the hydraulic fluid dynamics of the shared sump, and the microscopic tolerances of the clutch basket. This guide serves as a comprehensive preventive maintenance protocol to diagnose, adjust, and ultimately preserve your GSX-R's drivetrain integrity.
Step-by-Step Clutch Adjustment Protocol
Before tearing into the engine cases, you must eliminate mechanical slop in the actuation circuit. A properly adjusted cable ensures the clutch springs are applying full clamping force when the lever is released, while still providing enough free play to prevent the release bearing from prematurely wearing against the actuator cam.
Stage 1: Handlebar Lever Free Play Calibration
Measure the free play at the very tip of the clutch lever. The factory service manual dictates 10mm to 15mm of free play before you feel the distinct resistance of the clutch spring tension. To adjust this, loosen the 10mm locknut at the handlebar perch, turn the knurled adjuster barrel inward to increase free play or outward to decrease it, and then securely tighten the locknut. If the barrel adjuster is maxed out, you must proceed to Stage 2.
Stage 2: Engine Case Actuator Adjustment
Locate the clutch cable actuator on the right-side engine cover. Loosen the locknut on the actuator arm and turn the slotted screw. Turning the screw clockwise (inward) increases free play, while counter-clockwise decreases it. Adjust until the actuator arm has roughly 2mm to 3mm of free play before engaging the internal pushrod. Over-tightening this screw is the primary cause of chronic slipping, as it artificially pre-loads the clutch release mechanism, robbing the pressure springs of their clamping force.
Diagnostic Matrix: Slipping vs. Dragging vs. Chatter
Accurate diagnosis requires isolating the exact symptom profile. Use the matrix below to cross-reference your motorcycle's behavior with the likely mechanical failure point.
| Symptom Profile | Primary Cause | Measurement / Spec | Corrective Action |
|---|---|---|---|
| RPM flare under heavy acceleration (Slipping) | Worn friction plates, degraded oil, or improper cable free play | Friction plate limit: 2.6mm | Adjust cable; replace plates; flush with JASO MA2 oil |
| Difficulty finding neutral at a stop (Dragging) | Warped steel plates or notched clutch basket tangs | Steel plate warp limit: 0.1mm | Replace warped steels; file or replace clutch basket |
| Aggressive shudder upon takeoff (Chatter) | Contaminated friction surfaces or broken clutch hub dampers | Visual inspection for oil glazing | Clean basket; inspect hub rubber dampers for tearing |
| Lever feels mushy or inconsistent | Frayed inner cable or worn actuator cam ramp | Visual cable inspection | Lubricate or replace clutch cable assembly |
Preventive Teardown: Micrometers and Torque Wrenches
If a proper cable adjustment fails to resolve the slipping symptoms, the clutch pack must be removed for physical measurement. Preventive maintenance at this stage relies on precision tools, not guesswork.
Friction and Steel Plate Tolerances
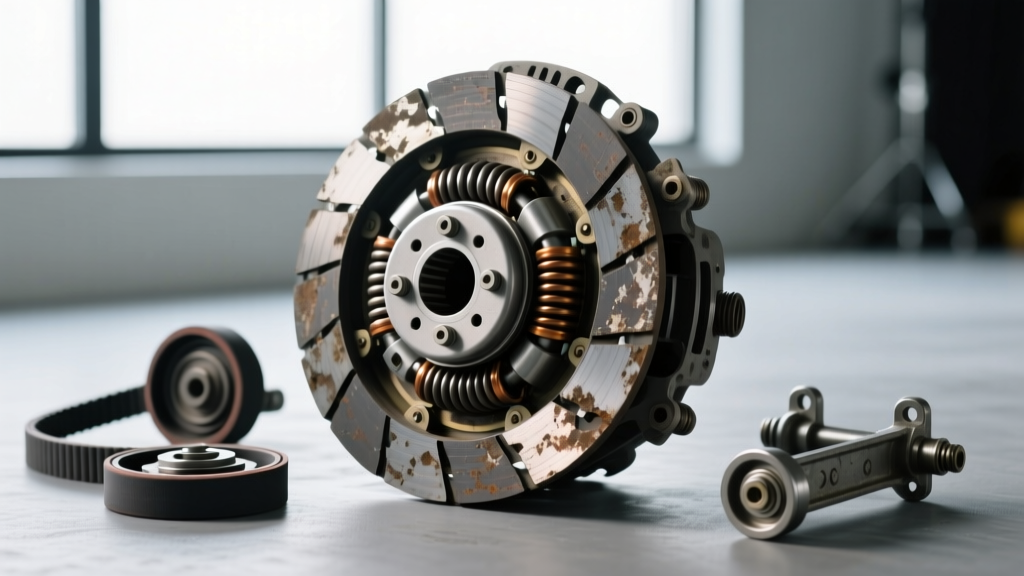
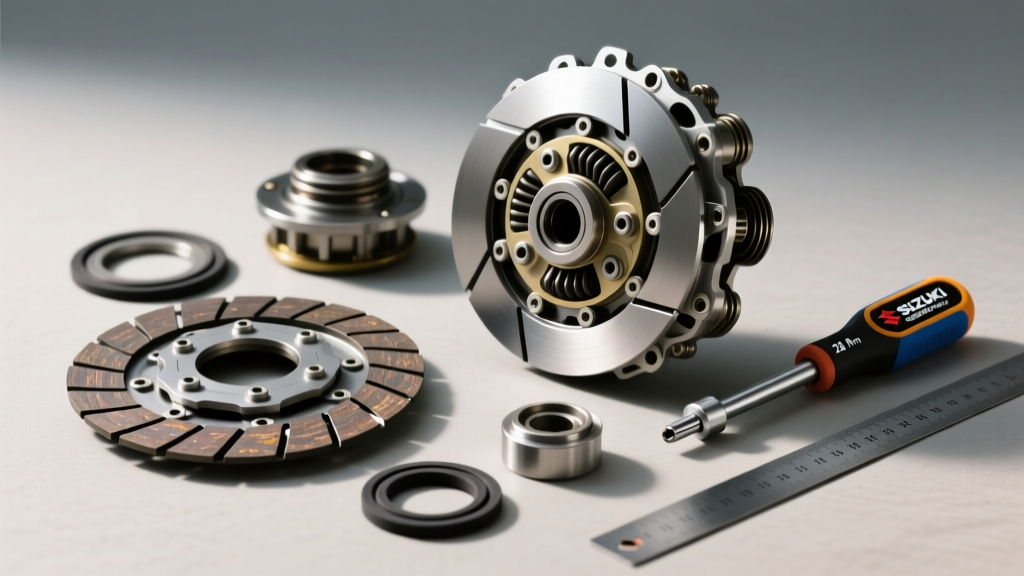
Using a set of digital calipers, measure the thickness of the friction plates at three distinct points. The standard thickness for most GSX-R1000 models is 3.0mm, with an absolute service limit of 2.6mm. If any plate falls below 2.6mm, the entire friction pack must be replaced. Next, place the steel drive plates on a known-flat surface (like a piece of plate glass) and use a feeler gauge to check for warpage. The service limit for warp is 0.1mm. Warped steel plates prevent uniform clamping pressure, creating micro-slip zones that generate immense heat.
Clutch Spring Free Length
The clutch springs provide the necessary clamping force. Over time, thermal cycling causes these springs to sag. Measure the free length of each spring using a vernier caliper. Standard free length is typically 49.2mm, with a service limit of 46.5mm (verify against your specific year's service manual). If even one spring falls below the limit, replace the entire set to maintain even pressure distribution across the pressure plate.
Reassembly Torque Specifications
When reinstalling the clutch components, precise torque is non-negotiable. The clutch hub nut must be torqued to 65 Nm (48 lb-ft) using a dedicated clutch holding tool to prevent transmission shaft damage. The clutch spring bolts are smaller and easily stripped; torque these to exactly 10 Nm (87 lb-in) in a crisscross pattern. The outer clutch cover bolts should be tightened to 10 Nm, ensuring the gasket is properly seated to prevent oil weeping.
Fluid Dynamics: The JASO MA2 Imperative
The most common, entirely preventable cause of GSX-R clutch slipping is the use of incorrect engine oil. Because the GSX-R utilizes a shared-sump design where the engine oil lubricates the pistons, the transmission gears, and the clutch plates simultaneously, the oil's friction modifier package is critical.
WARNING: Never use standard automotive oils (API SN/SP rated) in a Suzuki GSX-R. Automotive oils contain molybdenum and other friction modifiers designed to improve fuel economy by reducing drag. In a wet clutch, these modifiers coat the friction plates, causing catastrophic slipping and requiring a full teardown and chemical cleaning to resolve.
Always select an oil certified with the JASO MA or MA2 standard. As of 2026, high-ester synthetic options like Motul 7100 10W-40 or Castrol Power1 Racing remain the benchmark for wet clutch friction stability. These oils are specifically formulated without friction modifiers, ensuring the friction plates can bite aggressively into the steel plates under high torque loads. Adhering to a strict 3,000-mile or 6-month oil change interval prevents the oil's shear stability from breaking down, which directly correlates to clutch slippage under heavy throttle.
Sourcing OEM and Aftermarket Components
When diagnosis confirms that the friction material has reached its service limit, sourcing high-quality replacement parts is the final step in your preventive maintenance cycle. You have two primary avenues: OEM Suzuki parts or premium aftermarket kits.
- OEM Suzuki Clutch Kit: Part numbers vary by year (e.g., 21441-41G10 for friction plates). OEM plates offer predictable, linear engagement and typically cost between $120 and $160 for a full set of friction plates. They are the safest choice for street riders seeking factory-original lever feel.
- Aftermarket Performance Kits: Brands like EBC Brakes (e.g., CK1140 series) or Barnett offer Kevlar or carbon-kevlar weave friction plates. These are ideal for track-day enthusiasts and tuned engines, offering higher thermal thresholds and aggressive bite points. Expect to pay between $90 and $140 for these kits.
- Heavy-Duty Springs: If you are running a tuned engine producing over 180 horsepower at the rear wheel, consider upgrading to heavy-duty clutch springs (approx. 10-15% stiffer than stock). This increases lever pull effort slightly but dramatically raises the threshold for clutch slipping during hard launches.
By combining precise cable adjustment, rigorous physical measurements during teardowns, and strict adherence to JASO MA2 fluid standards, you can effectively eliminate clutch slipping symptoms and extend the lifespan of your GSX-R's drivetrain for tens of thousands of miles. For further technical diagrams and factory service intervals, always consult the official Suzuki Motorcycles owner's portal or your specific model's factory service manual.