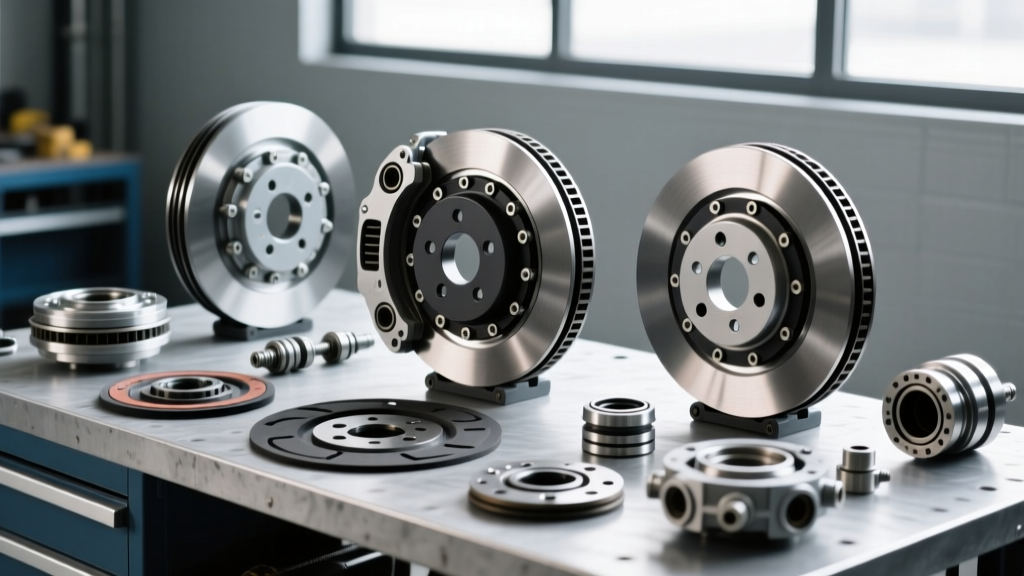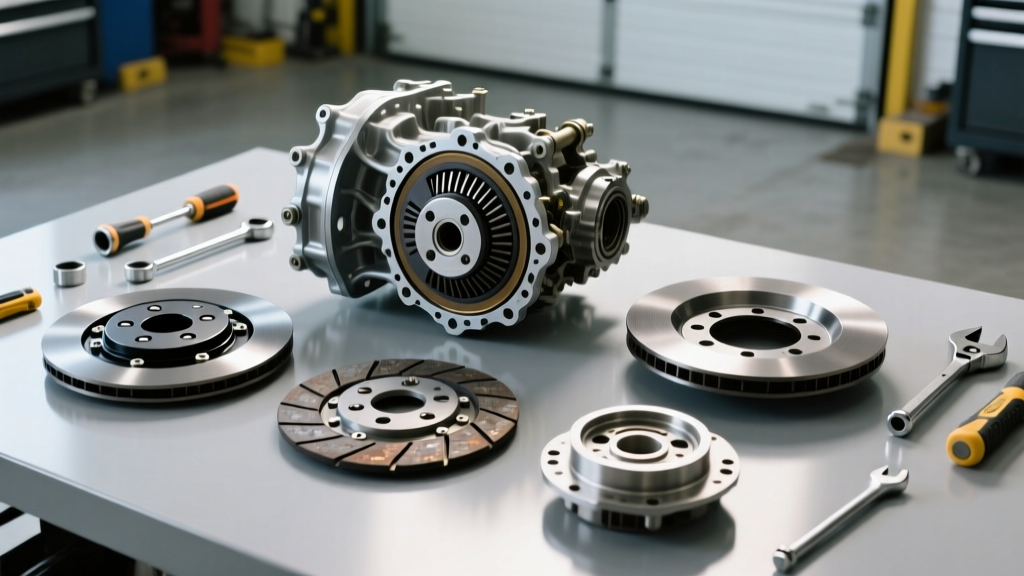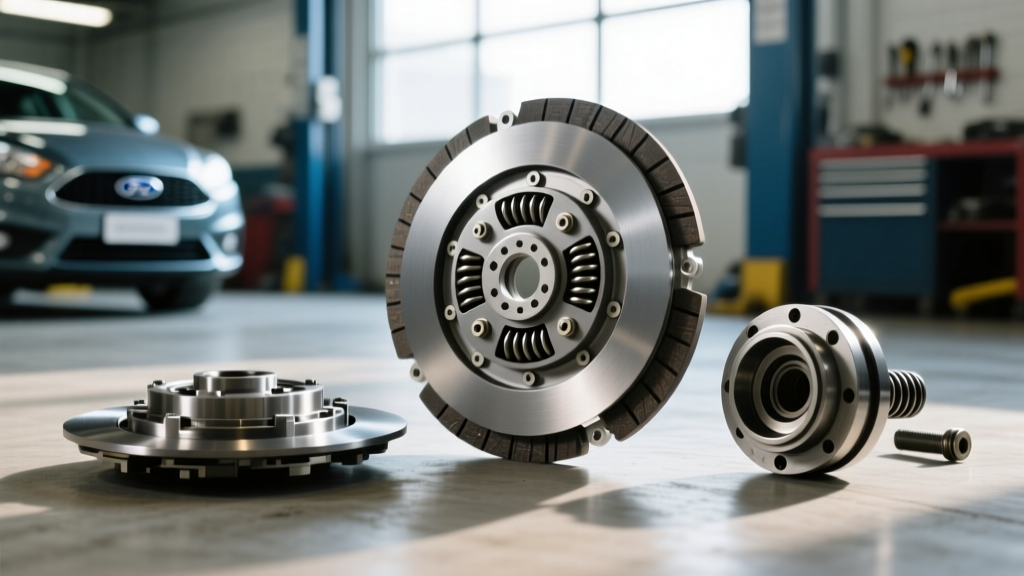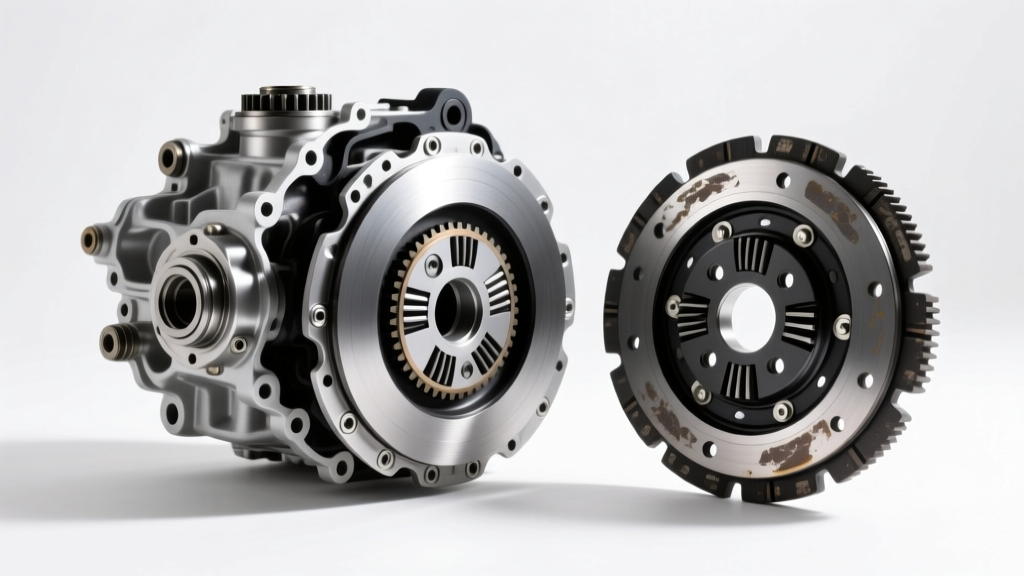
The centrifugal clutch is the critical mechanical bridge between your Stihl FS 70 R’s 27.2cc two-stroke engine and the cutting head. When this component degrades, it mimics a host of other engine and drivetrain issues, leading many DIYers down the wrong diagnostic path. When performing a stihl fs 70 r clutch replacement, the decision between Original Equipment Manufacturer (OEM) and aftermarket parts is not just about cost—it is a matter of metallurgical integrity, spring tension tolerances, and operational safety.
As of 2026, the aftermarket small engine parts sector has expanded significantly, offering budget-friendly alternatives to genuine components. However, diagnosing the root cause of clutch failure is paramount before swapping parts. A slipping clutch might actually be a failing crankshaft seal, while premature engagement often points to carburetor misadjustment rather than mechanical wear. This guide provides a deep-dive diagnostic framework, technical comparison, and precise replacement procedure for the FS 70 R platform.
Diagnostic Flowchart: Is Your Clutch Actually Failing?
Before ordering a replacement clutch assembly (OEM Part #4144 160 1650), you must isolate the symptom. Small engine drivetrains are highly sensitive to RPM variances and oil contamination. Use the following diagnostic breakdown to verify your clutch is the true culprit.
Symptom 1: Cutting Head Spins at Idle (Premature Engagement)
If the trimmer head continues to spin when the engine is idling, the immediate assumption is often weak or broken clutch springs. However, the first diagnostic step is to verify the engine's idle RPM. The FS 70 R is designed to idle at approximately 2,800 to 3,000 RPM, while the clutch engagement threshold is engineered for 3,800 to 4,200 RPM.
- Diagnostic Step: Connect a digital tachometer to the spark plug wire. If idle is reading above 3,500 RPM, adjust the 'LA' (idle speed) screw on the carburetor counterclockwise until the head stops spinning.
- Verdict: If the RPM is correctly set below 3,000 RPM and the head still spins, the clutch springs have suffered fatigue loss, or the friction shoes are binding on the drum due to debris or warped metal.
Symptom 2: Slipping Under Heavy Brush Load
When the engine revs high but the cutting head bogs down or stops in thick brush, you are experiencing clutch slip. This is characterized by a distinct burning smell and a loss of torque transfer.
- Diagnostic Step: Remove the clutch drum and inspect the inner surface of the drum and the outer surface of the clutch shoes. If the shoes appear glassy or glazed, they have overheated.
- The Hidden Culprit (Crankshaft Seal Failure): Inspect the area behind the clutch for wet, oily residue. The FS 70 R utilizes a PTO-side crankshaft oil seal. If this seal fails, two-stroke oil and fuel mixture bypass the crankcase and coat the clutch shoes, destroying friction. Replacing the clutch without replacing a blown PTO seal will result in immediate failure of the new unit.
Symptom 3: Complete Loss of Drive
If the engine runs perfectly but the cutting head never engages, even at wide-open throttle (WOT), the mechanical link is severed.
- Diagnostic Step: Inspect the clutch drum bearing and the drive shaft splines. A stripped clutch drum or a sheared roll pin connecting the drum to the drive shaft will mimic total clutch failure.
OEM vs. Aftermarket: Metallurgical and Spring Tension Analysis
Once you have confirmed the clutch assembly requires replacement, the market presents two primary avenues. While the official STIHL USA catalog lists the genuine assembly at a premium, aftermarket suppliers offer units at a fraction of the cost. Here is how they compare from a drivetrain engineering perspective.
| Specification | OEM Stihl (4144 160 1650) | Premium Aftermarket (e.g., Oregon/Rotary) | Budget Aftermarket (Generic Import) |
|---|---|---|---|
| Average Cost (2026) | $42.00 - $55.00 | $18.00 - $26.00 | $9.00 - $14.00 |
| Friction Shoe Material | Sintered Bronze / High-Friction Resin | Standard Organic Resin | Low-Density Composite |
| Spring Tension Tolerance | ± 2% (Engages precisely at ~4,000 RPM) | ± 8% (Engagement varies 3,600 - 4,400 RPM) | ± 15% (High risk of idle creep) |
| Drum Metallurgy | Hardened Forged Steel | Cast Steel | Pot Metal / Soft Cast Aluminum |
| Expected Lifespan | 800+ Hours | 300 - 500 Hours | 50 - 150 Hours |
Expert Insight: The primary failure point of budget aftermarket clutches is not the friction material itself, but the torsion springs. Inconsistent spring wire gauges lead to asymmetrical shoe expansion. This causes one shoe to engage before the other, resulting in severe drivetrain vibration, accelerated clutch drum wear, and potential damage to the FS 70 R’s crankshaft bearings due to off-axis harmonic loading.
The Teardown: Extracting and Inspecting the Assembly
Performing the physical stihl fs 70 r clutch replacement requires specific small engine tools to prevent catastrophic damage to the engine's bottom end. The clutch nut secures the entire assembly to the crankshaft and is subjected to immense rotational torque.
Required Tools
- M10x1.0 Piston Stop Tool (Crucial for locking the crankshaft)
- Stihl Clutch Removal Tool (or a flat-blade screwdriver and hammer for the punch method, though the dedicated tool is recommended)
- Torque Wrench (Inch-pound or Newton-meter capable)
- Needle-nose pliers and snap-ring pliers
Step-by-Step Extraction
- Secure the Engine: Remove the spark plug. Thread the piston stop tool into the spark plug hole. Gently pull the starter cord until the piston contacts the stop tool, locking the crankshaft in place.
- Break the Clutch Nut: Using the clutch tool, turn the clutch nut counterclockwise (standard right-hand thread). Note: This nut is torqued to approximately 23 Nm (17 ft-lbs / 204 in-lbs) at the factory. It will require significant breakaway force.
- Slide and Inspect: Remove the nut, the large flat washer, and slide the clutch assembly and drum off the crankshaft. Inspect the crankshaft journal for scoring. If the PTO seal is leaking (as noted in our diagnostic section), extract it now using a seal puller and press in a new OEM seal (Part #9639 003 0052).
- Install the New Unit: Slide the new clutch assembly onto the splines. Apply a drop of blue threadlocker (Loctite 243) to the clutch nut threads.
- Torque to Spec: Reinstall the washer and nut. Using your piston stop tool to hold the crank, torque the clutch nut to exactly 23 Nm (17 ft-lbs). Over-torquing can stretch the crankshaft threads; under-torquing will allow the clutch to wobble and destroy the needle bearing.
Post-Replacement Troubleshooting and Carburetor Synchronization
Installing the new clutch is only half the battle. Because aftermarket clutches often feature slightly different spring tension profiles than OEM units, the engine's carburetor must be synchronized to the new mechanical engagement threshold.
Warning: Never attempt to 'stretch' clutch springs with pliers to increase tension. This alters the metallurgical memory of the steel and will lead to catastrophic spring failure at high RPM, potentially sending shrapnel through the plastic clutch housing.
The LA Screw Tuning Protocol
If you opted for an aftermarket clutch and notice the cutting head creeping at idle, do not immediately assume the unit is defective. The engagement RPM may simply be lower than the OEM spec.
- Warm up the FS 70 R engine for 3 to 5 minutes.
- Connect an induction tachometer.
- Turn the 'LA' (idle) screw counterclockwise until the engine begins to stumble, then turn it clockwise exactly 1/4 turn. This establishes your base stable idle.
- Check the tachometer. If the RPM is sitting at 3,200 and the aftermarket clutch is engaging, you must adjust the 'L' (low-speed mixture) screw slightly to lean out the idle mixture, which can help stabilize a lower RPM without stalling.
- The target is an idle speed of 2,800 RPM, ensuring a 1,000 RPM buffer before the clutch shoes make contact with the drum.
Final Verdict: Which Should You Choose?
For commercial landscapers running the FS 70 R daily in heavy brush, the OEM Stihl 4144 160 1650 is the only logical choice. The sintered friction material handles the thermal load of continuous slipping during edging and brush clearing without glazing. For residential users clearing light weeds a few times a month, a premium aftermarket unit sourced from reputable distributors like Jack's Small Engines provides adequate service life and significant cost savings.
Ultimately, a successful stihl fs 70 r clutch replacement hinges on accurate symptom diagnosis. By verifying your crankshaft seals, utilizing a piston stop for safe teardown, torquing to 23 Nm, and synchronizing your carburetor's LA screw to the new spring tension, you ensure your trimmer's drivetrain operates flawlessly for the next several hundred hours of runtime.
Sources consulted for small engine drivetrain specifications and diagnostic procedures include the STIHL USA Technical Portal and the Oregon Parts Small Engine Service Database.