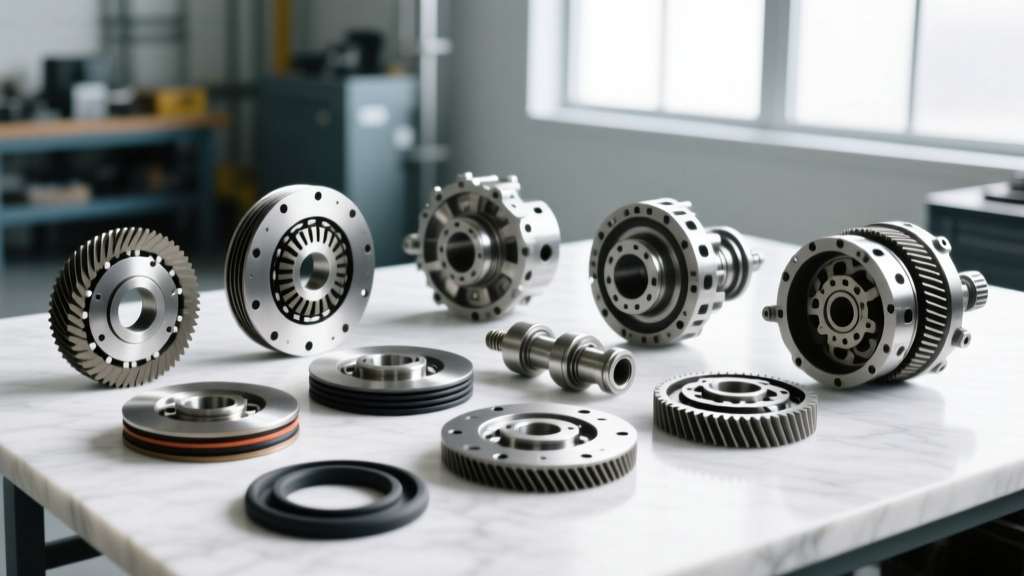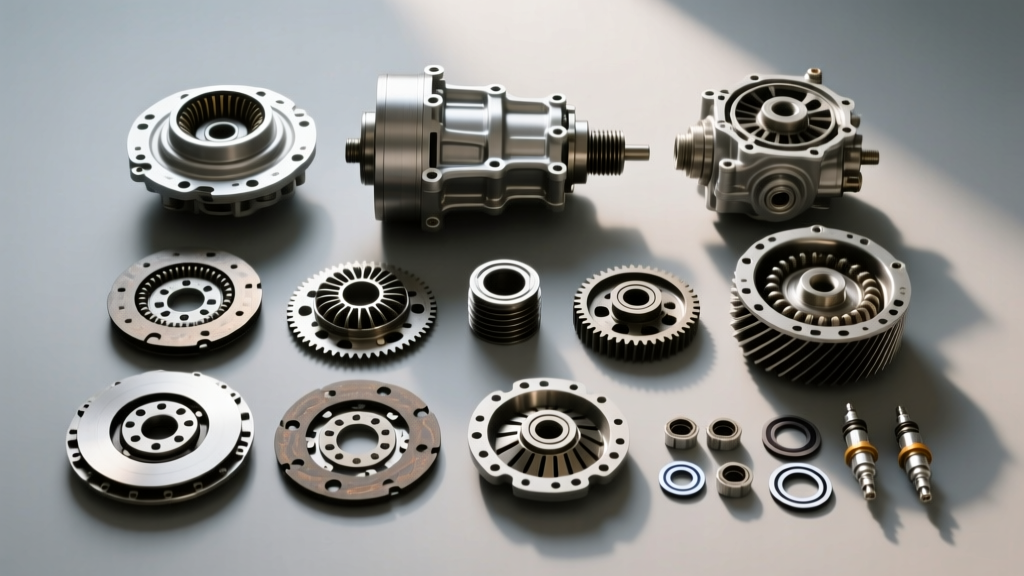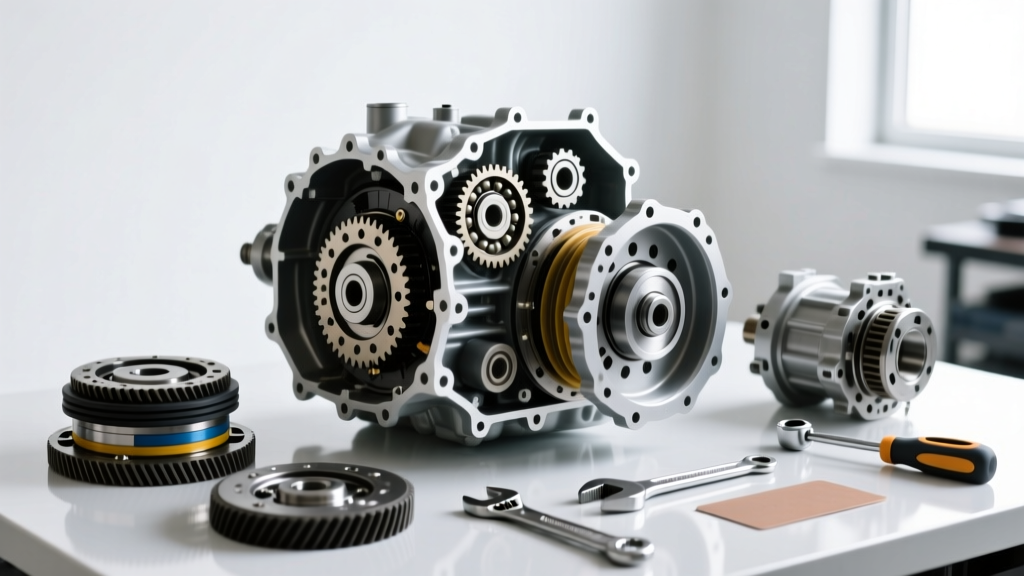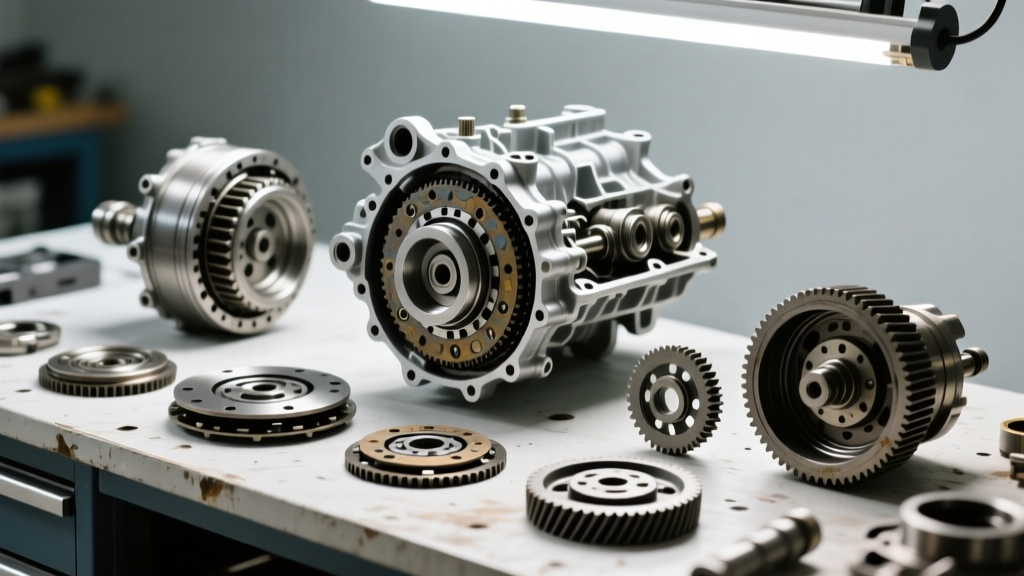
The Real Dodge Ram 2500 Transmission Rebuild Cost in 2026
When the 6.7L Cummins turbo diesel meets the limits of the factory 68RFE automatic transmission, owners are inevitably faced with a critical decision. Understanding the true Dodge Ram 2500 transmission rebuild cost requires looking past generic internet estimates and diving into the hard data of parts, machining, and labor. As of 2026, supply chain stabilizations have normalized pricing for heavy-duty master rebuild kits, but the demand for upgraded billet components has shifted the budget requirements for high-torque applications.
Below is a comprehensive cost breakdown comparing a professional shop rebuild, a remanufactured unit, and a DIY bench build approach.
| Rebuild Method | Estimated Cost Range (2026) | Warranty Coverage | Best For |
|---|---|---|---|
| Professional Shop Rebuild (OEM Spec) | $3,800 - $4,500 | 12-24 Months / 12k-24k Miles | Stock trucks, daily drivers |
| Professional Shop (Heavy-Duty Upgrades) | $5,200 - $6,800 | 12 Months / Unlimited Miles | Tuned Cummins, towing, sled pulling |
| Remanufactured Transmission (Mail-order) | $3,200 - $4,100 (plus core) | 36 Months / 100k Miles | Quick swap, minimal downtime |
| DIY Bench Build (Upgraded Components) | $1,600 - $2,400 | None (Self-warrantied) | Mechanics, budget-conscious builders |
For the hands-on diesel mechanic, the DIY bench build offers massive financial savings while allowing you to integrate premium upgrades—like billet input shafts and reinforced valve bodies—that many budget rebuild shops skip. According to the Automatic Transmission Rebuilders Association (ATRA), the 68RFE remains one of the most rebuildable units on the market due to its modular clutch pack design and lack of complex clutch-to-clutch timing requirements found in newer 8-speed or 10-speed units.
Pre-Bench Teardown and Diagnostics
A successful bench build begins before you even touch a new friction disc. The 68RFE is notorious for specific failure points, especially when paired with modified Cummins engines producing over 450 lb-ft of torque. During teardown, pay meticulous attention to the following:
- Input Shaft Integrity: The factory hollow input shaft is a known weak point. Inspect the splines and the journal surface for galling or micro-fractures. If you are running a tune, a billet input shaft is mandatory.
- Underdrive (UD) Clutch Hub: Check the splines on the UD hub for wear. The UD clutch handles torque multiplication in 1st, 2nd, and 3rd gears, making it a high-stress component.
- Valve Body Separator Plate: Look for checkball wear-through on the steel separator plate. Worn checkball seats lead to cross-leaking and delayed engagements.
Step-by-Step 68RFE Bench Build Procedure
Executing a transmission bench build requires a spotless environment, a dedicated transmission bench, and an organized parts layout. Below is the step-by-step procedure for assembling the core rotating assembly and hydraulic controls of the 68RFE.
Phase 1: Case Preparation and Valve Body Upgrades
Before installing the rotating assembly, the aluminum case must be prepped. Flush all cooler lines and ensure the main case lube circuit is free of debris. Next, address the valve body, which is the brain of the 68RFE.
- Install a Reinforced Separator Plate: Replace the factory plate with a laser-cut, stress-relieved steel plate to prevent future checkball bleed.
- Upgrade the Line Pressure Regulator: Utilizing kits from Sonnax Industries, such as the Line Pressure Booster or the Smart-Tech Overdrive Clutch Housing (Part #38510-01K), ensures that clamping force increases proportionally with engine torque, preventing clutch slip during heavy towing.
- Torque the Valve Body: When mounting the valve body to the case, use a calibrated inch-pound torque wrench. The valve body bolts must be tightened in a crisscross pattern to 75 inch-pounds. Over-torquing will warp the aluminum casting and bind the valves.
Phase 2: Clutch Pack Assembly and Clearances
The 68RFE utilizes six distinct clutch packs: Underdrive (UD), Reverse, 2C, Overdrive (OD), 4C, and Low/Reverse (L/R). Proper clearance is the difference between a transmission that shifts crisply and one that burns up frictions within 500 miles.
Use a dial indicator and feeler gauges to measure clutch pack clearance. Apply a light coat of assembly lube or clean ATF+4 to all frictions and steels before stacking.
| Clutch Pack | Target Clearance (Inches) | Function / Gears Applied | Upgrade Recommendation |
|---|---|---|---|
| Underdrive (UD) | 0.050" - 0.070" | 1st, 2nd, 3rd Gear | High-energy Raybestos frictions |
| 2C Clutch | 0.040" - 0.060" | 2nd, 3rd, 4th, 5th, 6th Gear | Stock thickness steels |
| Overdrive (OD) | 0.055" - 0.075" | 4th, 5th, 6th Gear | Billet OD piston & hub |
| 4C Clutch | 0.045" - 0.065" | 4th Gear, Reverse | Stock configuration |
| Low/Reverse (L/R) | 0.060" - 0.085" | 1st Gear, Reverse | Extra-thickness frictions for towing |
Pro Tip: If your clearance is too tight, the clutch will drag, causing overheating and premature wear. If it is too loose, you will experience delayed, banging engagements. Always adjust clearance using selective-thickness snap rings or selective backing plates.
Phase 3: Pump, Input Shaft, and Endplay
The oil pump is the heart of the 68RFE. Inspect the pump gears for scoring on the aluminum housing. If the housing is scored beyond 0.002 inches, replace the pump assembly. Ensure the pump slide and rotors are installed in the correct rotational direction as marked by the manufacturer.
- Install the Billet Input Shaft: Slide your upgraded billet input shaft through the stator support and into the UD hub. Ensure the snap rings are fully seated in their grooves. A pair of snap ring pliers with angled tips is essential here.
- Set the Endplay: Endplay is the axial movement of the input shaft and planetary gearsets. Using a dial indicator mounted to the bellhousing face, push the shaft rearward, zero the gauge, and pull it forward. The 68RFE specification for total endplay is 0.010" to 0.025". Adjust this using the selective thrust washer located behind the front pump.
- Seal the Pump: Install a new front pump seal and ensure the pump-to-case O-ring is lubricated and free of nicks. A pinched O-ring here will result in catastrophic pressure loss once the engine is started.
Critical Torque Specifications
Guesswork has no place on the transmission bench. Adhere strictly to these torque specifications during final assembly to prevent case warping, bolt shearing, or hydraulic leaks:
- Transmission Pan Bolts (M6): 75 inch-pounds (Do not overtighten; the pan is stamped steel and will warp).
- Valve Body to Case Bolts (M6): 75 inch-pounds.
- Front Pump to Case Bolts (M8): 105 inch-pounds (9 ft-lbs).
- Bellhousing to Engine Block Bolts (M12): 45 ft-lbs.
- Torque Converter to Flexplate Bolts: 35 ft-lbs (Use medium-strength threadlocker).
- Output Shaft / Yoke Nut: 160 ft-lbs (Prevailing torque nut; always use a new nut).
Final Bench Testing and Fluid Requirements
Once the 68RFE is fully assembled and bolted to the engine, the final step before road testing is the fluid fill. The 68RFE requires Mopar ATF+4 (or a licensed equivalent meeting MS-9602 specifications). Do not use generic multi-vehicle fluids, as the friction modifiers in ATF+4 are specifically calibrated for the 68RFE's clutch materials and shift algorithms.
A completely dry 68RFE system (including the torque converter and auxiliary cooler lines) holds approximately 14.5 to 16 quarts. Add 10 quarts initially, start the engine, and allow it to idle. Cycle the gear selector through all positions (P-R-N-D), pausing for 3 seconds in each gear to fill the clutch apply pistons. With the engine still idling and the transmission at operating temperature (160°F - 180°F), check the dipstick and add fluid until it reaches the 'HOT' crosshatch zone.
According to official Mopar fluid guidelines, maintaining the correct fluid level is critical, as the 68RFE pump can easily cavitate if starved, leading to immediate clutch burnout. Finally, use a bi-directional OBD2 scan tool to monitor the transmission line pressure. At idle in Drive, base line pressure should sit around 45-60 PSI. Under wide-open throttle (WOT), the pressure should spike to 220+ PSI, confirming your valve body upgrades and pump clearances are functioning perfectly.
By mastering these bench build procedures and understanding the true Dodge Ram 2500 transmission rebuild cost, you can transform a failing 68RFE into a heavy-duty powerhouse capable of handling the immense torque of the Cummins diesel for hundreds of thousands of miles.