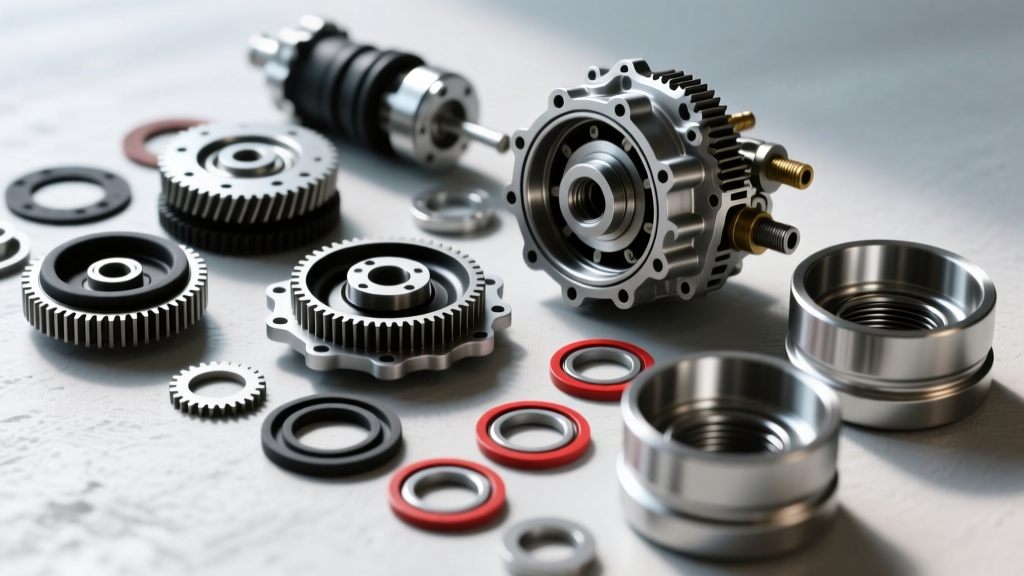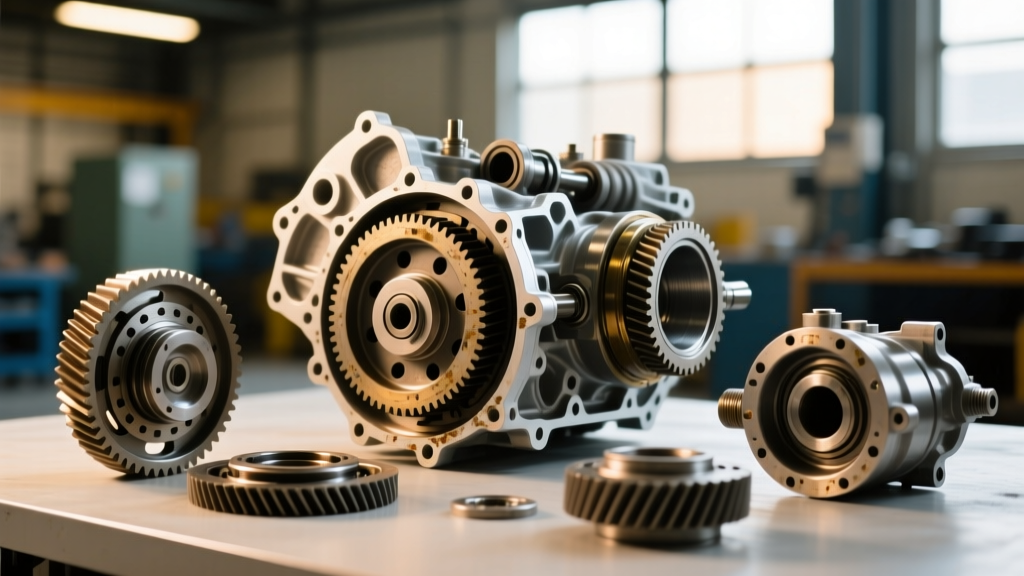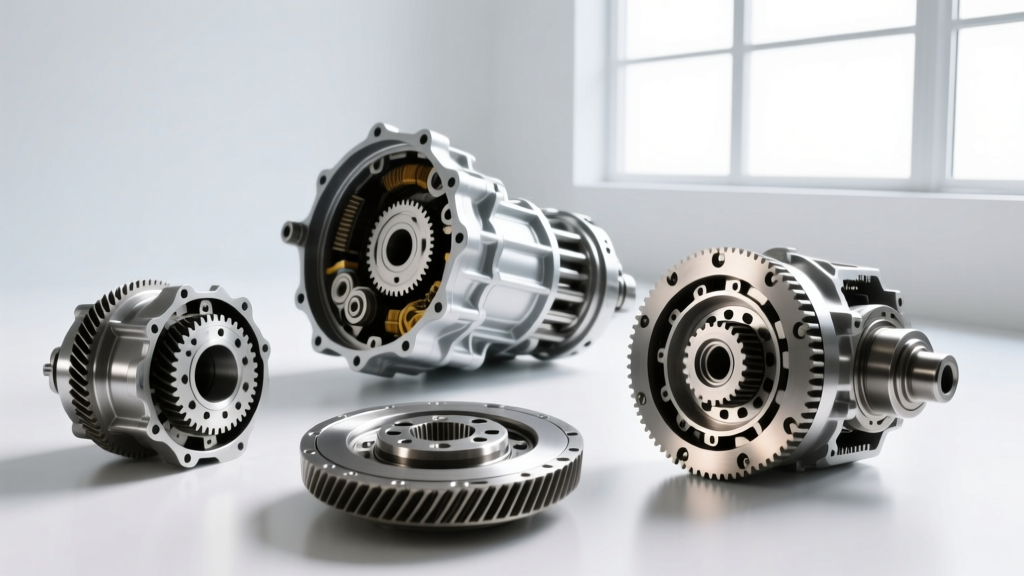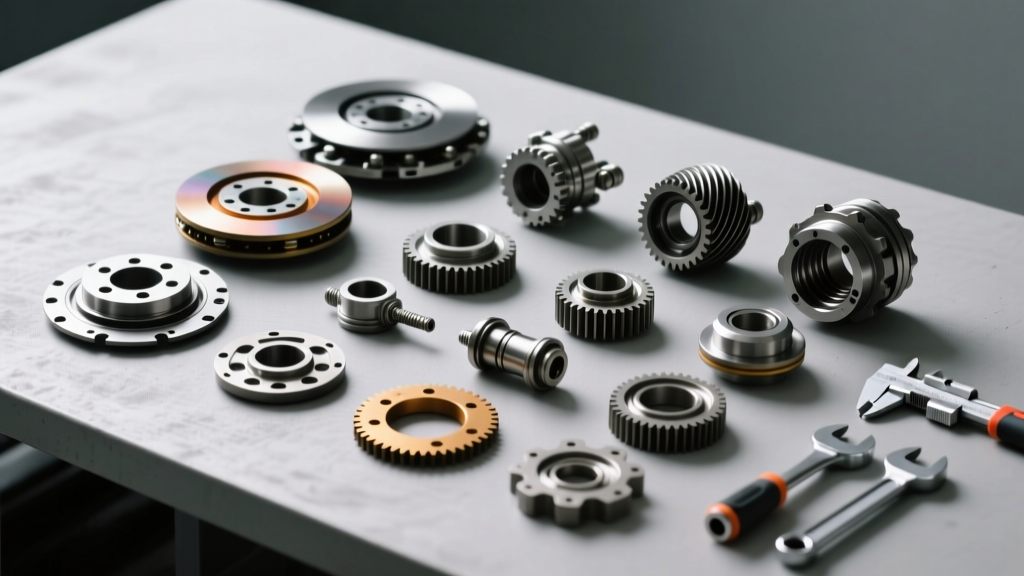
The NAG1 (New Automatic Generation 1), known internally at Mercedes-Benz as the 722.6 and at Chrysler/Dodge as the W5A580, is a legendary 5-speed automatic transmission. Found in everything from the Dodge Charger R/T, Challenger, and Jeep Grand Cherokee to the Mercedes E-Class and Sprinter vans, it is robust but highly sensitive to rebuild tolerances. As we move through 2026, the NAG1 remains one of the most frequently swapped, repaired, and rebuilt transmissions in the enthusiast and independent shop market.
When DIY mechanics and budget-conscious shops tackle a rebuild using a standard NAG1 transmission rebuild kit, they often fall victim to subtle assembly errors. These mistakes don't just cause harsh shifts; they guarantee premature failure, burnt clutches, or immediate 'limp-home' mode. Below, we detail the five most common and costly mistakes made during a NAG1/722.6 rebuild, complete with factory specifications to ensure your build survives the test of time.
Mistake #1: Guessing K1, K2, and K3 Clutch Pack Clearances
The most frequent point of failure in a DIY NAG1 rebuild is improper clutch pack clearance. A quality NAG1 transmission rebuild kit will include an assortment of selective snap rings of varying thicknesses. Many builders mistakenly assume they can simply install the snap ring that 'fits' without measuring the actual pack clearance using a dial indicator and feeler gauges.
If the clearance is too tight, the clutches drag, generating massive heat and burning out the friction material within a few hundred miles. If the clearance is too wide, the piston strokes too far, leading to delayed engagements, harsh shifts, and eventual piston seal blowout.
Factory NAG1 Clutch Pack Clearance Specifications
| Clutch Pack | Function | Target Clearance (mm) | Max Wear Limit (mm) |
|---|---|---|---|
| K1 | 1st / 2nd Gear | 1.10 - 1.60 mm | 1.80 mm |
| K2 | 3rd / 4th Gear | 0.80 - 1.20 mm | 1.40 mm |
| K3 | Reverse / 5th Gear | 1.40 - 1.90 mm | 2.10 mm |
Pro Tip: Always measure clearance after soaking the friction discs in the correct ATF for at least two hours. Dry frictions will yield inaccurate measurements.
Mistake #2: Pinching the Conductor Plate (VGS) Wiring
The Electrohydraulic Control Unit, commonly referred to as the conductor plate or VGS (Valve Gear System), sits directly atop the valve body. Unlike older transmissions that used external wiring harnesses routed through the case, the NAG1 integrates the RPM and output speed sensors directly into this plastic plate.
During valve body installation, it is incredibly easy to pinch the fragile wiring traces or the sensor connectors between the valve body and the transmission case. A pinched wire will cause intermittent speed sensor dropouts, triggering P0720 or P0730 diagnostic trouble codes and forcing the TCM (Transmission Control Module) into limp-home mode (locking the vehicle in 2nd gear). According to technical bulletins from Sonnax Tech Resources, conductor plate damage is one of the leading causes of 'comeback' complaints on the 722.6 platform. Always use a guide pin when lowering the valve body and visually verify that no wires are trapped before torquing the M6 bolts.
Mistake #3: Slicing the B1 and B2 Servo Piston Seals
The NAG1 utilizes brake bands for specific gear holds, actuated by the B1 and B2 servo pistons. When reinstalling these pistons into the aluminum transmission case or the drum, builders often rush the process and slice the delicate lip seals or O-rings on the sharp machined edges of the aluminum bore.
A sliced servo seal results in a slow hydraulic leak. The transmission may shift perfectly on the lift, but once the fluid heats up and thins out on the road, the band will slip, causing a flare between gears or a complete loss of reverse. Always use a dedicated seal installation tool or wrap the piston edges in electrical tape and lubricate the seals generously with a high-quality assembly gel like Trans-Jel before sliding them into the bore.
Mistake #4: Flushing (Instead of Replacing) the Torque Converter
When a NAG1 transmission fails—particularly if the K1 clutch pack has burnt up—the internal lining of the torque converter is contaminated with microscopic friction material and metallic debris. A common, catastrophic mistake is attempting to 'flush' the torque converter using a DIY flushing machine rather than replacing it.
Flushing cannot remove the heavy debris trapped inside the stator or the lockup clutch mechanism of a NAG1 converter. Once the newly rebuilt transmission is installed and reaches operating temperature, the trapped debris will dislodge, circulate through the newly installed valve body, and score the precision-machined spool valves. Always replace the torque converter with a new or professionally remanufactured unit. For a standard Dodge Charger or Jeep Grand Cherokee application, expect to pay between $350 and $550 for a high-quality replacement converter.
Mistake #5: Using the Wrong Fluid and Ignoring the Fill Protocol
The NAG1 is notoriously picky about fluid friction modifiers. A massive point of confusion for Chrysler/Dodge owners is the belief that Mopar ATF+4 is the correct fluid for the W5A580 NAG1. This is incorrect. While ATF+4 is used in most Chrysler transmissions, the NAG1 requires Mopar NAG1 Fluid (P/N 05127381AA) or the Mercedes-Benz equivalent, MB 236.14 specification fluid (such as Shell Spirax S4 ATF 134 or Fuchs Titan ATF 4134). Using ATF+4 or generic Dexron will cause severe torque converter shudder and premature clutch glazing.
Furthermore, the 722.6/W5A580 does not have a traditional under-hood dipstick. The filler tube is sealed with a cap, and checking the level requires a specialized dealer tool (Mercedes P/N 140 589 15 21 00). The fluid level is strictly temperature-dependent.
NAG1 Temperature-Dependent Fill Chart
- 25°C (77°F): Fluid level should be at 30mm on the dipstick tool.
- 45°C (113°F): Fluid level should be at 42mm on the dipstick tool.
- 80°C (176°F): Fluid level should be at 55mm on the dipstick tool (Normal operating temp).
Filling to the 'full' mark while the transmission is cold will result in overfilling once the fluid expands at operating temperature, leading to aeration, foaming, and delayed shifts. For more in-depth diagnostic procedures regarding fluid aeration and TCM adaptations, the Automatic Transmission Rebuilders Association (ATRA) offers excellent technical literature on Mercedes-derived units.
Cost Analysis: DIY NAG1 Rebuild vs. Professional Service
Understanding the financial reality of a NAG1 rebuild helps contextualize why cutting corners on assembly is so devastating. Below is a breakdown of what a proper DIY rebuild costs versus handing it to a professional shop in 2026.
| Component / Service | DIY Rebuild Cost (Estimated) | Professional Rebuild Cost (Estimated) |
|---|---|---|
| Master Rebuild Kit (Frictions, Steels, Seals) | $280 - $450 | Included in Labor/Parts |
| Conductor Plate (VGS) - If Required | $450 - $650 | $600 - $850 (Shop Markup) |
| Torque Converter (Remanufactured) | $350 - $500 | $450 - $700 |
| Fluid (MB 236.14) & Filter Kit | $120 - $160 | $180 - $220 |
| Bench Time / Assembly Labor | $0 (Your Time) | $1,500 - $2,200 |
| R&R (Remove & Replace) Vehicle Labor | $0 (Your Time) | $800 - $1,200 |
| Total Estimated Cost | $1,200 - $1,760 | $3,530 - $5,170 |
Final Torque Specifications for NAG1 Assembly
To complete your build without cracking the magnesium/aluminum castings or stripping threads, adhere strictly to these factory torque specifications:
- Valve Body to Case (M6 Bolts): 8 Nm (71 in-lbs)
- Conductor Plate to Valve Body: 8 Nm (71 in-lbs)
- Oil Pan to Transmission Case: 8 Nm (71 in-lbs)
- Torque Converter to Flexplate: 85 Nm (63 lb-ft)
- Bellhousing to Engine Block: 65 Nm (48 lb-ft)
Rebuilding a NAG1 transmission is a highly rewarding project that saves thousands of dollars, provided you respect the engineering tolerances. By measuring your clutch clearances, protecting your servo seals, securing the conductor plate wiring, replacing the torque converter, and utilizing the exact MB 236.14 fluid with the proper dipstick tool, your W5A580 or 722.6 will deliver seamless shifts for another 150,000+ miles.