Isolating the Driveline Fault: Clutch vs. DMF vs. Hydraulics
Before you order parts or rent a transmission jack, accurate symptom diagnosis is critical. The Mini Cooper (specifically the R56 and F56 generations equipped with the N14, N18, or B48 turbocharged engines) places unique stress on manual drivetrains. The low-end torque delivery often masks the exact point of failure, leading owners to misdiagnose a hydraulic issue as a worn friction disc, or a failing Dual Mass Flywheel (DMF) as clutch chatter.
Symptom 1: High-RPM Slip Under Boost
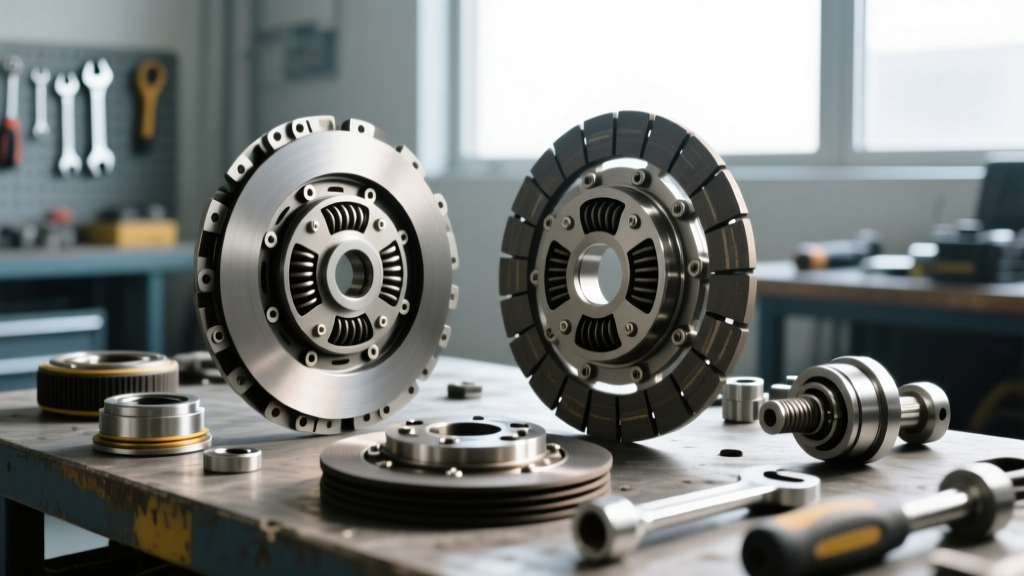
If you are in 3rd or 4th gear, apply wide-open throttle (WOT), and watch the tachometer climb without a proportional increase in vehicle speed, your friction disc is glazed or worn through. The OEM Sachs or LuK clutches are notorious for premature wear on tuned N18 engines pushing over 180 lb-ft of torque. This confirms the need for a full clutch kit replacement.
Symptom 2: Idle Rattle and 1st Gear Chatter
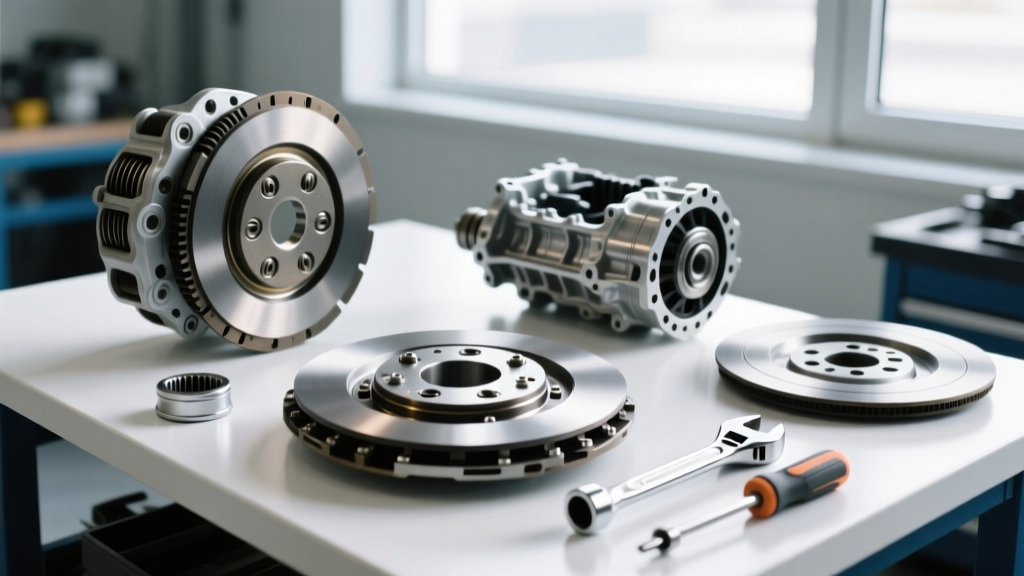
A metallic rattle at idle that disappears when the clutch pedal is depressed is rarely the clutch disc itself. This is the hallmark of a failing Dual Mass Flywheel (DMF). The internal damping springs have lost their tension, or the grease has dried out. Furthermore, if the car violently shudders when releasing the pedal in 1st gear (chatter), the DMF's friction surface is likely heat-spotted or warped. Diagnostic Rule: Never replace the clutch disc without measuring the DMF. Installing a new disc on a warped flywheel will destroy the new friction material within 500 miles.
Symptom 3: Spongy Pedal or Failure to Disengage
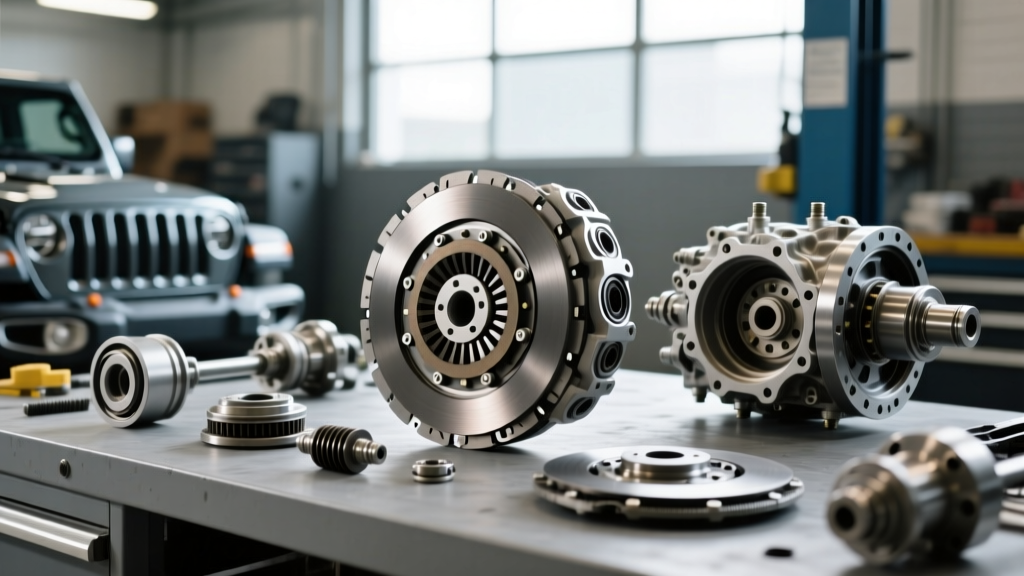
If the pedal feels soft, or you experience grinding when shifting into reverse or 1st gear, do not immediately assume the clutch is dead. The Mini Cooper uses a Concentric Slave Cylinder (CSC) located inside the bellhousing. A leaking CSC or air trapped in the hydraulic line will mimic a mechanical clutch failure. Check the fluid level in the brake master cylinder reservoir (which feeds the clutch) and inspect the external hard lines for corrosion before dropping the transmission.
The Real Mini Cooper Clutch Replacement Price in 2026
When researching the mini cooper clutch replacement price, most owners are shocked by the labor premiums charged by dealerships and European specialty shops. Because the front subframe, steering rack, and lower control arms must be entirely removed to extract the Getrag GS6-55BG or Aisin manual transmissions, labor times are inherently high. However, tackling this as a DIY project yields massive financial dividends.
| Service Route | Estimated Parts Cost | Estimated Labor Cost | Total 2026 Price Range |
|---|---|---|---|
| MINI Dealership (OEM) | $650 - $850 | $1,400 - $1,800 | $2,050 - $2,650 |
| Independent Euro Shop | $450 - $600 | $900 - $1,200 | $1,350 - $1,800 |
| DIY (OEM DMF Kit) | $450 - $600 | $0 (Your Time) | $450 - $600 |
| DIY (SMF Conversion) | $280 - $350 | $0 (Your Time) | $280 - $350 |
Recommended Part Numbers for DIYers
- LuK RepSet Pro (DMF Included): Part # 415 0152 09 (Fits many R56 Cooper S models). Includes DMF, clutch disc, pressure plate, and alignment tool.
- Sachs Performance DMF Kit: Part # 2290 601 009. Excellent for daily drivers and mild stage 1 tunes.
- FTE Concentric Slave Cylinder (CSC): Part # KN25028. Always replace this while the transmission is out. It is a known failure point on the F56 generation.
Pre-Teardown Diagnostics: Measuring the Flywheel
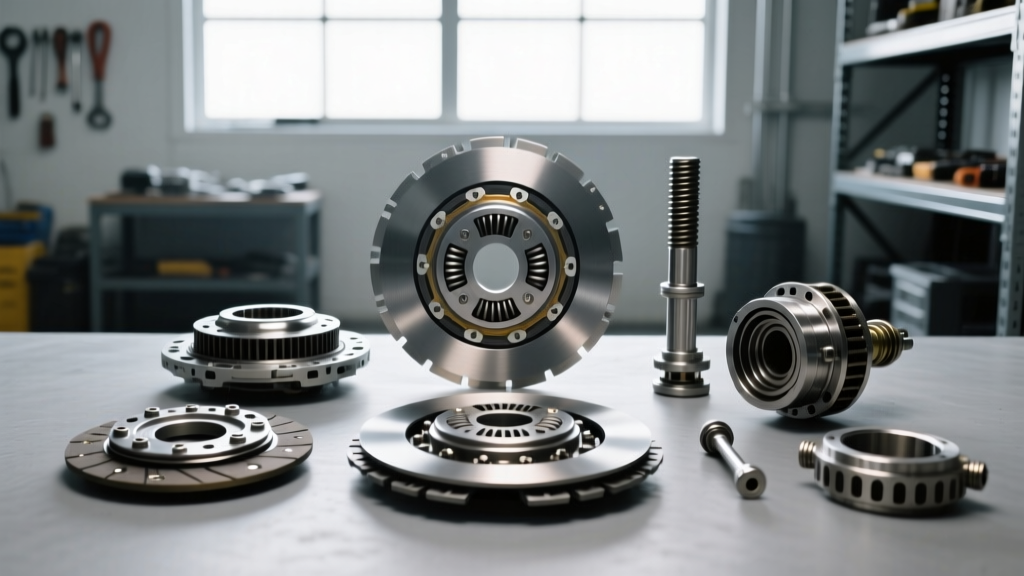
According to LuK Clutch Systems technical bulletins, reusing a Dual Mass Flywheel is only permissible if it passes strict tolerance checks. If you are pulling the transmission to diagnose a noise and want to verify the DMF:
- Axial Free Play: Mount a dial indicator to the engine block resting on the outer friction ring of the DMF. Push and pull the ring toward and away from the engine. Maximum allowable axial play is 1.5mm.
- Radial Free Play: Measure the rotational backlash of the outer ring against the inner hub. It should not exceed 0.5mm of radial movement.
- Visual Inspection: Look for severe bluing (heat damage) or deep scoring on the friction surface. If present, the DMF must be replaced.
DIY Execution: Navigating the Subframe Drop
Unlike older rear-wheel-drive vehicles where you simply unbolt the driveshaft and crossmember, the front-wheel-drive Mini Cooper requires a bottom-up teardown. The engine and transmission are mounted transversely, sitting atop a massive aluminum or steel front subframe.
Supporting the Powertrain
You cannot support the engine from below once the subframe is removed. You must use an engine support bar spanning across the front strut towers. Secure the N18/B48 engine using the factory lifting eyelets with heavy-duty ratchet straps or a specialized engine stabilizer tool. If the engine shifts forward or backward during reassembly, the bellhousing will not align with the engine block dowel pins, risking catastrophic casing damage.
Axle and Steering Rack Removal
The front half-shafts (CV axles) must be unbolted from the transmission flanges. Troubleshooting Tip: The 36mm front axle nuts are staked and torqued to an immense 230 Nm (170 lb-ft). Use a high-torque 1/2-inch impact wrench or a 4-foot breaker bar with the brakes locked. Do not reuse the axle nuts; they are torque-to-yield and must be replaced to prevent wheel bearing failure.
Critical Torque Specifications for the Getrag GS6-55BG
Improper torque is the leading cause of DIY driveline vibrations and premature clutch failure. Reference these specs for the R56/F56 manual transmissions:
- Flywheel to Crankshaft (M10 TTY Bolts): 60 Nm (44 lb-ft) + 90-degree turn. Note: These are torque-to-yield. You MUST use new OEM Mini flywheel bolts.
- Pressure Plate to Flywheel (M8 Bolts): 25 Nm (18 lb-ft). Tighten in a crisscross star pattern to prevent warping the diaphragm spring.
- Bellhousing to Engine Block (M10): 45 Nm (33 lb-ft).
- Bellhousing to Engine Block (M8): 25 Nm (18 lb-ft).
- Transmission Mounts to Subframe: 56 Nm (41 lb-ft).
- Front Subframe to Chassis: 100 Nm (74 lb-ft) + 90-degree turn (Verify specific year, as some F56 models use standard torque bolts without the angle turn).
Hydraulic System Troubleshooting: The CSC Bleed
The most frustrating phase of the mini cooper clutch replacement is bleeding the hydraulic system. The line routing from the brake master cylinder, down through the firewall, and into the bellhousing to the Concentric Slave Cylinder creates natural air traps. Pelican Parts Technical Articles frequently highlight that manual gravity bleeding often fails on Minis, leaving a spongy pedal that prevents gear engagement.
The DIY Solution: Use a pressure bleeder set to 2.0 Bar (29 PSI) on the brake fluid reservoir. Have an assistant open the bleeder valve on the CSC (located on top of the transmission bellhousing) while you pump the clutch pedal slowly through its full stroke 15 to 20 times. If the pedal still feels soft, the CSC internal seal may be damaged, or the master cylinder pushrod requires adjustment at the firewall.
When to Abandon the DIY Route
While the DIY savings on the mini cooper clutch replacement price are undeniable, this job requires a lift (or high-clearance jack stands), an engine support bar, a transmission jack, and a torque wrench capable of measuring up to 230 Nm. If your vehicle is equipped with the ALL4 all-wheel-drive system, the complexity increases exponentially due to the transfer case and rear driveshaft. In ALL4 scenarios, or if you discover severe crankshaft thrust bearing wear (indicated by excessive end-play when pushing the clutch), it is highly recommended to hand the project over to a certified MINI specialist.