Decoding the Dashboard: UTV CVTs vs. Traditional Automatics
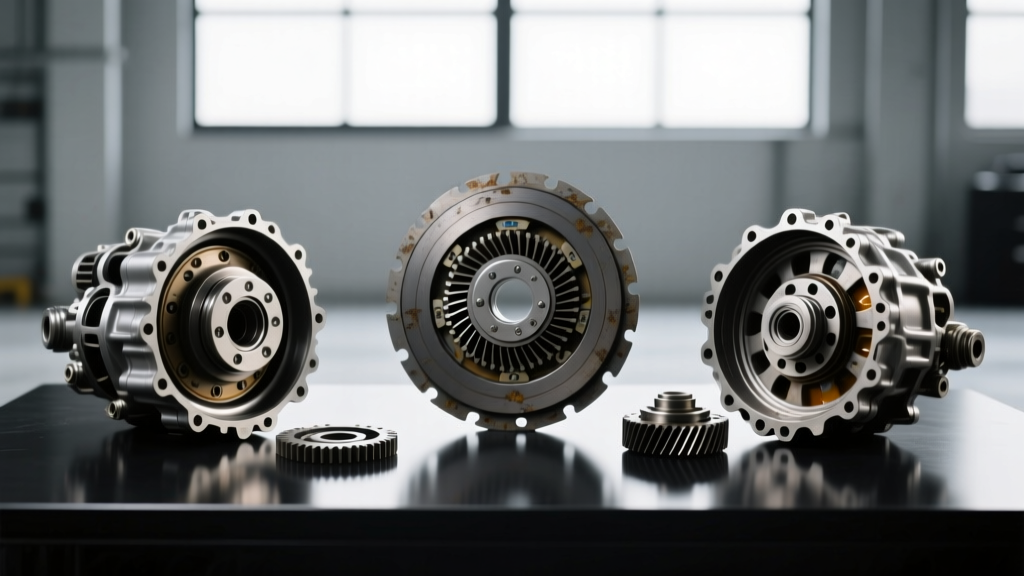
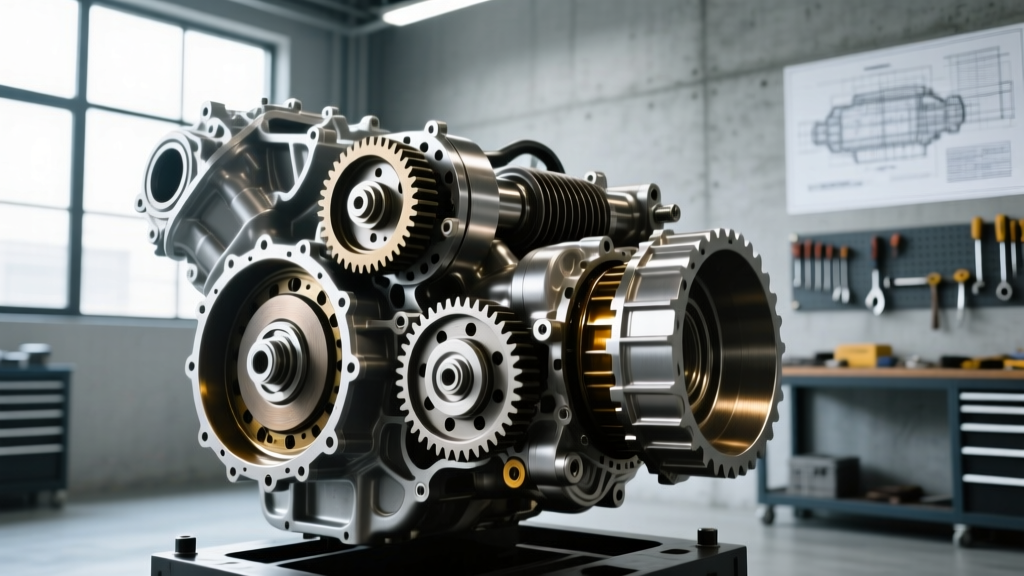
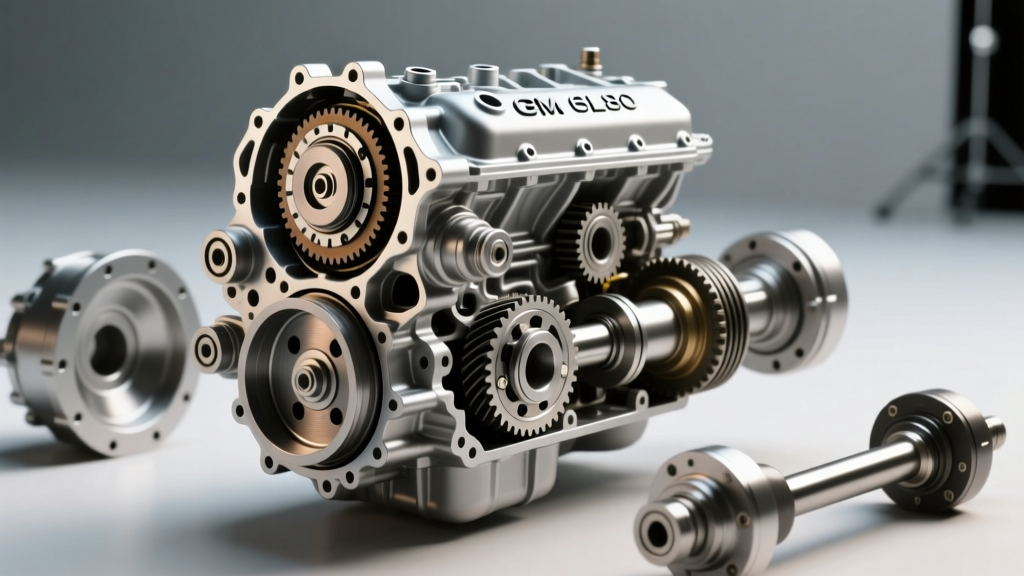
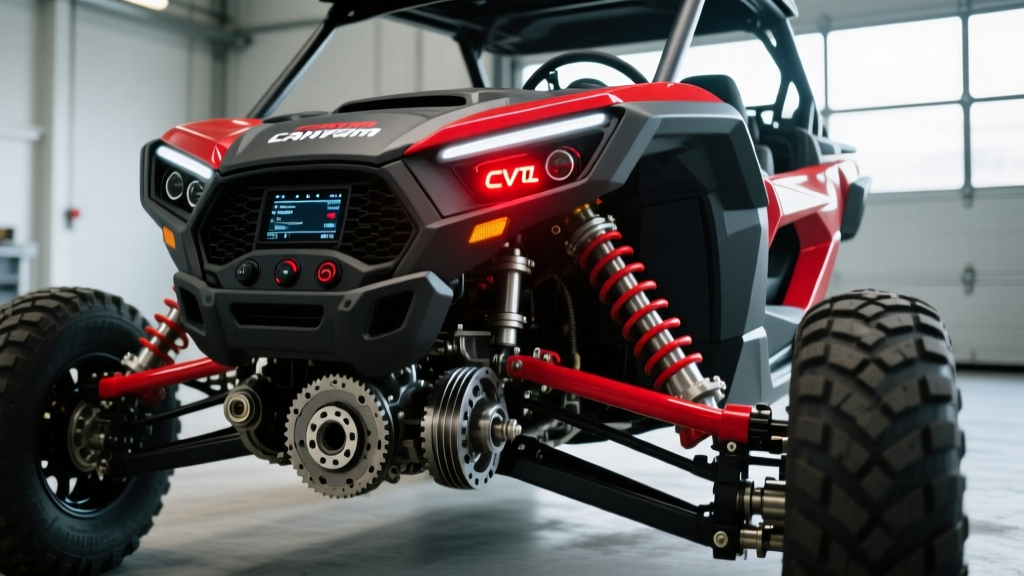
When off-road enthusiasts encounter sudden drivetrain warnings, the immediate reaction is often to search for can am maverick transmission problems. However, diagnosing a Continuously Variable Transmission (CVT) in a high-performance UTV requires a fundamentally different approach than troubleshooting a traditional planetary automatic. Unlike a GM 6L80 or a ZF 8HP, which rely on hydraulic valve bodies, clutch pack pressure switches, and solenoid circuits to manage fixed gear ratios, the Can-Am Maverick utilizes a mechanical Pro-Torque CVT system. This system relies on centrifugal forces, primary and secondary clutch sheaves, and a reinforced drive belt to deliver infinite ratios.
Because there is no traditional transmission control module (TCM) monitoring hydraulic line pressure, the Maverick’s onboard ECU infers transmission health by monitoring engine RPM, vehicle speed, and CVT temperature. When a warning light illuminates or the vehicle enters Limp Mode, it is typically the ECU detecting a mismatch between expected and actual performance parameters. In this expert guide, we will break down the exact diagnostic procedures, OEM part numbers, and software requirements to accurately pinpoint CVT warning light triggers.
Primary Warning Indicators on the Maverick Dash
The Can-Am Maverick X3 and standard Maverick models do not have a dedicated "check transmission" gear icon like a passenger vehicle. Instead, transmission-related faults manifest through three primary dashboard indicators:
- CVT Temperature Warning Light: Illuminates when the CVT enclosure or belt temperature exceeds safe operational thresholds (typically above 230°F / 110°C at the sensor).
- Check Engine Light (CEL) with Limp Mode: Triggered by RPM-to-speed mismatches, indicating severe belt slip or a failed vehicle speed sensor (VSS).
- Flashing Tether/Engine Icon: Often accompanies catastrophic belt failure or primary clutch disintegration, prompting the ECU to cut fuel injection to prevent engine over-revving.
Diagnostic Matrix: Common Warning Triggers & Expert Fixes
Connecting the vehicle to the BRP B.U.D.S. 2 (BRP Utility and Diagnostic Software) is mandatory for reading proprietary CAN-BUS codes. Below is a diagnostic matrix for the most frequent warning light scenarios:
| Dashboard Symptom | B.U.D.S. 2 Code / Area | Probable Root Cause | Expert Resolution & Specs |
|---|---|---|---|
| CVT Temp Light (Solid) | CVT Overheat / Airflow | Clogged CVT intake, worn belt, or heavy mud packing. | Clean intake snorkel; replace belt (OEM #422280351); check belt deflection (1.25" - 1.5"). |
| CEL + Limp Mode (Low RPM) | P0731 / RPM Mismatch | Belt glazing, secondary clutch spring fatigue, or sheave wear. | Inspect secondary helix for grooving; upgrade to heavy-duty spring; resurface or replace sheaves. |
| Erratic Speedometer + CEL | VSS Circuit Fault | Vehicle Speed Sensor failure or harness chafing near the engine mount. | Test VSS resistance (expect 200-300 ohms); inspect wiring for heat damage; replace sensor. |
| Flashing Engine Light | Over-RPM / Belt Slip | Catastrophic belt delamination or primary clutch weight roller failure. | Split primary clutch; inspect rollers and spider; clean out Kevlar debris with brake cleaner. |
Expert Troubleshooting: Belt Slip and RPM Mismatch
The most common can am maverick transmission problems that trigger a warning light involve belt slip. The ECU constantly compares engine RPM against the transmission output speed. If the engine is revving at 7,500 RPM but the vehicle speed sensor indicates you are only moving at 15 MPH in high gear, the ECU assumes the belt is slipping and triggers a warning to prevent the belt from snapping and destroying the CVT housing.
Measuring Belt Deflection and Wear
Before splitting the clutches, perform a physical belt inspection. Using the OEM Maverick X3 drive belt (Part #422280351 or the heavy-duty equivalent #422280360), the proper installed deflection should measure exactly 1.25 to 1.5 inches (32-38mm) when pressing down on the midpoint between the primary and secondary clutches with approximately 10 lbs of force. If the belt sits too deep in the secondary clutch, it will slip under load, generating immense friction heat and triggering the CVT temperature warning.
"Never rely solely on visual inspection for CVT belt wear. A belt can lose 2mm of width—which is enough to cause severe slip and trigger ECU limp mode—while still looking perfectly intact on the top cord."
Sensor and Wiring Harness Diagnosis
If the B.U.D.S. 2 software points to a Vehicle Speed Sensor (VSS) or engine RPM sensor fault, the issue is often electrical rather than mechanical. The VSS on the Maverick is a magnetic pickup located on the transmission housing, reading off a reluctor ring on the output shaft.
Multimeter Testing Protocol
- Disconnect the VSS harness connector at the sensor.
- Set your digital multimeter to the Ohms (Ω) setting.
- Probe the two sensor pins. A healthy Maverick VSS should read between 200 and 300 ohms at room temperature.
- Switch the multimeter to AC Voltage (mV). Spin the rear wheels by hand (with the vehicle safely elevated). You should see a fluctuating AC voltage reading (typically 0.5V to 2.0V depending on spin speed).
If the sensor tests perfectly, trace the harness back to the ECU. A known issue on early X3 models involves the wiring harness chafing against the motor mount bracket due to engine torque roll, causing a short to ground that mimics a transmission failure.
The Planetary Contrast: Why CVT Diagnostics Differ from the 6L80 or ZF 8HP
To truly master UTV diagnostics, it helps to contrast them with traditional automotive transmissions. In a GM 6L80, a slipping condition or warning light is diagnosed by hooking up a transmission pressure gauge to the line pressure tap and reading clutch pack apply times via a bi-directional scan tool. If the 1-2-3-4 clutch apply time exceeds 0.4 seconds, the technician knows the piston seals are blown or the fluid is degraded.
In contrast, the Maverick CVT has no hydraulic line pressure. Diagnostics are entirely mechanical and centrifugal. If a Maverick "slips," you cannot adjust a solenoid or change the fluid; you must physically remove the primary clutch using a specialized puller tool (such as the BRP primary clutch puller, Part #529035800), compress the spider with a clutch compression tool, and inspect the ramp buttons, weights, and grease distribution. Understanding this paradigm shift—from hydraulic diagnostics to mechanical centrifugal diagnostics—is what separates a novice from a true UTV drivetrain expert.
Preventative Maintenance & Torque Specifications
Preventing warning lights from illuminating in the first place requires strict adherence to maintenance intervals and torque specs. The extreme vibrations of a 195-horsepower Rotax turbo engine will quickly back out improperly torqued drivetrain components.
Critical Fastener Torque Specs
- Primary Clutch Bolt (M12 x 1.25): 85 ft-lbs (115 Nm). Must be applied with a medium-strength threadlocker like Loctite 243.
- Secondary Clutch Bolt: 55 ft-lbs (75 Nm).
- Engine Mount Bolts: 65 ft-lbs (88 Nm). Proper engine mount torque ensures the CVT belt maintains perfect alignment, preventing premature edge-wear that triggers slip codes.
Furthermore, routinely blowing out the CVT enclosure with compressed air after muddy or dusty rides is non-negotiable. Debris trapped in the secondary clutch helix will prevent the sheave from closing fully, leading to immediate belt slip and a guaranteed dash warning light on your next ride. For OEM replacement parts and exploded diagrams, technicians frequently reference PartZilla's BRP catalog to ensure exact fitment.
Final Thoughts on UTV Drivetrain Health
Diagnosing can am maverick transmission problems via warning lights is an exercise in understanding the relationship between engine output, belt grip, and ECU logic. By investing in the B.U.D.S. 2 diagnostic software, mastering mechanical clutch teardowns, and adhering to strict torque and deflection specifications, you can keep your Maverick out of Limp Mode and dominating the dunes. Always treat a CVT temperature or slip warning as an immediate stop-driving event; pushing through a warning light in a CVT will result in a snapped belt, a shredded housing, and a repair bill exceeding $2,500.