The Hydrostatic Paradigm: Why the K46 Demands a Specialized Break-In
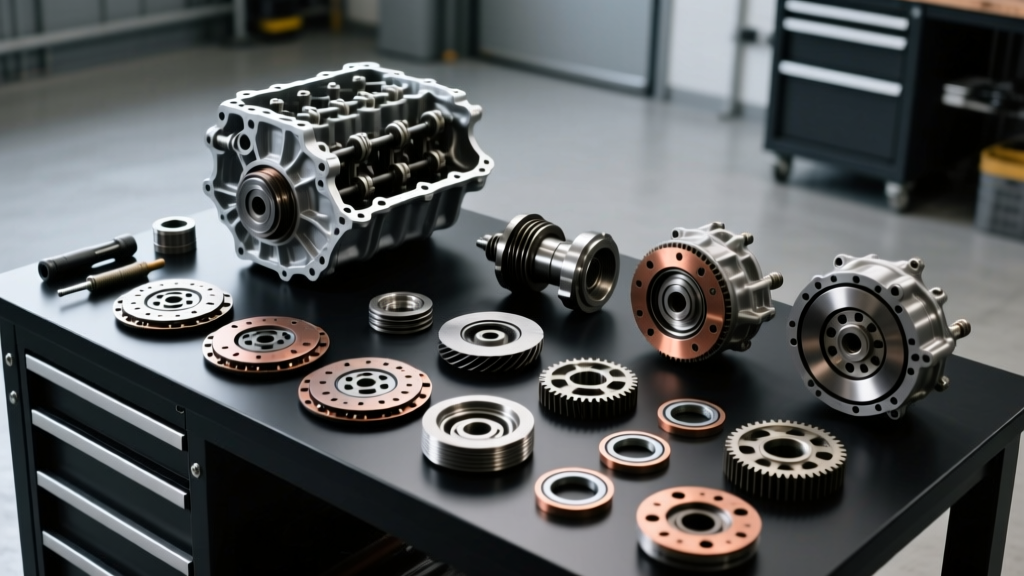
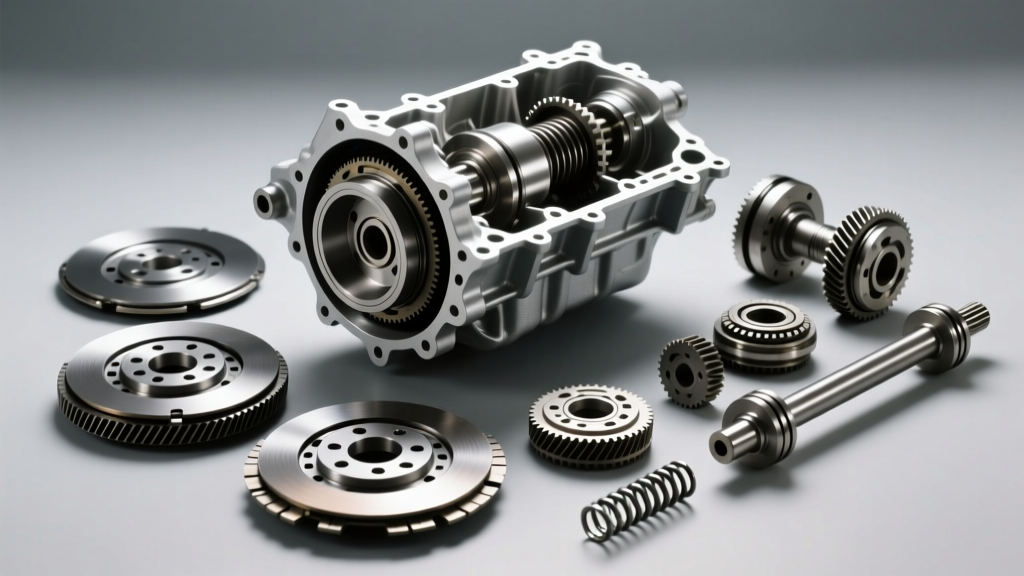
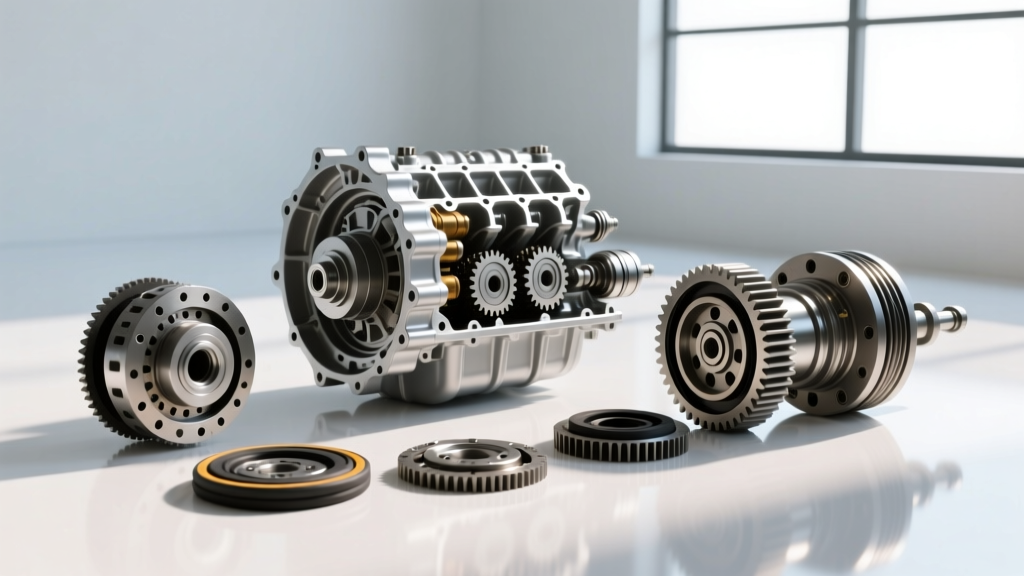
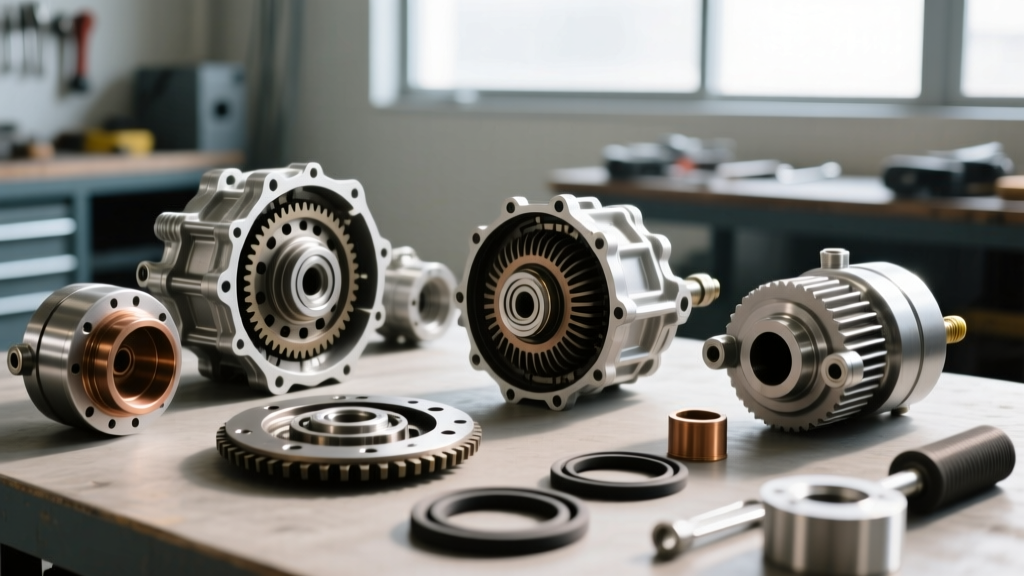
Rebuilding the Tuff Torq K46 hydrostatic transaxle found in the John Deere L130 is a precise mechanical endeavor that differs fundamentally from traditional automotive drivetrains. When you invest in a john deere l130 transmission rebuild kit, the physical assembly of the charge pump, swash plate, and trunnion bearings is only half the battle. The hydraulic break-in and purging protocol dictate the ultimate longevity of the unit. Unlike epicyclic gearsets found in passenger vehicles, hydrostatic systems rely entirely on fluid displacement under extreme internal pressures to transfer motive force.
To understand the stakes, consider the break-in procedure for a GM 6L80 or the ZF 8HP automatic transmissions. In those automotive units, break-in involves seating friction clutch packs, conditioning the torque converter lockup clutch, and allowing the Transmission Control Module (TCM) to adapt line pressures via solenoid mapping. As noted in Sonnax Technical Resources, automotive automatics rely on physical friction material bedding and electronic adaptive learning. The K46, however, has no clutch packs. It relies on a swash plate altering the stroke of axial pistons. If the high-pressure loop (which can spike to 450 PSI during heavy load) contains microscopic air pockets post-rebuild, cavitation will instantly score the new charge pump gerotor set and destroy the piston slipper pads. Therefore, the break-in process is actually a hydraulic purging and mechanical bedding sequence.
Fluid Dynamics and Capacity Specifications
Before initiating the break-in, the correct fluid must be introduced. The K46 transaxle does not use standard automotive ATF or gear oil. As of the 2026 landscaping season, Tuff Torq strictly recommends their proprietary hydrostatic fluid or a high-quality 10W-30 motor oil for older revisions, though the OEM John Deere Low Viscosity Hy-Gard (Part # AM200352) remains the gold standard for optimal cold-weather response and high-temperature shear stability.
- Total System Capacity: 2.1 Quarts (2.0 Liters)
- OEM Filter Part Number: John Deere AM133095 (Internal suction filter)
- Fluid Specification: John Deere Low Viscosity Hy-Gard or Tuff Torq 1877920000
- Operating Temperature Range: -20°F to 180°F (Optimal thermal stability at 140°F)
Overfilling the K46 will cause the fluid to aerate as the rotating center section whips the oil, introducing foam into the charge pump. Underfilling will result in immediate suction cavitation. Fill the transaxle to the exact bottom edge of the filler plug threads while the unit is perfectly level.
Torque Specs and Reassembly Verification
A successful break-in requires that the external hardware securing the transaxle to the L130 chassis is torqued to specification. Vibration during the initial operational hours can loosen improperly torqued mounting bolts, leading to input shaft misalignment and premature failure of the engine-to-transmission drive belt.
- Transaxle Mounting Bolts (to chassis): 35 ft-lbs
- Rear Axle Nuts (3/4-inch): 55 ft-lbs (Apply blue threadlocker)
- Hydrostatic Bypass Valve (14mm actuation bolt): 15 ft-lbs (Do not overtighten; the internal brass seat is fragile)
- Charge Pump Cover (M6 Bolts): 80 in-lbs (Tighten in a star pattern to ensure even gasket compression)
The Purging Protocol: Bleeding the High-Pressure Loop
This is the most critical phase of the john deere l130 transmission rebuild kit installation. You must purge all trapped air from the hydraulic loop before the swash plate is subjected to any mechanical load. According to Tuff Torq Service Support, failing to purge the system is the number one cause of premature warranty denials on rebuilt K46 units.
WARNING: Never attempt to drive the L130 or force the swash plate into full stroke while the system contains air. The resulting dry-start condition will score the aluminum center section and destroy the new piston slippers within seconds.
Step-by-Step Purge Sequence
- Elevate the Chassis: Jack up the rear of the John Deere L130 so both drive wheels are completely off the ground. Support the frame with jack stands. Never rely solely on the hydraulic jack.
- Engage the Bypass Valve: Locate the hydrostatic release valve on the rear of the transaxle. Rotate the 14mm bypass bolt counter-clockwise exactly two turns. This opens the internal bypass circuit, relieving pressure and allowing the wheels to freewheel.
- Prime the Charge Pump: Start the engine and set the throttle to the lowest possible idle (approximately 1,200 RPM). Allow the engine to run for 3 minutes. The charge pump will begin drawing fluid from the reservoir and pushing it through the internal suction filter.
- Close the Bypass Valve: Turn the 14mm bypass bolt clockwise until it seats gently (do not torque it down heavily, just snug it to close the circuit).
- Stroke the Swash Plate: With the engine still at idle, slowly move the hydrostatic control lever to the full forward position and hold it for 10 seconds. The rear wheels will begin to spin slowly as the air is pushed out of the high-pressure loop. Slowly pull the lever to the full reverse position and hold for 10 seconds.
- Cycle and Listen: Repeat this forward-reverse cycling 10 to 15 times. You will hear the pitch of the transaxle whine change from a harsh, aerated cavitation rattle to a smooth, deep hydraulic hum. This auditory cue confirms the high-pressure loop is fully purged.
Break-In Phase Matrix and Operational Limits
Once the system is purged, the mechanical components require a graduated load introduction. The trunnion bearings and the swash plate pivot pins need time to establish a hydrodynamic lubrication film. Refer to the following operational matrix for the first 10 hours of use post-rebuild.
| Break-In Phase | Operating Hours | Throttle / RPM Limit | Load / Terrain Restriction | Swash Plate Stroke Limit |
|---|---|---|---|---|
| Phase 1: Initial Bedding | 0 - 2 Hours | Half-Throttle (Max 1,800 RPM) | Flat terrain only, no towing, no bagger | Max 50% forward/reverse stroke |
| Phase 2: Thermal Cycling | 2 - 5 Hours | 3/4 Throttle (Max 2,400 RPM) | Light inclines (< 5 degrees), no heavy towing | Max 75% forward/reverse stroke |
| Phase 3: Load Integration | 5 - 10 Hours | Full Throttle (3,200 RPM) | Normal mowing, light towing (< 250 lbs) | Full stroke permitted |
| Phase 4: Standard Operation | 10+ Hours | Full Throttle (Mowing Spec) | Full operational capacity | Full stroke permitted |
Thermal Cycling and Fluid Expansion
During Phase 2 (Thermal Cycling), the internal fluid temperature will rise significantly. The K46 lacks an external fluid cooler; it relies on the aluminum transaxle housing and the internal fluid volume to dissipate heat. As the fluid expands, the internal pressure will fluctuate. It is normal to see a slight weep of oil from the transaxle vent cap during the first few hours of operation as the system purges microscopic air bubbles that expand when heated. Wipe the vent cap clean, but do not seal it. The vent must remain clear to prevent internal case pressurization, which will blow out the newly installed axle shaft seals.
After the first 5 hours of operation, allow the L130 to cool completely. Check the fluid level again. It is common for the fluid level to drop by 2 to 4 ounces as the oil fully saturates the internal sintered bronze bushings and the porous surfaces of the new center section gaskets. Top off with the specified fluid to the bottom of the filler plug threads.
Cost Analysis and Rebuild Kit Verification
A comprehensive john deere l130 transmission rebuild kit typically costs between $140 and $220, depending on whether you source OEM John Deere components or high-quality aftermarket equivalents from suppliers like Messick's John Deere Parts. When evaluating a kit, ensure it includes the critical wear items: the charge pump gerotor set, the swash plate trunnion bearings, the high-pressure relief valve springs, and the complete O-ring and gasket assortment.
Rebuilding the K46 is vastly more economical than purchasing a new Tuff Torq replacement unit, which currently retails between $750 and $900. However, the cost savings are only realized if the hydraulic purging and graduated break-in procedures detailed above are followed to the letter. Skipping the thermal cycling phase or forcing the swash plate into full stroke while air remains in the high-pressure loop will result in catastrophic internal scoring, turning a $200 DIY rebuild into an $800 replacement expense. Treat the hydrostatic break-in with the same reverence you would apply to seating the rings on a freshly machined engine block.