Understanding Limp Mode and the 32RH Transmission
The 1999 Jeep Wrangler TJ equipped with the legendary 4.0L inline-six engine is typically paired with the Chrysler 32RH three-speed automatic transmission. While the 32RH is renowned for its hydraulic simplicity and ruggedness, it is still governed by the Powertrain Control Module (PCM) for OBD-II compliance and shift timing. When drivers report 'limp mode' on this platform, they are usually experiencing one of two things: a true hydraulic fail-safe (often locked in second or third gear due to governor pressure issues) or a PCM-induced fail-safe triggered by faulty sensor data.
One of the most critical, yet frequently overlooked, components in this electronic chain is the Transmission Range Sensor (TRS), commonly referred to on Chrysler vehicles as the Neutral Safety Switch (NSS). A failing TRS can throw P0705 codes, cause no-crank conditions, and force the PCM into a fail-safe mapping that mimics traditional limp mode. As of 2026, sourcing genuine Mopar electronics for the 32RH has become increasingly difficult, making proper diagnosis and high-quality aftermarket selection more important than ever.
1999 Jeep Wrangler TJ 4.0 Transmission Range Sensor Location
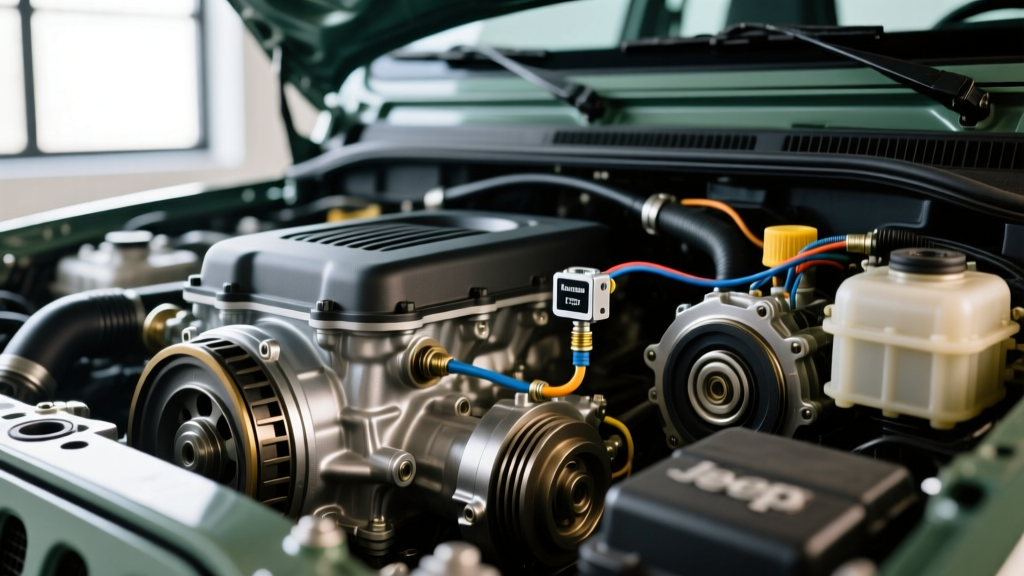
Before you can test or replace the component, you must know exactly where to look. The 1999 Jeep Wrangler TJ 4.0 transmission range sensor location is on the driver's side of the transmission case, directly mounted over the shift shaft lever.
To access it:
- Safely raise and support the vehicle on jack stands.
- Crawl under the driver's side and locate the transmission shift linkage.
- Follow the shift linkage rod from the body-mounted bracket down to the transmission shift lever.
- The TRS/NSS is a flat, black, kidney-bean-shaped plastic sensor bolted to the side of the transmission housing, with the shift lever passing directly through its center.
- You will see a wiring harness connector plugged into the top edge of the sensor, usually secured with a weather-pack clip.
Tools and Parts Required
Diagnosing and replacing this sensor requires basic hand tools and a digital multimeter. When sourcing parts in 2026, avoid unbranded online marketplace sensors, as their internal contact wafers wear out within months.
- Replacement Sensor: Standard Motor Products S1600 or Duralast F17412 (Typical cost: $35 - $65 via RockAuto)
- Digital Multimeter (DMM) with continuity and DC voltage settings
- 13mm and 15mm sockets/wrenches for shift linkage and sensor bolts
- Torque Wrench (capable of inch-pounds and foot-pounds)
- Electrical Contact Cleaner and dielectric grease
Step-by-Step Diagnosis: Is the TRS Causing Limp Mode?
Before unbolting anything, verify that the TRS is actually the culprit. A true 'limp mode' on the 32RH is often caused by the Throttle Position Sensor (TPS) or the Governor Pressure Solenoid. However, if your OBD-II scanner is pulling a P0705 (Transmission Range Sensor Circuit Malfunction), the TRS is your primary suspect.
1. Visual and Physical Inspection
With the vehicle safely supported, have an assistant move the gear shifter through all positions (Park, Reverse, Neutral, Drive, 2, 1) while you observe the shift lever on the transmission. The lever should move crisply and align perfectly with the detents on the transmission case. If the linkage is sloppy, worn, or binding, the TRS will send conflicting signals to the PCM, triggering a fail-safe.
2. Electrical Continuity Testing
Disconnect the wiring harness from the TRS. Set your multimeter to the continuity (ohms) setting. The sensor has multiple pins corresponding to different gear positions. According to OBD-Codes P0705 diagnostic guidelines, you should test the Park/Neutral start circuit and the Reverse circuit.
- Park/Neutral Circuit: Place your probes on the center pin and the designated P/N signal pin. With the transmission in Park or Neutral, you should read near 0 ohms (continuity). Shift into Drive; the circuit should open (OL).
- Reverse Circuit: Move your probe to the Reverse signal pin. You should only have continuity when the shifter is in the Reverse position.
If the sensor shows continuity in the wrong gears, or if the resistance fluctuates wildly when the shifter is held steady, the internal copper contacts are degraded. The sensor must be replaced.
Expert Tip: Don't forget to check the 5V reference wire and the ground wire at the harness connector. Corrosion in the TJ's undercarriage wiring harness is notorious. If the sensor tests fine but the PCM still throws P0705, you likely have a broken ground wire near the firewall connector.
Step-by-Step Replacement and Adjustment Procedure
Replacing the TRS on the 32RH is straightforward, but the adjustment is where most DIYers fail. If the sensor is misaligned by even a few degrees, the PCM will not recognize Park or Neutral, leading to a no-crank condition or immediate limp-mode shifting upon startup.
Step 1: Removal
- Disconnect the negative battery terminal to prevent accidental shorting or starting.
- Unplug the electrical connector from the TRS.
- Use a 15mm wrench to remove the nut securing the shift lever to the transmission shift shaft. Remove the lever.
- Remove the two 13mm (or 8mm depending on exact bolt revision) mounting bolts securing the TRS to the transmission case.
- Slide the old sensor off the shift shaft. Clean the shaft thoroughly with a wire brush and brake cleaner to remove rust and debris.
Step 2: Installation and Critical Alignment
- Ensure the transmission is physically in Neutral. You can verify this by checking that the output shaft turns freely by hand, or by aligning the shift lever detent.
- Take your new TRS and rotate its internal shaft until it matches the flat spots on the transmission shift shaft. The internal wafer must be centered in the 'Neutral' window.
- Slide the sensor onto the shaft. Do not force it; if it doesn't slide on easily, your internal alignment is off.
- Hand-start the two mounting bolts. Do not fully tighten them yet.
- The sensor housing has alignment marks or a slight rotational play. Rotate the sensor body until a 3/16-inch drill bit (or the alignment tool provided with premium kits) can slide perfectly into the alignment hole on the sensor and the corresponding hole in the transmission case.
- Once aligned, torque the mounting bolts to 35 in-lbs (4 Nm). Over-tightening will crack the plastic housing.
- Reinstall the shift lever and torque the shift lever nut to 21 ft-lbs.
- Reconnect the electrical harness and apply dielectric grease to the weather seal.
Common P07xx Codes & TRS Correlation
Understanding the specific OBD-II code will save you hours of misdiagnosis. Below is a breakdown of how range sensor faults manifest on the 1999 TJ PCM.
| OBD-II Code | Description | Typical Cause on 32RH | Estimated Fix Cost (2026) |
|---|---|---|---|
| P0705 | Transmission Range Sensor Circuit Malfunction | Failed TRS internal contacts or corroded harness plug. | $40 - $75 |
| P0706 | Transmission Range Sensor Circuit Range/Performance | Misaligned TRS, worn shift linkage bushings. | $15 - $50 |
| P0707 | Transmission Range Sensor Circuit Low Input | Short to ground in the signal wire between TRS and PCM. | $20 (Wire repair) |
| P0708 | Transmission Range Sensor Circuit High Input | Open circuit, broken 5V reference wire, or bad PCM ground. | $20 - $100 |
Beyond the Range Sensor: Other Limp Mode Culprits
If you have verified the 1999 Jeep Wrangler TJ 4.0 transmission range sensor location, tested the unit, replaced it, and the vehicle is still stuck in limp mode (refusing to shift out of second gear), you must look at the hydraulic control electronics. The 32RH utilizes a Governor Pressure Solenoid and a Governor Pressure Sensor located inside the transmission pan.
When the PCM commands a shift, it modulates the governor pressure solenoid. If the sensor detects a pressure variance greater than 10 PSI from the target, the PCM triggers a limp-in mode to protect the clutches. Furthermore, a failing Throttle Position Sensor (TPS) on the 4.0L throttle body will send erratic load data to the PCM, causing delayed shifts, harsh engagements, and eventual fail-safe locking. Always scan for TPS codes (P0121, P0122) alongside your transmission codes.
For more in-depth Jeep drivetrain components and replacement guides, enthusiast forums and parts suppliers like Quadratec offer extensive archives of TJ-specific wiring diagrams and torque specifications that remain invaluable for keeping these classic 4x4s on the trail.
Final Verification
After replacing the TRS and reconnecting the battery, clear all stored codes using your OBD-II scanner. Start the Jeep in Park, then cycle through the gears, pausing for two seconds in each position. Verify that the backup lights illuminate only in Reverse, and that the engine cranks exclusively in Park and Neutral. Take the vehicle for a 15-mile drive cycle to allow the PCM to run its transmission readiness monitors. If the shifts are crisp and no codes return, your limp mode diagnosis is complete.