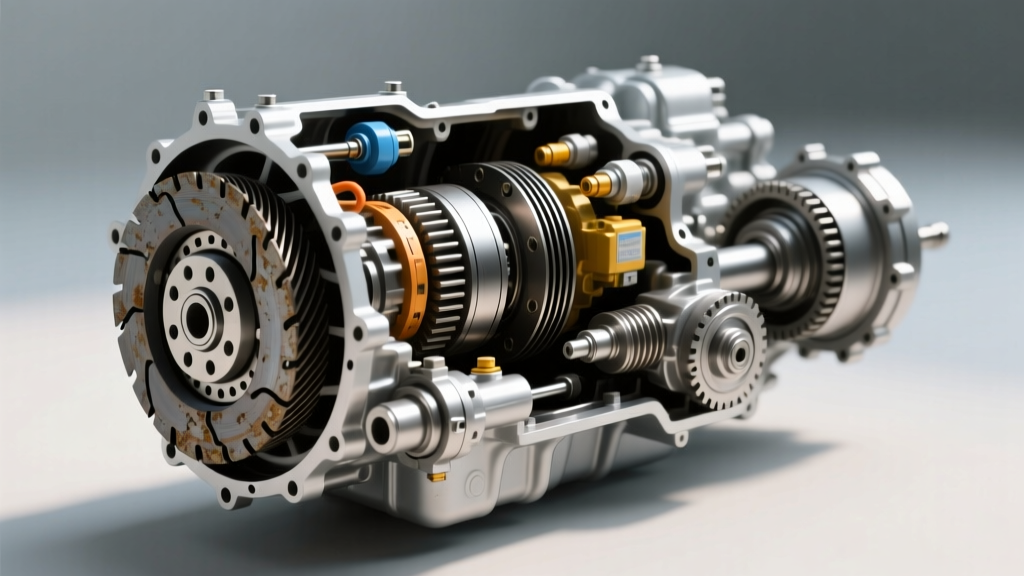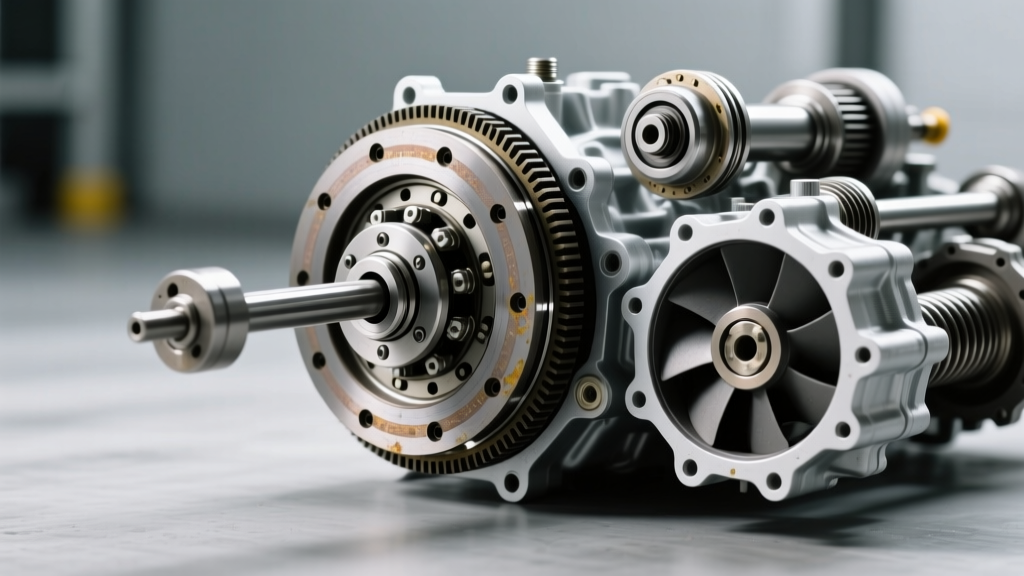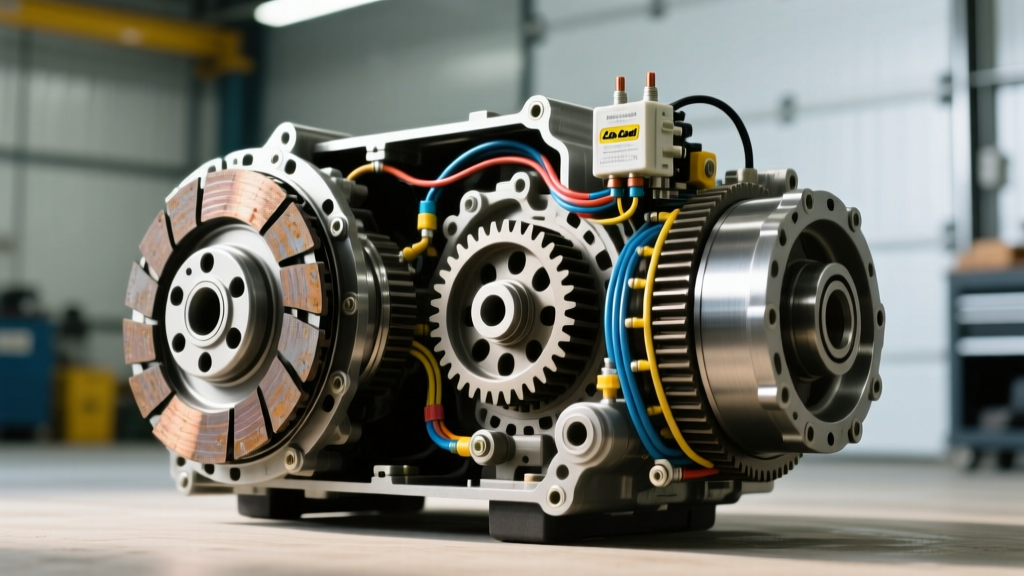
The Anatomy of Intermittent PTO Failures on Cub Cadet Tractors
When diagnosing an intermittent PTO clutch, Cub Cadet owners often find themselves chasing a ghost. The mower deck engages perfectly when cold, but drops out randomly after 30 minutes of operation, or disengages the moment the tractor hits a minor bump. Unlike automotive transmission clutches (such as those in a ZF 8HP or Ford 10R80) that rely on hydraulic pressure and friction bands, the electromagnetic Power Take-Off (PTO) clutch on your Cub Cadet XT1, XT2 Enduro, or Z-Force zero-turn relies entirely on a precise magnetic circuit and mechanical air gap.
Intermittent failures are rarely caused by a completely dead coil. Instead, they are the result of thermal expansion, voltage degradation under load, or micro-fractures in the wiring harness. In this comprehensive diagnostic guide, we break down the exact electrical and mechanical protocols required to isolate and fix an intermittent PTO clutch dropout.
Phase 1: Electrical Diagnostics and Thermal Breakdown
The most common cause of an intermittent PTO clutch dropout is heat soak. As the electromagnetic coil operates, it generates significant heat. If the internal copper windings have a micro-fracture, the metal expands as it heats up, breaking the circuit and dropping the PTO. Once the clutch cools for ten minutes, the metal contracts, the connection restores, and the clutch works again.
The Static and Dynamic Resistance Protocol
To verify the integrity of the coil, you must perform both a cold and a hot resistance test using a digital multimeter (DMM).
- Cold Test: Disconnect the 2-pin PTO connector. Set your DMM to Ohms (Ω). Place the probes on the clutch-side terminals. A healthy 12V Cub Cadet PTO clutch (such as the Warner 5218-84 or Ogura GT2.5-100) should read between 2.5Ω and 4.5Ω. If it reads infinite (OL), the coil is completely burned out.
- Hot Test: Run the mower with the PTO engaged for 20 minutes. Immediately shut off the engine, disconnect the plug, and re-test the resistance. If the reading spikes to infinite or fluctuates wildly, the coil has an internal thermal break and must be replaced.
Dynamic Voltage Drop Under Load
A PTO clutch requires a minimum of 10.5V to 11.0V to maintain the magnetic field against the heavy spring tension of the armature. If your Cub Cadet's charging system is marginal, the voltage may drop below this threshold when the mower deck hits thick grass and the alternator is burdened by the spark plug demand and electric cooling fans.
Backprobe the harness-side connector while the PTO is engaged and the engine is at 3200 RPM. If you read less than 11.5V at the connector, the issue is not the clutch—it is upstream. You must inspect the PTO relay, the dash switch, and the safety interlock module.
Phase 2: Mechanical Air Gap Degradation
Electromagnetic PTO clutches utilize a friction face that wears over time, much like the friction material on an automotive torque converter clutch (TCC). As the material wears, the air gap between the rotor and the armature widens. The magnetic field strength decreases exponentially as the gap increases. If the air gap exceeds 0.030 inches (0.76mm), the clutch will slip or fail to engage entirely, especially when the components are hot and electrical resistance is higher.
Air Gap Measurement and Adjustment
Most OEM and aftermarket PTO clutches for Cub Cadet tractors feature three adjustment nuts around the perimeter.
- Insert a 0.015-inch feeler gauge through the inspection slots between the armature and the rotor.
- Use a 9/16-inch wrench to loosen the locknuts.
- Adjust the nuts until the 0.015-inch gauge slides through with a slight, consistent drag.
- Tighten the locknuts securely and re-check the gap at all three points. An uneven gap will cause the armature to bind and drop out intermittently.
Cub Cadet PTO Clutch Specifications & Replacement Data
When replacement is necessary, sourcing the correct unit is critical. Cub Cadet uses several different crankshaft bore sizes and mounting patterns depending on the engine manufacturer (Kohler, Kawasaki, or Briggs & Stratton). Below is a reference matrix for common setups.
| Brand / Type | Part Number | Bore / Spline | Coil Resistance (Ω) | Air Gap Spec | Est. Cost (2026) |
|---|---|---|---|---|---|
| OEM Cub Cadet | 717-04174 / 917-04174 | 1.00" Keyway | 3.0 - 3.8 Ω | 0.010" - 0.020" | $220 - $280 |
| Warner Electric | 5218-84 | 1.00" Keyway | 2.8 - 3.4 Ω | 0.015" | $135 - $160 |
| Ogura | GT2.5-100 | 1.00" Keyway | 3.1 - 3.6 Ω | 0.012" - 0.018" | $140 - $165 |
| Xtreme Outlaw | X0044 | 1.00" Keyway | 2.5 - 3.0 Ω | 0.015" | $120 - $145 |
Note: Always verify your specific engine crankshaft diameter. Some heavy-duty Z-Force models utilize a 1-1/8" bore or a splined shaft, requiring a different Warner or Ogura variant. For exact fitment cross-references, consult the Jack's Small Engines parts database.
Phase 3: The Hidden Culprits - Relays and Safety Interlocks
If the clutch tests perfectly and the air gap is within spec, the intermittent dropout is almost certainly caused by the Cub Cadet safety interlock system or a failing PTO relay.
The Seat Switch and Fretting Corrosion
Cub Cadet tractors are wired so that the PTO will automatically disengage if the operator leaves the seat while the mower deck is running (unless the transmission is in neutral/park). The seat switch is a simple pressure pad, but the connector beneath the seat is highly susceptible to fretting corrosion and moisture ingress. If you hit a bump and the PTO drops out, unplug the seat switch connector. Inspect the male and female terminals for green or white oxidation. Clean them with electrical contact cleaner and apply dielectric grease. In many cases, bypassing the seat switch temporarily with a jumper wire will confirm if the interlock is the source of the intermittent failure.
Relay Heat Soak and Contact Pitting
The PTO clutch draws between 3.5 and 5.0 amps continuously. This load is routed through a standard 30A automotive-style relay located under the dash or in the engine bay fuse block. Over years of use, the internal contacts of the relay pit and carbonize. This increases resistance, generating heat. Once the relay overheats, the internal bi-metallic strip or magnetic field weakens, and the relay opens the circuit intermittently. Replacing the PTO relay with a high-quality, sealed Bosch or Tyco relay (typically under $15) is a mandatory step in any intermittent PTO diagnostic tree.
Installation Torque Specs and Anti-Rotation Protocols
When replacing the PTO clutch, improper installation will lead to immediate failure or crankshaft damage. The electromagnetic clutch must not spin on the crankshaft; it is held in place by an anti-rotation collar or a strut bracket that bolts to the engine block.
- Crankshaft Bolt: The main retaining bolt (usually 5/8" or 3/4" head) must be torqued to 55 - 65 ft-lbs using blue Loctite. Use a strap wrench on the clutch rotor to prevent it from turning while torquing.
- Anti-Rotation Collar: The set screws or collar bolts must be torqued to 15 - 20 ft-lbs. Ensure the collar pin sits firmly in the clutch slot without binding. If the collar binds, it will pull the clutch slightly off-axis, causing uneven air gaps and intermittent engagement.
- Wiring Harness Routing: Route the new pigtail away from the exhaust manifold and the spinning drive belts. Secure it with UV-resistant zip ties to prevent the harness from vibrating against the engine block, which causes the internal copper wires to fray and short out intermittently.
Summary Diagnostic Checklist
Before ordering a replacement clutch from an OEM manufacturer like Ogura or a dealer, ensure you have completed this sequence:
- Verify static and hot coil resistance (2.5Ω - 4.5Ω).
- Measure dynamic voltage at the connector under load (Must be >11.5V).
- Check and adjust the mechanical air gap to 0.015".
- Inspect and clean the seat switch and brake pedal interlock connectors.
- Swap the PTO relay with a known-good horn or starter relay to rule out contact pitting.
By methodically isolating the electrical circuit from the mechanical friction surfaces, you can accurately pinpoint the cause of your intermittent PTO clutch Cub Cadet failure, saving both time and unnecessary parts replacement costs.