The Critical Role of Hydraulic Actuation in Modern Manuals
As we navigate the automotive landscape of 2026, manual transmissions remain a beloved choice for enthusiasts and specific commercial applications. Whether you are driving a classic Porsche 911 with a G50 gearbox, a modern Mustang equipped with a Tremec T56 Magnum, or a high-revving Honda K-series, the hydraulic clutch system is the vital link between your left foot and the drivetrain. Unlike older cable-actuated setups, hydraulic systems offer precise modulation and reduced pedal effort. However, they are highly susceptible to fluid degradation, air ingress, and seal failure.
Proper hydraulic clutch system diagnosis requires more than just pumping the pedal. It demands a systematic approach to identifying pressure losses, understanding fluid thermodynamics, and executing a flawless clutch fluid bleed. This preventive maintenance guide will equip you with the exact specifications, diagnostic frameworks, and procedural knowledge required to maintain peak clutch engagement and prevent catastrophic drivetrain interruptions.
Anatomy of the Hydraulic Clutch Circuit
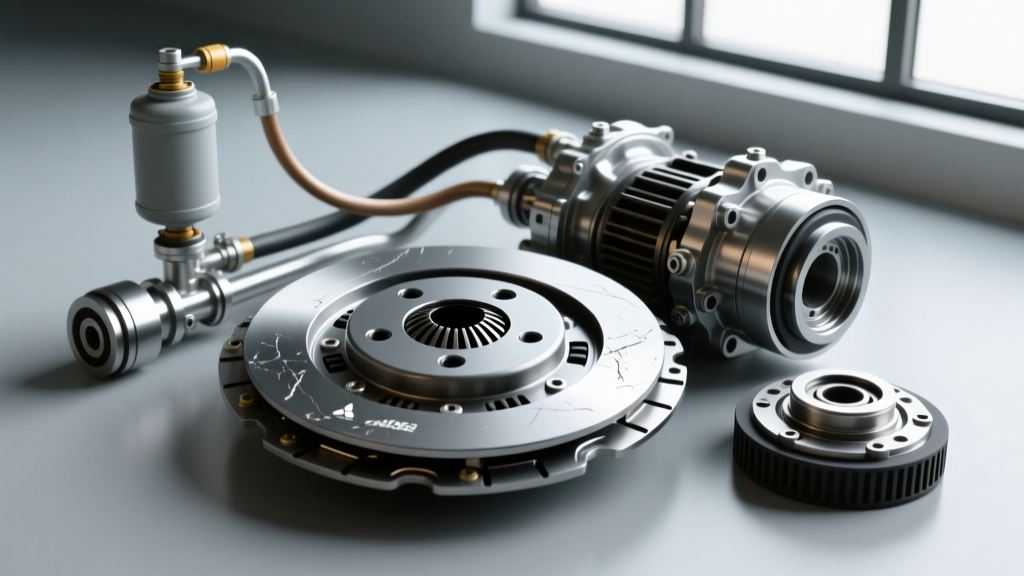
Before diagnosing a failure, you must understand the circuit's architecture. A standard hydraulic clutch system consists of four primary nodes:
- Master Cylinder (MC): Mounted to the firewall, it converts mechanical pedal force into hydraulic pressure. Typical bore sizes range from 15.8mm to 19.0mm.
- Hard Lines and Flex Hoses: Steel-braided or OEM rubber hoses route the pressurized fluid from the engine bay to the transmission bell housing.
- Slave Cylinder: Can be an external pushrod type (common on older Ford and GM trucks) or an internal Concentric Slave Cylinder (CSC) found in modern ZF and Tremec applications.
- Release Bearing and Fork: The mechanical interface that translates hydraulic movement into clutch disengagement.
Diagnostic Matrix: Identifying Hydraulic Failures
When a driver reports a 'spongy' pedal or difficulty engaging gears, novice mechanics immediately assume the clutch disc is worn. However, hydraulic faults mimic mechanical wear. Use the following diagnostic matrix to isolate the root cause before ordering replacement parts.
| Symptom | Probable Root Cause | Diagnostic Verification Test | Corrective Action |
|---|---|---|---|
| Pedal sinks to floor under constant pressure | Internal Master Cylinder seal bypass | Block slave cylinder line; if pedal still sinks, MC is faulty. | Replace Master Cylinder and bench bleed. |
| Spongy, inconsistent pedal feel | Air ingress or fluid boiling (aeration) | Inspect for micro-leaks at flare nuts; check fluid color (dark/cloudy). | Perform comprehensive clutch fluid bleed. |
| Pedal stuck to floor, no return | Failed slave cylinder return spring or seized CSC | Manually pull clutch fork; check for binding or fluid in bell housing. | Replace Slave Cylinder; flush system. |
| Hard pedal, incomplete disengagement | Firewall flex, worn pivot ball, or blocked compensator port | Check firewall deflection under load; inspect MC pushrod clearance. | Install firewall brace; adjust pushrod or replace MC. |
The Science of Fluid Degradation and FMVSS 116
The most overlooked aspect of clutch system diagnostics is fluid chemistry. Clutch systems share fluid with the brake system in 90% of passenger vehicles, meaning they rely on Glycol-ether based fluids (DOT 3, DOT 4, DOT 5.1). These fluids are hygroscopic, meaning they actively absorb moisture from the atmosphere through microscopic pores in rubber hoses and reservoir caps.
According to the FMVSS 116 standard governing motor vehicle brake and clutch fluids, moisture absorption drastically lowers the fluid's boiling point. When clutch fluid boils, it turns into a compressible gas, resulting in a completely spongy pedal and zero actuation force.
Fluid Specification and Boiling Point Data
| Fluid Type | Dry Boiling Point (0% Water) | Wet Boiling Point (3.7% Water) | Recommended Application |
|---|---|---|---|
| DOT 3 | 205°C (401°F) | 140°C (284°F) | Standard commuter vehicles, light-duty trucks. |
| DOT 4 | 230°C (446°F) | 155°C (311°F) | Performance street cars, track-day vehicles. |
| DOT 5.1 | 260°C (500°F) | 180°C (356°F) | Heavy towing, high-thermal-load motorsport. |
| DOT 5 (Silicone) | 260°C (500°F) | N/A (Does not absorb water) | NEVER use in modern ABS or standard clutch systems. |
For high-performance applications, we recommend upgrading to a dedicated racing fluid like Motul RBF 600, which offers a dry boiling point of 312°C (593°F), providing a massive safety margin against vapor lock during aggressive driving or heavy stop-and-go traffic.
Executing the Perfect Clutch Fluid Bleed
A successful clutch fluid bleed requires precision, the right tools, and an understanding of the system's geometry. The clutch slave cylinder is often positioned lower than the master cylinder, meaning air naturally rises and gets trapped in the hard lines or the slave cylinder body itself. Here are the three primary methods, ranked by effectiveness.
Method 1: Pressure Bleeding (The Professional Standard)
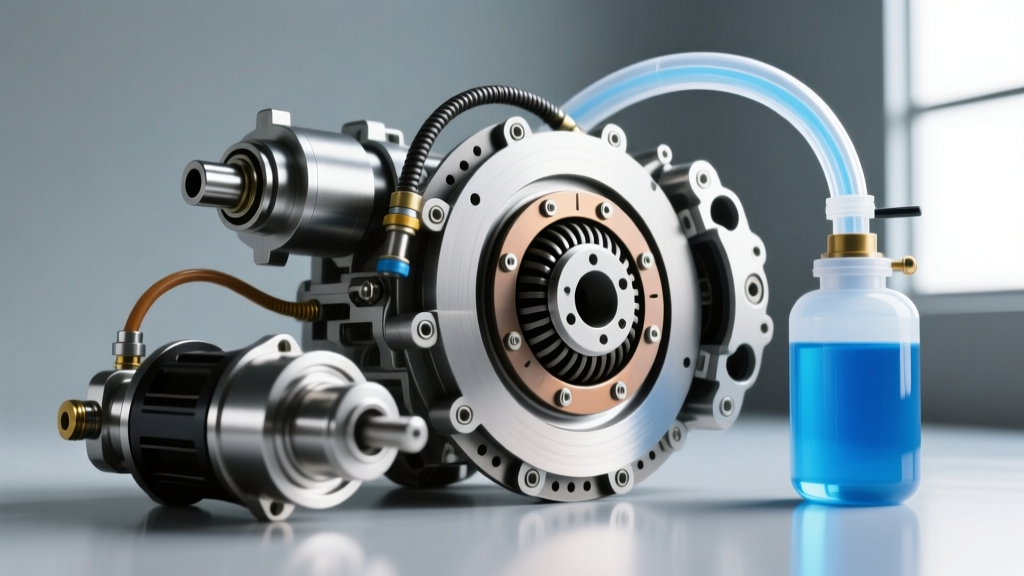
Using a pneumatic or manual pressure bleeder (e.g., Motive Products Power Bleeder) is the most reliable method for modern vehicles with complex routing and internal Concentric Slave Cylinders (CSC).
- Attach the pressure bleeder cap to the master cylinder reservoir and pressurize to 12-15 PSI. Never exceed 20 PSI, or you risk blowing out the master cylinder seals.
- Attach a clear vinyl tube to the slave cylinder bleeder screw and route it into a catch bottle.
- Open the bleeder screw. Torque specifications for these soft brass or steel valves are typically 8-12 Nm (70-105 in-lbs). Overtightening will snap the valve head.
- Allow fluid to flow until it is completely free of micro-bubbles. Tap the slave cylinder and hard lines with a rubber mallet to dislodge trapped air pockets.
- Close the valve, release reservoir pressure, and verify pedal firmness.
Method 2: The Two-Person Manual Pump
If a pressure bleeder is unavailable, the traditional manual method works, provided you use a 'reverse-bleed' technique if air is trapped high in the lines.
- Ensure the reservoir is full and monitored constantly to prevent drawing air into the master cylinder.
- Have an assistant depress the clutch pedal slowly and hold it.
- Open the bleeder screw, allow the fluid and air to escape, and close it before the assistant releases the pedal.
- Repeat until the stream is bubble-free. This method is tedious and risks introducing air if the pedal is released prematurely.
Method 3: Vacuum Bleeding (Use with Caution)
Vacuum bleeders pull fluid from the bleeder screw. While fast, they can create a false sense of security. The vacuum can pull air past the threads of the bleeder screw itself, making it appear as though the system has infinite air bubbles. Only use vacuum bleeders if you wrap the bleeder screw threads in Teflon tape temporarily during the procedure.
Preventive Maintenance Intervals and Cost Analysis
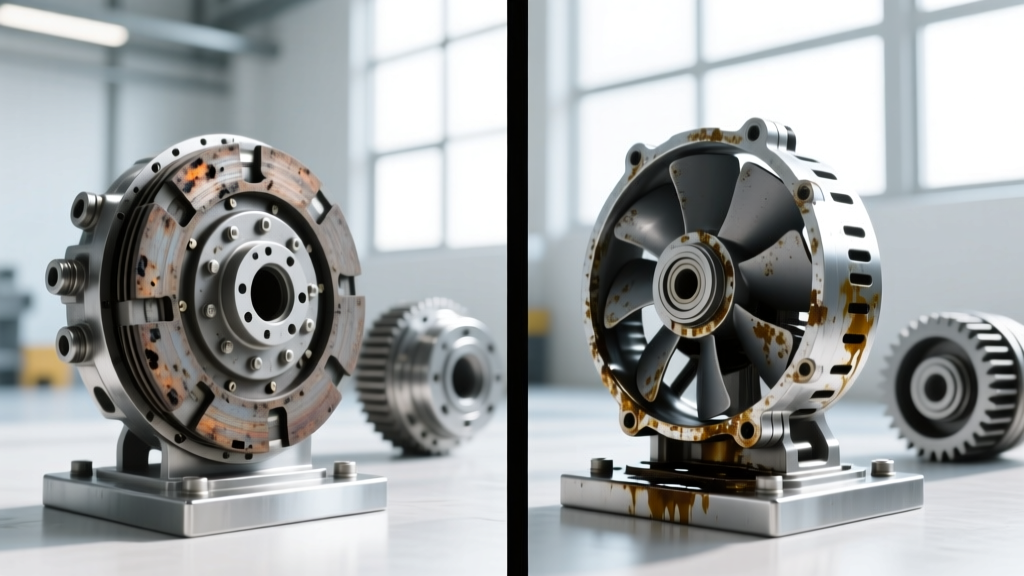
Preventive maintenance is vastly cheaper than reactive repairs. A neglected hydraulic system will eventually destroy the internal seals of the slave cylinder, leading to fluid contamination of the clutch friction disc. Replacing a clutch disc and flywheel due to hydraulic fluid contamination can cost between $1,200 and $2,500 in labor and parts, whereas a fluid flush costs less than $30 in materials.
Recommended Service Schedule
- Standard Commuter Vehicles: Flush and bleed every 3 years or 45,000 miles.
- Performance/Track Vehicles: Flush annually or before every track season.
- Heavy Duty/Towing (e.g., Diesel Rams, Super Dutys): Flush every 2 years or 30,000 miles due to higher under-hood thermal loads.
Edge Case Diagnostics: Firewall Flex and Worn Pivots
As noted by transmission specialists at Tremec and various OEM service bulletins, a spongy pedal is not always a hydraulic issue. In vehicles like the 2005-2014 Ford Mustang or the 8th Gen Honda Civic, the sheet metal firewall can physically flex backward under the heavy load of a high-pressure clutch spring. This flex absorbs pedal travel, mimicking air in the lines.
The Fix: Install an aftermarket firewall clutch master cylinder brace (typically $40-$80). Additionally, inspect the clutch fork pivot ball. If the plastic pivot ball wears down by even 2mm, the slave cylinder will exhaust its hydraulic stroke before fully disengaging the clutch, resulting in grinding gears despite a perfectly bled hydraulic system.
Conclusion
Mastering hydraulic clutch system diagnosis requires looking beyond the obvious. By understanding the hygroscopic nature of DOT fluids, utilizing precise torque specs during a clutch fluid bleed, and recognizing mechanical edge cases like firewall flex, you can ensure crisp, reliable gear changes for the life of your drivetrain. Treat your hydraulic fluid as a critical wear item, not a lifetime fill, and your manual transmission will reward you with flawless engagement every time you row through the gears.